Configuring a panel in crsc – Grass Valley CR6400 Family v.1.2 User Manual
Page 41
31
CR6400
User’s Guide
If your subnet has more than one router, CR6400 adds a default level for the router you
chose in the dialog of step 3.
You can now edit the parameters for this level. (See
5 Repeat steps 2–4 for additional levels.
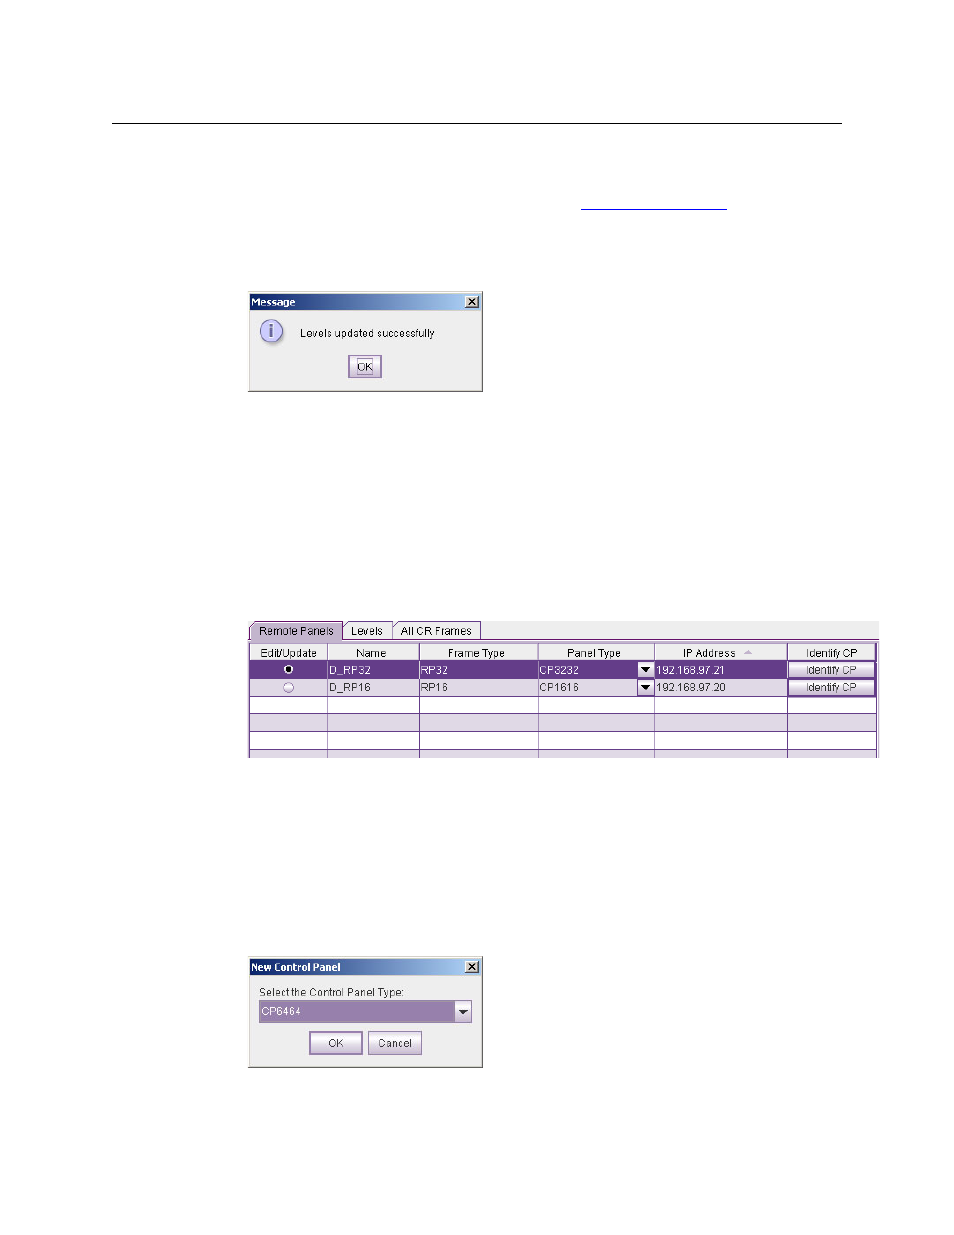
When you have finished adding levels, click Update Router Levels to send the level configu-
ration data to the routers. You should see a confirmation message:
Note that adding a level creates an additional level for one of the routers that already exists on
the subnet. You cannot create levels that do not correspond to a router.
This is especially useful when you are planning to use an AES router to switch multiple AES
levels.
Configuring a Panel in CRSC
1 Go to the ‘Remote Panels’ page of CRSC.
2 Select a Remote Panel Module
At the bottom of the page, in the ‘Network Frame Summary’ is a ‘Remote Panels’ tab:
Remote Panels Tab
Click the radio button in the row of the remote panel module that you want to configure.
3 Specify the panel type that is assigned to this remote panel module.
If the panel type is undefined, click in the ‘Panel Type’ field of the selected row. A drop-down
list of panel types appears. Choose a panel type from that list.
If the panel type has already been defined, and you want to change it (and the configuration
assigned to the remote panel module) click the ‘New’ button at the bottom of the page.
In either case, CRSC will present a dialog in which you can choose a panel type:
The panel types that are listed in the dialog depend entirely on what actual panel CRSC
believes is mounted on the remote panel module. (You might need to click the ‘Refresh