3 grounding the power supply assembly, Grounding the power supply assembly – SMA External Supply Voltage 230 V User Manual
Page 28
6. Connect the cable for outgoing supply voltage to terminals X21:1,2. To do this, insert the
cable into the terminal and close the locking lever of the terminal.
7. Make sure that the cables are securely in place.
8. Tighten the swivel nut of the cable gland (torque: 4 Nm).
9. Ground the power supply assembly (see Section 4.4.3, page 28).
4.4.3
Grounding the Power Supply Assembly
The parts to be grounded can be connected to a joint grounding electrode.
Requirements:
☐ The SMA String-Monitor must be disconnected (see SMA String-Monitor manual).
☐ The inverter must be disconnected on the DC side (see inverter manual).
☐ The external supply voltage of the SMA String-Monitor must be disconnected (see manual of
the inverter or manual of the external voltage source).
☐ The power supply assembly must be installed (see Section 4.4.1, page 26).
☐ The supply voltage cables must be connected (see Section 4.4.2, page 27).
Cable requirements:
☐ Conductor cross-section: 6 mm
2
☐ Recommended cable type: NYY-O
Procedure:
1. Remove the sealing plug from the enclosure opening for the external functional grounding of
the power supply assembly (see Section 4.2, page 24).
2. Lead the grounding cable through the enclosure opening into the SMA String-Monitor.
3. Dismantle the grounding cable by 12 mm. Make sure that no pieces of cable are dropped
into the SMA String-Monitor.
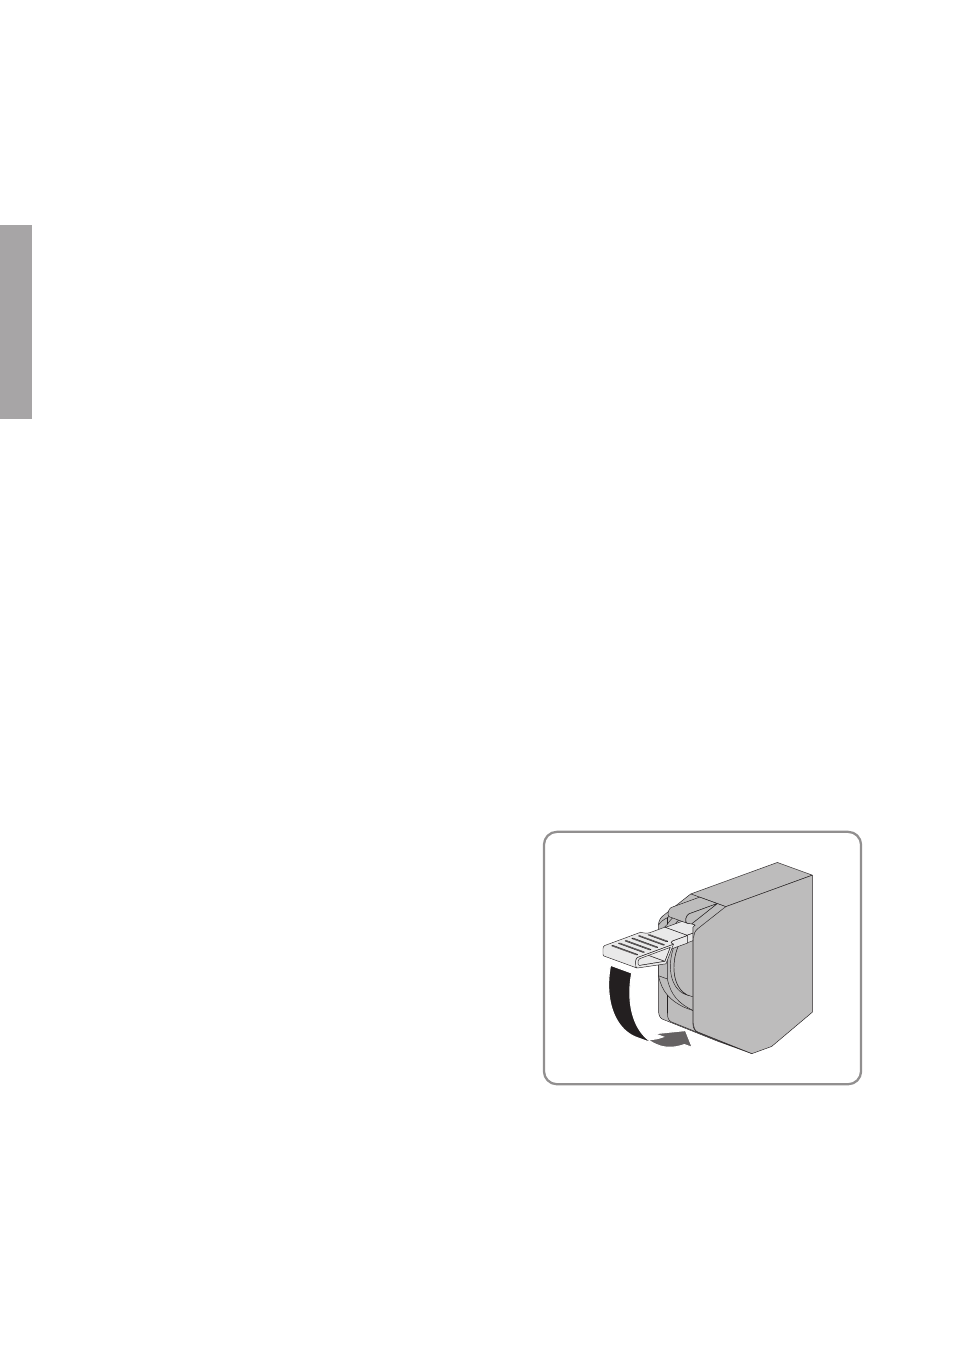
4. Connect the grounding cable to the terminal
X22:1 for functional grounding. To do this, insert
the cable into the terminal and close the locking
lever of the terminal.
5. Ensure that the grounding cable is securely in place.
6. Tighten the swivel nut of the cable gland (torque: 2.5 Nm).
7. Ground the grounding cable in the vicinity of the SMA String-Monitor, e.g. by means of a
grounding electrode.
8. Replace the lower protective cover of the SMA String-Monitor (see SMA String-Monitor
manual).
4 Installation
SMA Solar Technology AG
Installation Manual
SSMU-AUX-PB/OVP-IA-xx-10
28
ENGLISH