Accessing the bios menu, Navigating the bios menu, Chapter 4 – Lanner FW-8771 User Manual
Page 23: Bios settings
18
BIOS Settings
Chapter 4
Network Application Platforms
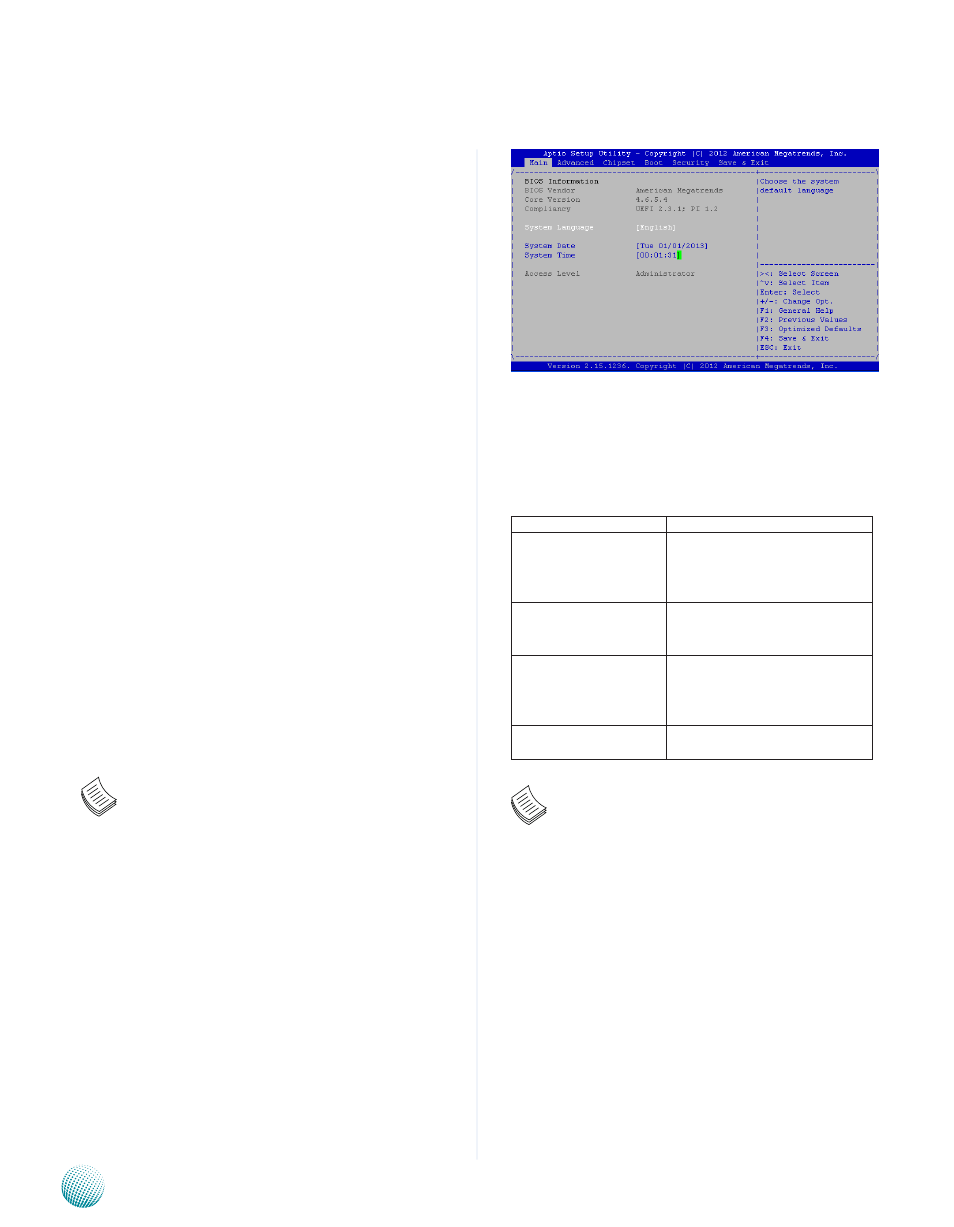
Accessing the BIOS menu
When you are installing a motherboard or when the
system prompts “Run Setup” during start-up, you will use
the BIOS Setup program to configure the system, . This
section explains how to configure your system using this
program.
Even if you are not prompted to enter the BIOS Setup
program when you are installing a motherboard, you can
still change the configuration of your computer later on
with this program. For example, you may want to enable
the security password feature or change the power
management settings. This requires you to reconfigure
your system by using the BIOS Setup program so that the
computer can recognize these changes and record them
in the CMOS RAM .
When you start up the computer, the system provides you
with the opportunity to run this program. Press <Delete>
during the Power-On-Self-Test (POST) to enter the Setup
utility (There are a few cases that other keys may be
used, such as <F1>, <F2>, and so forth.); otherwise, POST
continues with its test routines.
If you wish to enter Setup after POST, restart the system
by pressing <Ctrl+Alt+Delete>, or by pressing the reset
button on the system chassis. You can also restart by
turning the system off and then back on. Do this last
option only if the first two failed.
The Setup program is designed to make it as easy to use as
possible. Being a menu-driven program, it lets you scroll
through the various sub-menus and make your selections
from the available options using the navigation keys.
Note: This manual describes the standard look of
the setup screen. There may be some instances in which
the motherboard features can vary from one to another
due to customization. This means that some of the options
described in this manual mays not match that of your
motherboard’s AMIBIOS.
Navigating the BIOS menu
The BIOS setup utility uses a key-based navigation system
called hot keys. Most of the BIOS setup utility hot keys can
be used at any time during the setup navigation process.
These keys include <F1>, <F10>, <Enter>, <ESC>, <Arrow>
keys, and so on.
Keys
Description
-><- Left/Right
The Left and Right <Arrow> keys
allow you to select an setup screen.
For example: Main screen, Advanced
screen, Boot screen, and so on.
Up/Down
The Up and Down <Arrow> keys
allow you to select an setup item or
sub-screen.
+- Plus/Minuss
The Plus and Minus <Arrow> keys
allow you to change the field value
of a particular setup item. For
example: Date and Time.
Tab
The <Tab> key allows you to select
setup fields.
Note: The <F8> key on your keyboard is the Fail-Safe key.
It is not displayed on the key legend by default. To set the
Fail-Safe settings of the BIOS, press the <F8> key on your
keyboard. The Fail-Safe settings allow the motherboard
to boot up with the least amount of options set. This can
lessen the probability of conflicting settings.
->
->