Time lapse mode: advanced settings, Advanced controls – GoPro Hero 5 Black User Manual
Page 32
62
63
PROTUNE
Within Time Lapse mode, Protune is available for Time Lapse Photo
and Night Lapse Photo. For details about Protune settings, see
TIME LAPSE MODE: ADVANCED SETTINGS
ADVANCED CONTROLS
EXPOSURE CONTROL
By default, your camera uses the entire image to determine the appropriate
exposure level. However, Exposure Control lets you select an area that you
want the camera to prioritize when determining exposure. This setting is
particularly useful in shots where an important region might otherwise be
over- or underexposed.
When you change this setting, the touch display immediately shows you the
effect on your image. If you change modes, the camera returns to using the
entire scene to determine the correct level of exposure.
Using Exposure Control with Auto Exposure
With this option, the camera always bases exposure on the area of the
touch display that you select, regardless of what is in that area.
Suppose your camera is mounted on your dashboard. You might want to
select the upper part of the touch display so that the exposure is based on
the scene outside of the windshield and not on the dashboard (which might
cause the scene outside to be overexposed).
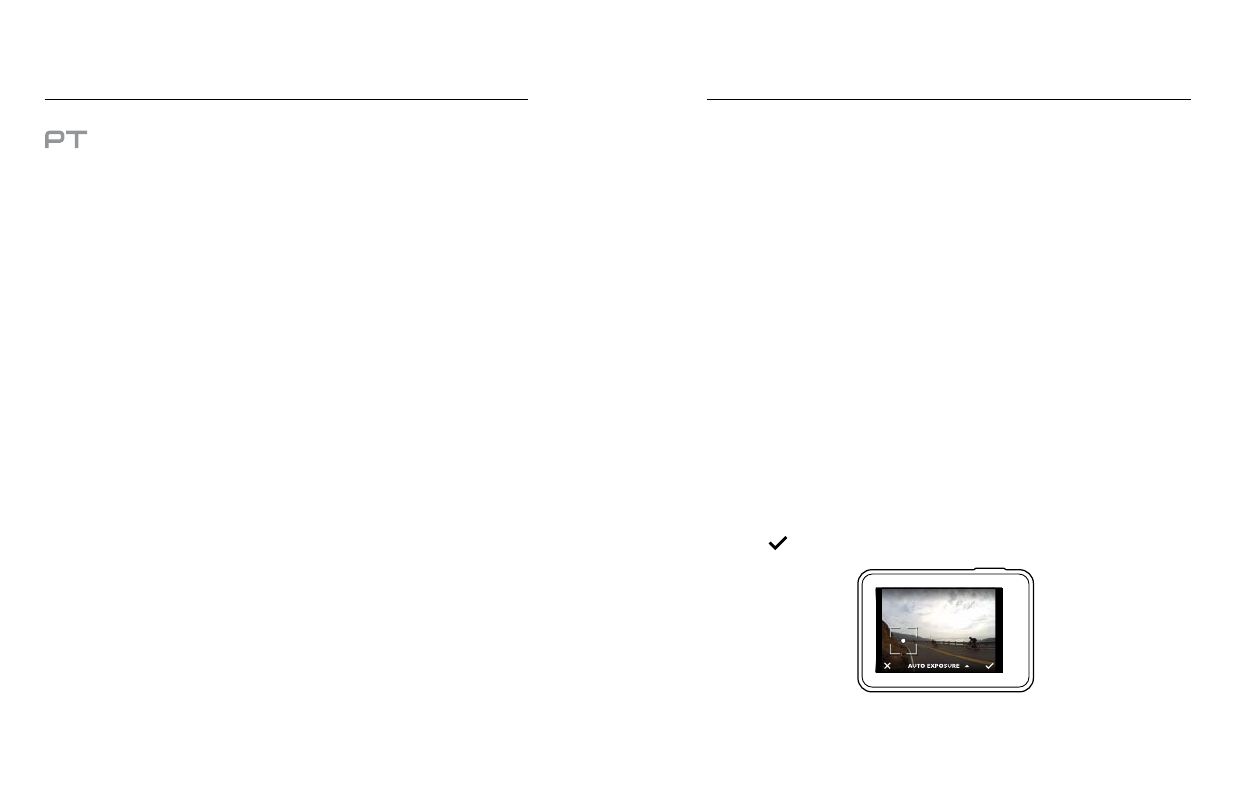
1. Press the touch display until a square outline shrinks to the middle of
the screen.
2. Drag the square to the area that you want to use to set the exposure
level. (You can also tap that area instead of dragging the square.)
3. Tap [
] in the lower right corner.