6 removing and installing the fan tray, Install the fan tray, Remove the fan tray – PLANET XGS3-42000R User Manual
Page 11: Figure 3-5 installation and removal the fan tray
11
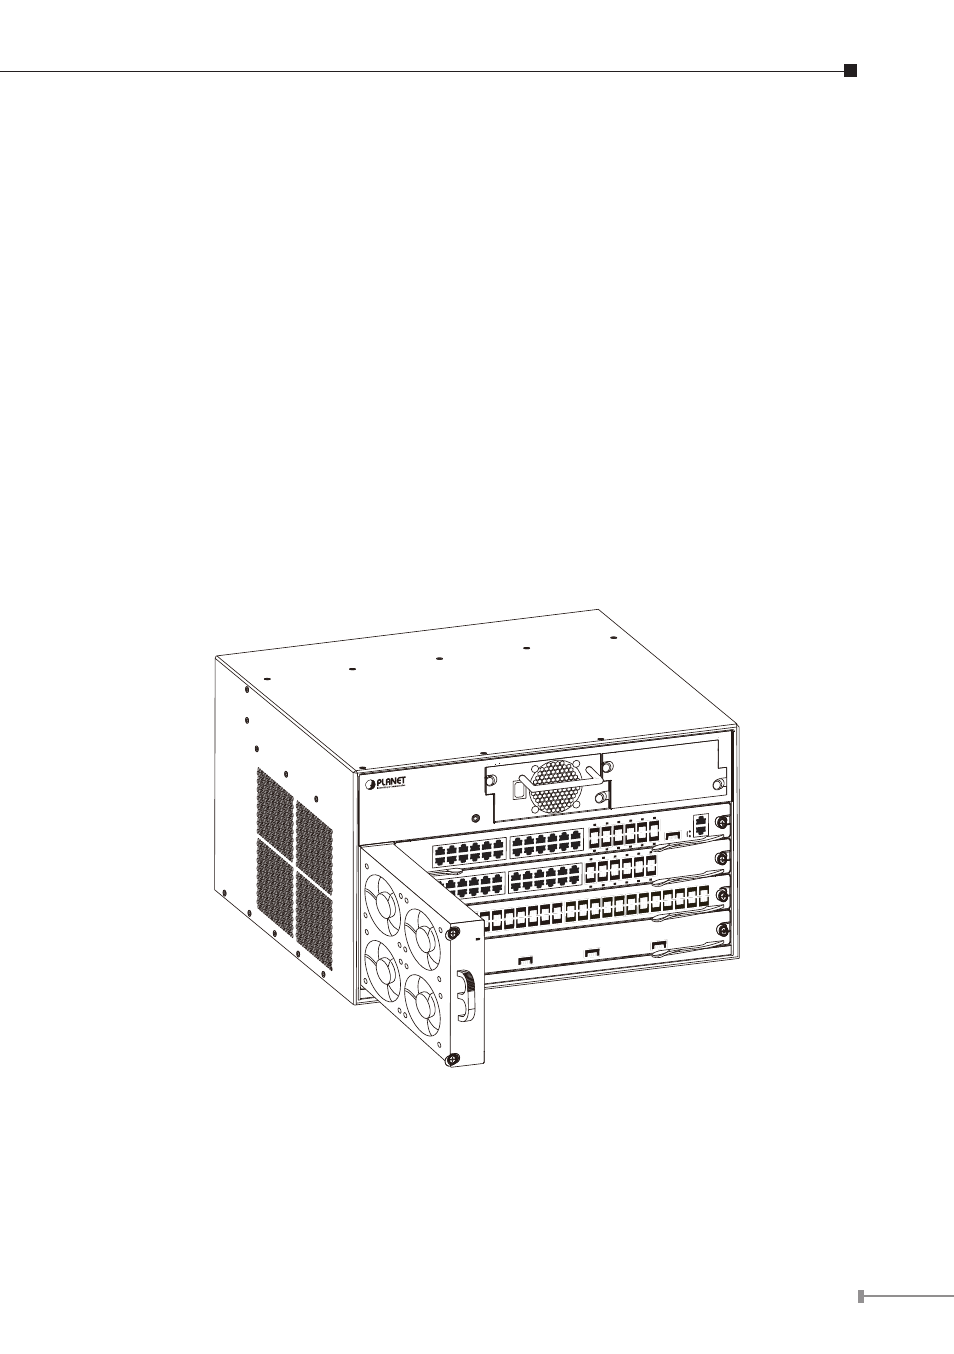
3.6 Removing and Installing the Fan Tray
One fan tray in the left section of the XGS3-42000R and can be serviced from the
front. The installation and removal of the fan tray is relatively simple, please refer
to following procedure for reference.
Install the Fan Tray
Step1 Just hold the fan tray in the correct direction, align with the corresponding
slot and push to secure.
Step2 Tighten the panel fasteners in the font panel.
Remove the Fan Tray
Step1 Loosen the 2 screws in the front panel of the fan tray.
Step2 Hold the handle in the front panel of fan tray with your middle and ring
fingers, press the locker slightly down, and the fan tray can be drawn out
smoothly.
The installation and removal of a fan tray is shown below:
XGS3-42000R
Layer 3 4-Slot Chassis Switch
XGS3-M24G
X
2
PWR RUN
Master FAN
1
4
3
6
5
8
7
10
9
12
11
14
13
16
15
18
17
20
19
22
21
24
23
25
XFP
25
Ethernet
LNK
ACT
Console, 960
0, N, 8, 1
XGS3-S24G
2
PWR RUN
1
4
3
6
5
8
7
10
9
12
11
14
13
16
15
18
17
20
19
22
21
24
23
14
13
16
15
18
17
20
19
22
21
24
23
XGS3-S48GF
2
1
4
3
6
5
8
7
10
9
12
11
14
13
16
15
18
17
20
19
22
21
24
23
26
25
28
27
30
29
32
31
34
33
36
35
38
37
40
39
42
41
44
43
46
45
48
47
PWR RUN
XGS3-S4XG
1
LNK
ACT
2
LNK
ACT
3
LNK
ACT
4
XFP
XFP
XFP
XFP
LNK
ACT
O
I
XGS3-PWR-
AC
ON
OFF
Fault
Output goo
d
2
1
3
4
14
13
16
15
18
17
20
19
22
21
24
23
Figure 3-5 Installation and Removal the Fan Tray