Adjust/set, Setting the picture mode, Selecting an image quality according to the video – JVC DLA-Z1 User Manual
Page 31: Type, P. 31)
Selecting an Image Quality According to the
Video Type
Setting the Picture Mode
You can adjust the image quality according to the type of video image you are viewing.
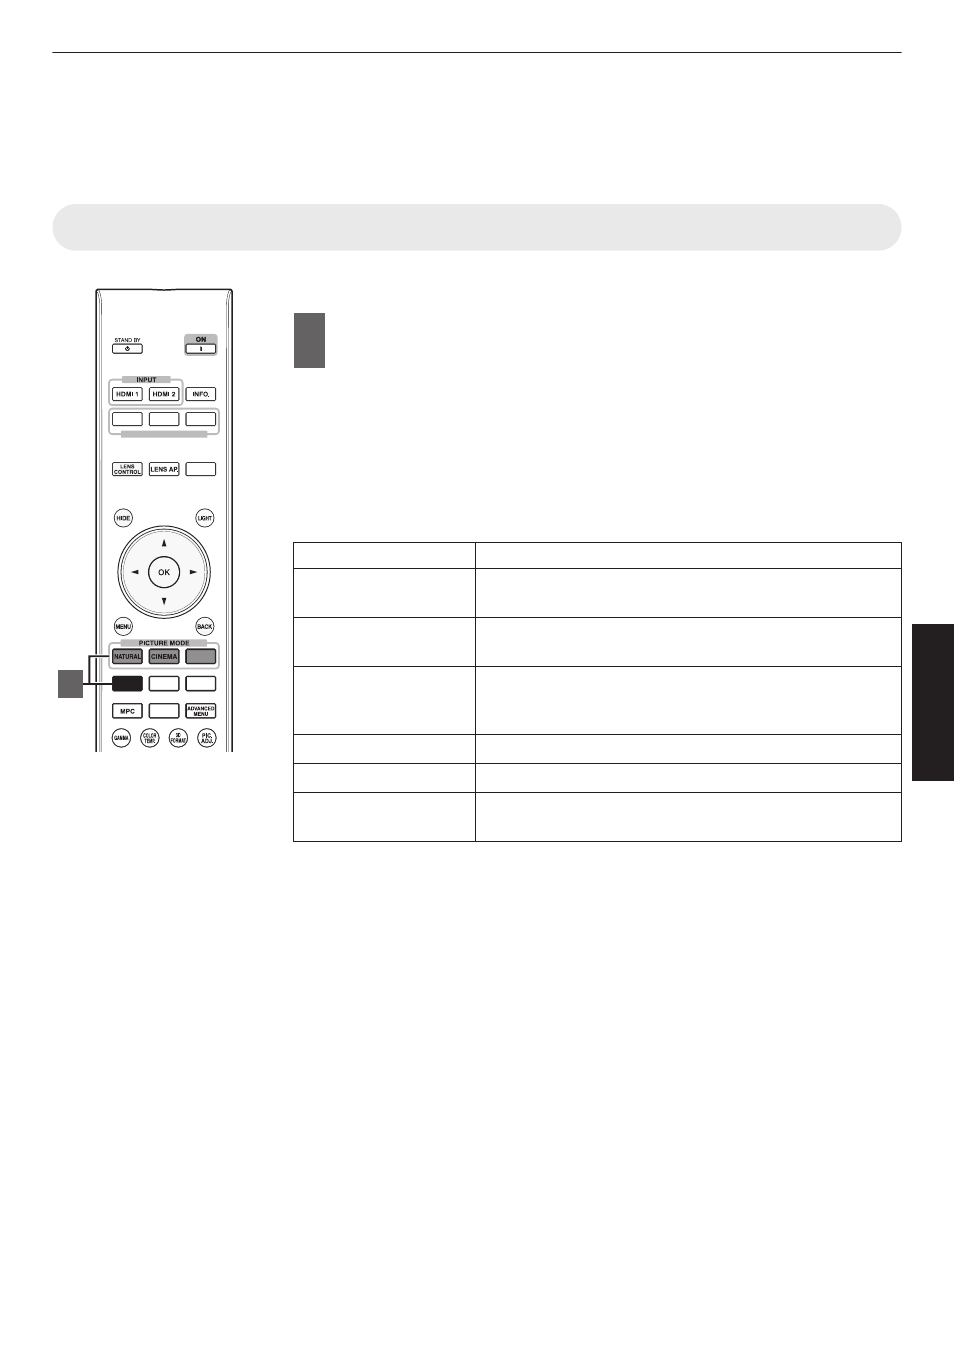
1
Press the [PICTURE MODE] button, and use the [JK] keys
to select and set the desired “Picture Mode”
0
You can also perform the setting by pressing the [MENU] button to display
the menu followed by selecting “Picture Adjust” " “Picture Mode”.
0
You can also press the “Cinema”, “HDR” or “Natural” button to set the Picture
mode directly.
0
You can configure more detailed setting items by pressing the [MENU] button
to display the menu, followed by selecting “Picture Adjust” " “Picture Mode”
and pressing the [OK] button. (P. 44)
Item
Description
Natural
Image quality that focuses on natural color and gradation
reproduction. Suitable for drama footage, etc.
Cinema
Reproduces the image in vivid colors. Suitable for all
movies.
HDR*1
Making full use of the wide color gamut and contrast, this
mode is suited for viewing HDR contents such as Ultra HD
Blu-ray.
Film
Reproduces faithfully the texture of movie films.
THX*2
Image quality certified by THX.
User 1 to User 6
Enables user-defined image quality data to be saved and
retrieved.
*1 If HDR (high dynamic range) signal is detected, the picture mode will
automatically switch to “HDR”.
*2 For “THX”, the optimal settings for 2D and 3D signals are stored separately and
applied automatically according to the selected mode.
0
Edited settings will also be saved separately.
0
No changes will be made to the Picture mode name.
SETTING MEMORY
MODE 1
MODE 2
MODE 3
ANAMO.
HDR
C.M.D.
COLOR
PROFILE
GAMMA
SETTINGS
PICTURE
MODE
1
31
Adjust/Set