Correcting red-eye – Canon PowerShot SX410 IS User Manual
Page 158
Advertising
158
ç
Contents
4
Save as a new image and
review.
●
Follow steps 4 – 5 in “Resizing
Images” (= 152).
●
For some images, correction may be inaccurate or may cause
images to appear grainy.
●
Images may look grainy after repeated editing using this function.
●
If [Auto] does not produce the expected results, try correcting
images using [Low], [Medium], or [High].
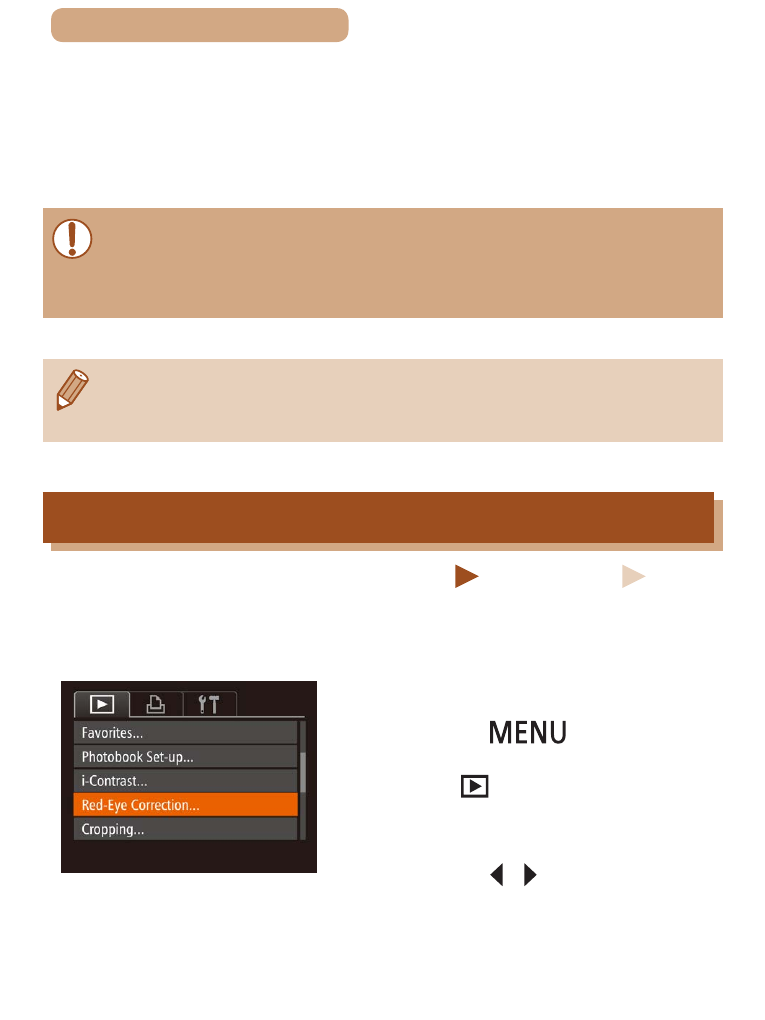
Correcting Red-Eye
Still Images
Movies
Automatically corrects images affected by red-eye. You can save
the corrected image as a separate file.
1
Choose [Red-Eye Correction].
●
Press the [
] button, and
then choose [Red-Eye Correction]
on the [
2
Choose an image.
●
Press the [ ][ ] buttons to
choose an image.
Advertising