Using markers (bookmarks), Setting markers (bookmarks), Moving to a marker (bookmark) playback position – Roland P-20HD Video Instant Replayer User Manual
Page 17: Adding markers automatically, Video operations
17
Video Operations
Using Markers (Bookmarks)
On the P-20HD, you can set up to 64 markers in your recorded video data.
You can move between playback positions at which you set the markers, by using the [
ф
] [
ы
] buttons or by selecting a marker from the marker
menu.
* Markers cannot be manipulated while a clip or playlist is playing back.
Setting Markers (Bookmarks)
You can set a marker at the current recording/playback position for
recorded video data.
1 .
Press the [BOOKMARK] button.
A marker is set at the current position.
At this time, the marker’s reference time changes according to the
status of the [LIVE IN] button.
Press the [LIVE IN] button to switch between lit and unlit status.
[LIVE IN] button
status
Explanation
Lit
A marker is set at the current recording
position (live in time).
Marker
Unlit
A marker is set at the current playing back
position (replay time).
Marker
In either case, a green mark is added to the timeline (indicating
that a marker is set).
* The marker settings are enabled when the [BOOKMARK] button
is lit.
Moving to a Marker (Bookmark) Playback
Position
By pressing the marker jump buttons [
ф
] [
ы
] at a time when the
recorded video data can be played back, you can move the playback
position from the current position to a previous or following marker.
1 .
Press the [
ô
] or [
û
] button.
The playback position moves to the previous or the following
marker.
MEMO
When you press [
ô
] but there is no marker before the
current playback position, the playback position moves to
the beginning of the recorded video data.
When you press [
û
] but there is no marker after the
current playback position, the playback position moves to
the end of the recorded video data.
MEMO
When you select “Project”
Ó
“Marker” from the [MENU] button, all
markers are displayed as a list.
Also, when you select a marker and press the [VALUE] knob, the
playback position moves to the position of the selected marker.
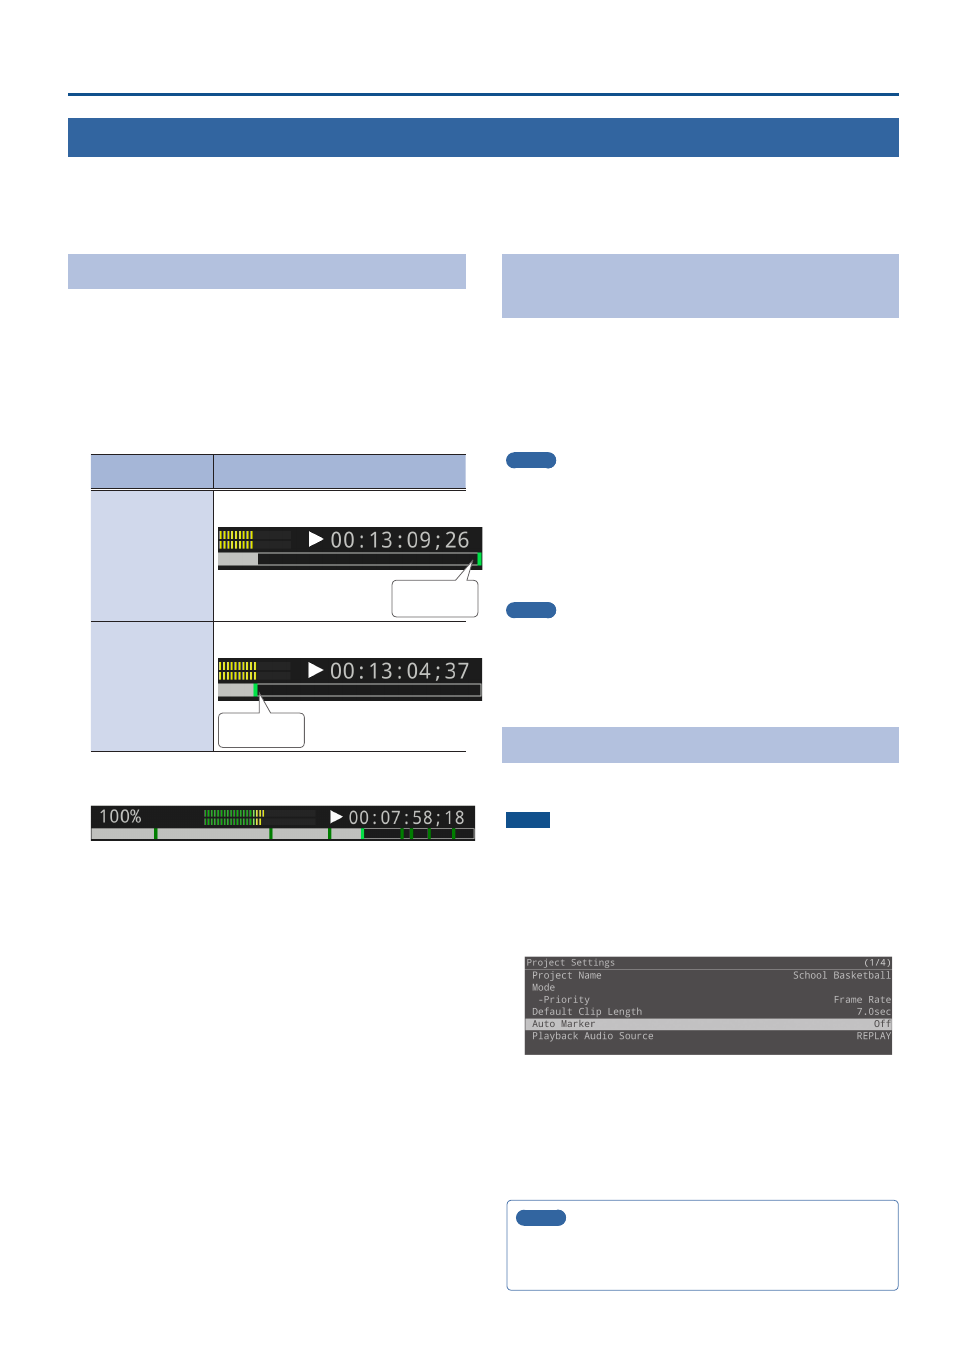
Adding markers automatically
By setting the auto-marker, you can generate markers automatically
at specified intervals during recording.
NOTE
You cannot add more markers than the maximum of 64, including
markers placed manually.
1 .
Press the [MENU] button and select “Project”
Ó
“Project Settings”
Ó
select “Auto Marker,” and press
the [VALUE] knob.
2 .
Set the auto-marker interval, and press the [VALUE]
knob.
For the marker interval, you can specify a time within 1–60
minutes, in units of one minute.
3 .
Press the [MENU] button to close the menu.
MEMO
When you want to record more material to a project that already
contains recorded video data, a marker is automatically added to
the recording start point regardless of the auto-marker settings.