Using clips, Creating a clip, Video operations – Roland P-20HD Video Instant Replayer User Manual
Page 19
19
Video Operations
Using Clips
With the P-20HD, you can specify a certain time range of a recorded video and use it to create a clip. The clips you create can be used as material
for replay.
Once you create clips of highlight scenes from recorded video, you can play back these video clips at whatever timing you like.
Use the following methods to specify the time ranges.
¹
Specify a time range while watching the video, and create the clip
¹
Create the clip based on the current recording/playback
position
Creating a Clip
Specify a time range while watching the video, and
create the clip
You can specify a time range within a recorded video and turn it into
a clip.
By combining this with playback operation of the clip, you can
play back video from the time range you like at the timing you
desire.
1 .
With content having been recorded (now recording,
or recording stopped), press the [
ø
] button to start
playback.
At this time, check that the MARKER [LIVE IN] button is unlit.
Once the MARKER [LIVE IN] button lights, press the button again
to make it go dark.
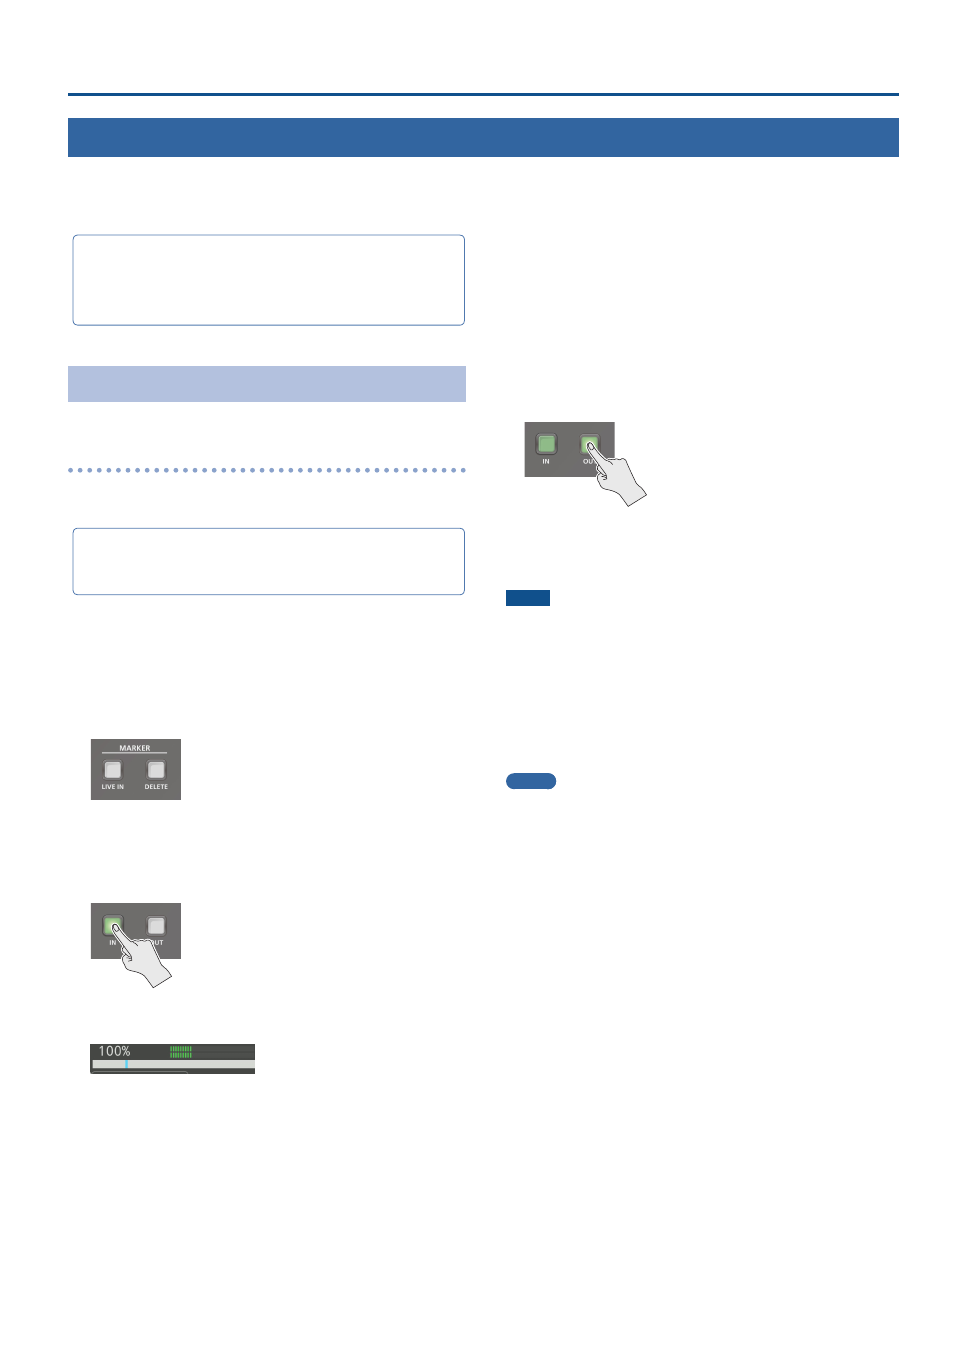
Specify the IN point (the beginning of the time range).
Make sure that the MARKER [IN] button is lit.
2 .
Press the MARKER [IN] button.
A light blue marker is shown on the timeline, and the button goes
dark.
The time at which you press the MARKER [IN] button marks the
start of the time range.
Specify the OUT point (the end of the time range).
The MARKER [OUT] button lights up one second after the video
progresses from the IN point that you set. Make sure that the
MARKER [OUT] button is lit.
3 .
Use the [
ø
] button or the [JOG/SHUTTLE] dial to
move the video forward.
4 .
Press the MARKER [OUT] button at the position
where you want to end the time range.
The button goes dark, and a clip is created.
A light blue marker is erased on the timeline.
The clips you create are registered in the clip list.
NOTE
¹
You can’t make clips shorter than one second. A clip is not made if
you press the [OUT] button within an IN/OUT range that is shorter
than one second. Once the [OUT] button lights up, you can make
a clip.
¹
You can’t set the OUT point earlier than the IN point.
¹
The time that is actually set when you press the [IN] or [OUT]
buttons may be a little off compared to the time you specified,
depending on when you push the buttons.
MEMO
If the MARKER [LIVE IN] button in step 1 is lit, a clip is created
based on the live in time (the current time of recording).
In this case, the IN/OUT points are set to the recording positions at
the times they are pressed. For example, when you press [IN] and
then press [OUT] three seconds later, the three seconds recorded
between IN and OUT are turned into a clip.