Generating a random pattern, Copying a pattern, Deleting a pattern – Roland AIRA TR-6S Rhythm Performer User Manual
Page 12: Clearing a variation, Clearing a track, Copying a variation, Changing the length of a specific track, Setting the track’s last step), Playing patterns
12
Playing Patterns
Changing the Length of a Specific Track
(Setting the Track’s Last Step)
The number of steps used by a track (the track’s Last Step) can be
specified individually for each track.
1
Hold down the
[SHIFT]
button and press the
[STEP
LOOP (LAST)]
button.
The [STEP LOOP] button blinks and then the LAST STEP screen
appears.
2
Use instrument select buttons
[BD]
–
[OH]
to select
the track whose setting you want to edit.
* You can select multiple tracks by holding down a button and pressing
other buttons.
3
Use pads
[1]
–
[16]
to select the last step.
Clearing a track’s Last Step setting
1
While holding down the
[SHIFT]
button, press the
[STEP LOOP (LAST)]
button.
The [STEP LOOP] button blinks and then the LAST STEP screen
appears.
2
Press the instrument select button
[BD]
–
[OH]
of the
track whose setting you want to clear.
The instrument select button that you pressed blinks.
The currently-specified last step is shown by pads [1]–[16].
3
Press the
[CLEAR]
button.
The last step of the selected track is cleared, and pads [1]–[16] go
dark; the last step is set to the overall number of steps specified for
each variation.
MEMO
The track’s Last Step setting is shared by variations A–H. Also, the
track’s Last Step takes priority over the variation’s Last Step.
Generating a Random Pattern
You can automatically generate a random pattern. This modifies the
selected pattern.
1
Hold down the
[PTN SELECT]
button and press the
[SAMPLE]
button.
A random pattern is provisionally generated for the selected
variation.
The [TR-REC] button blinks.
2
When you press the
[TR-REC]
button.
The provisionally generated random pattern changes to the current
pattern.
In this state, the pattern is not yet saved. If you want to save it,
execute the WRITE operation.
&
“Saving the Pattern, Kit, or System Settings (WRITE)” (p. 24)
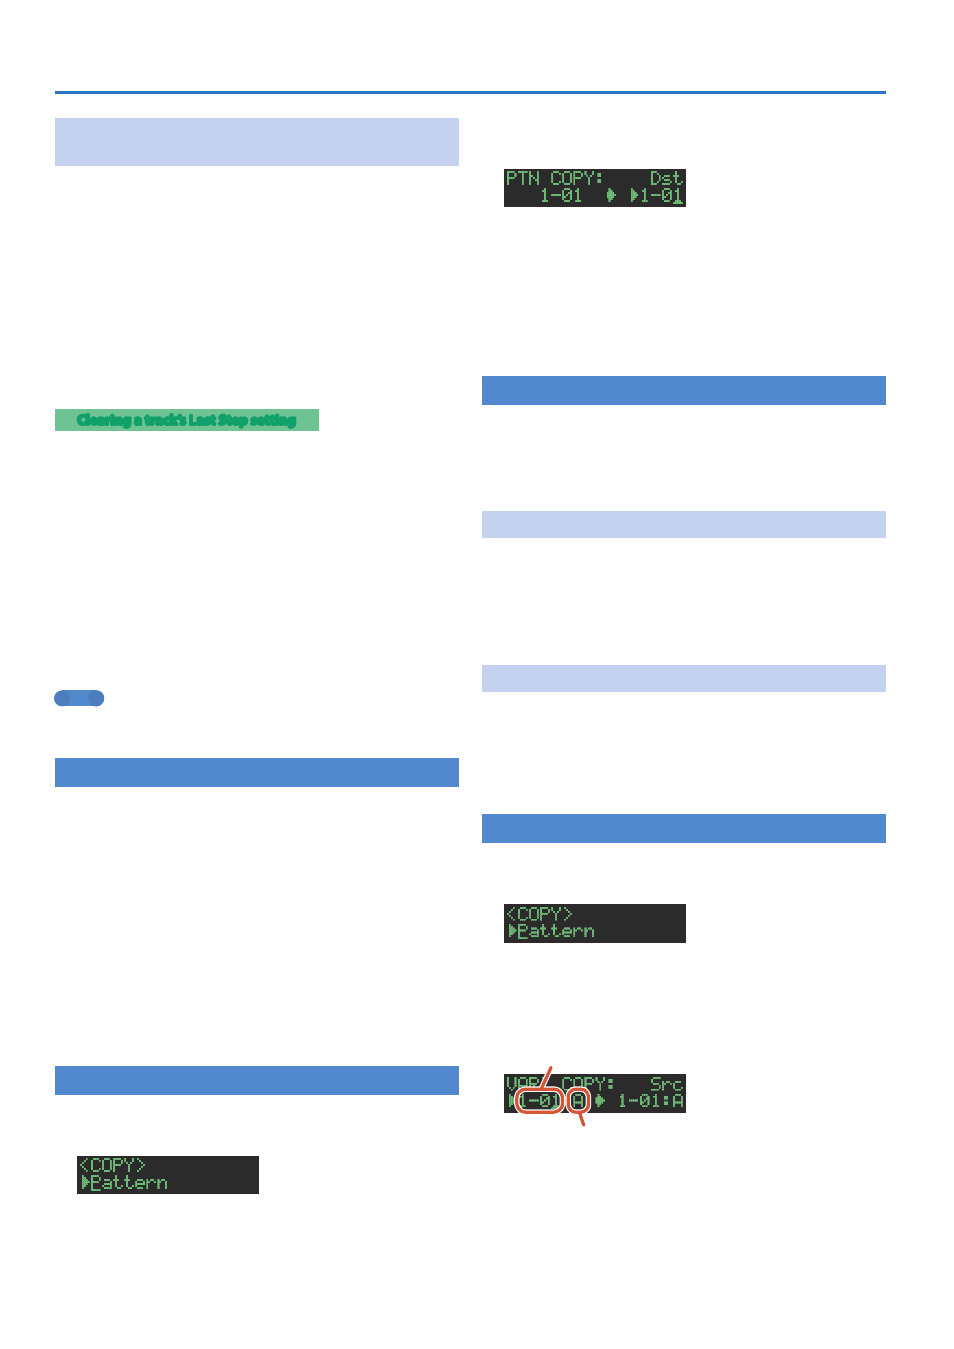
Copying a Pattern
1
Press the
[COPY]
button.
The COPY screen appears.
2
Use the
[VALUE]
knob to select
“Pattern,”
and then
press the
[VALUE]
knob.
3
Use the
[VALUE]
knob to select the copy-source, and
press the
[VALUE]
knob.
4
Use the
[VALUE]
knob to select the copy-
destination, and press the
[VALUE]
knob.
A confirmation message appears.
5
Use the
[VALUE]
knob to select
“OK,”
and press the
[VALUE]
knob.
If you decide to cancel, use the [VALUE] knob to select “Cancel,” and
then press the [VALUE] knob.
Deleting a Pattern
1
Press the
[PTN SELECT]
button.
2
Hold down the
[CLEAR]
button and use the pads
[1]
–
[16]
to specify the pattern that you want to
delete.
Clearing a Variation
1
Press the
[VARIATION]
button.
2
Hold down the
[CLEAR]
button and use the
[A]
–
[H]
buttons to select the variation that you want to
clear.
All steps of the specified variation are cleared.
Clearing a Track
1
Hold down the instrument select button
[BD]
–
[OH]
of the track that you want to clear and press the
[CLEAR]
button.
All steps of the selected track are cleared.
This affects only the selected variation.
Copying a Variation
1
Press the
[COPY]
button.
The COPY screen appears.
2
Use the
[VALUE]
knob to select
“Variation,”
and
then press the
[VALUE]
knob.
3
Use the
[VALUE]
knob to select the copy-source
pattern, and press the
[VALUE]
knob.
Pattern number
Variation
4
Use the
[VALUE]
knob to select the copy-source
variation, and press the
[VALUE]
knob.
5
Use the
[VALUE]
knob to select the copy-destination
pattern, and press the
[VALUE]
knob.
6
Use the
[VALUE]
knob to select the copy-destination
variation, and press the
[VALUE]
knob.