Importing or exporting a pattern or kit, Exporting a pattern or kit, Exporting a pattern – Roland AIRA TR-6S Rhythm Performer User Manual
Page 26: Exporting a kit
26
Importing or Exporting a Pattern or Kit
Exporting a Pattern or Kit
Here’s how you can export a kit or pattern to an SD card.
Exporting a Pattern
1
Insert the SD card into the TR-6S.
2
Press the
[UTILITY]
button to make it light.
The Utility screen appears.
3
Use the
[VALUE]
knob to select
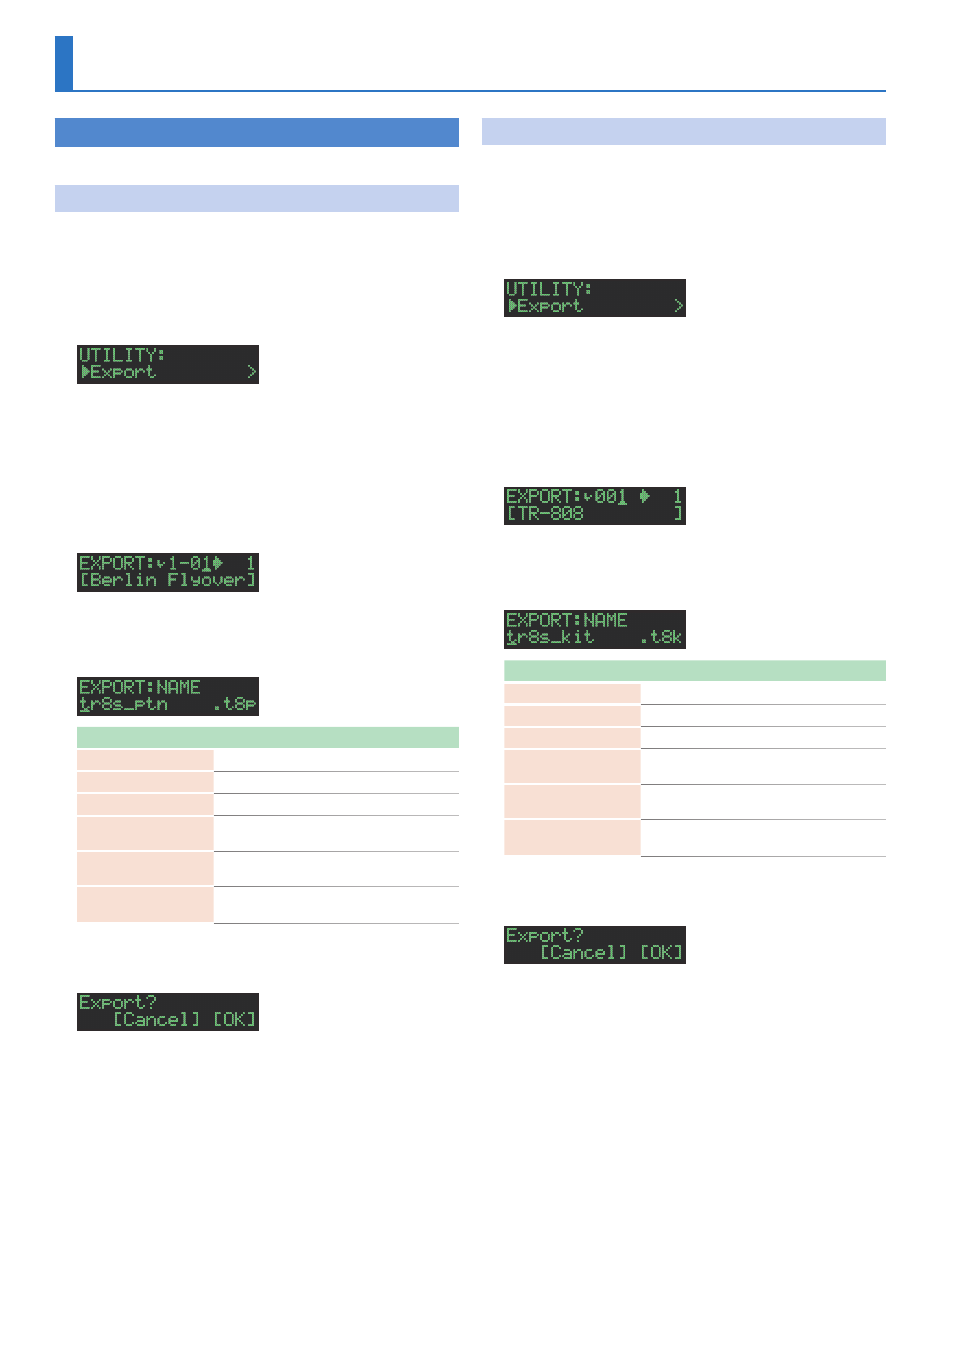
“UTILITY:Export,”
and then press the
[VALUE]
knob.
4
Use the
[VALUE]
knob to select
“Pattern,”
and then
press the
[VALUE]
knob.
5
Use the
[VALUE]
knob to select the pattern that you
want to export, and then press the
[VALUE]
knob.
You may select multiple patterns.
A check mark appears at the left of the pattern number(s) that will
be exported.
6
Hold down the
[SHIFT]
button and press the
[VALUE]
knob, and input a name for the file that will
be exported.
Controller
Explanation
[VALUE] knob
Change the character.
[UTILITY] button
Moves to the right.
[COPY] button
Moves to the left.
[SHIFT] button
+ [COPY] button
Deletes one character
(Erase)
.
[SHIFT] button
+ [UTILITY] button
Inserts one character
(Insert)
.
[SHIFT] button
+ [VALUE] knob
Switches between uppercase/lowercase/
numerals.
7
Press the
[VALUE]
knob.
A confirmation message appears.
8
Use the
[VALUE]
knob to select
“OK,”
and press the
[VALUE]
knob.
If you decide to cancel, use the [VALUE] knob to select “Cancel,” and
then press the [VALUE] knob.
When export is completed, the display indicates “Completed!,” and
you exit the UTILITY screen.
Exporting a Kit
1
Insert the SD card into the TR-6S.
2
Press the
[UTILITY]
button to make it light.
The Utility screen appears.
3
Use the
[VALUE]
knob to select
“UTILITY:Export,”
and then press the
[VALUE]
knob.
4
Use the
[VALUE]
knob to select
“Kit,”
and then press
the
[VALUE]
knob.
5
Use the
[VALUE]
knob to select the kit that you want
to export, and then press the
[VALUE]
knob.
You may select multiple kits.
A check mark appears at the left of the kit number(s) that will be
exported.
6
Hold down the
[SHIFT]
button and press the
[VALUE]
knob, and input a name for the file that will
be exported.
Controller
Explanation
[VALUE] knob
Change the character.
[UTILITY] button
Moves to the right.
[COPY] button
Moves to the left.
[SHIFT] button
+ [COPY] button
Deletes one character
(Erase)
.
[SHIFT] button
+ [UTILITY] button
Inserts one character
(Insert)
.
[SHIFT] button
+ [VALUE] knob
Switches between uppercase/lowercase/
numerals.
7
Press the
[VALUE]
knob.
A confirmation message appears.
8
Use the
[VALUE]
knob to select
“OK,”
and press the
[VALUE]
knob.
If you decide to cancel, use the [VALUE] knob to select “Cancel,” and
then press the [VALUE] knob.
When export is completed, the display indicates “Completed!,” and
you exit the UTILITY screen.