Front panel, Bottom panel, Installing the batteries – Roland AIRA TR-6S Rhythm Performer User Manual
Page 5: Battery replacement indicator, Panel descriptions
5
Panel Descriptions
3
Instrument select
[BD]
[SD]
[LT]
[HC]
[CH]
[OH]
buttons
During TR-REC, these buttons select the instrument that is
recorded.
In the INST screen or INST Edit screen, these buttons select the
instrument whose settings you want to edit.
4
Common section 2
Display
Shows pattern names and various settings.
[VALUE]
knob
Modify values.
Press the knob to confirm a value or execute an operation.
The knob blinks in time with the specified tempo.
[KIT]
button
Selects a kit.
[INST]
button
Selects a sound (instrument’s tone) for the
instrument.
[SAMPLE]
button
Selects a sample as the sound (instrument’s tone)
for the instrument.
[COPY]
button
Copies a pattern/kit.
[UTILITY]
button
Lets you edit or initialize various settings.
[EXIT]
button
Returns you to the previous screen.
In some screens, this cancels the operation currently being
executed.
When you hold down the [SHIFT] button and press the [EXIT]
button, the WRITE screen appears.
[FILL IN TRIG]
button
Press this button to insert a fill-in.
[SHUFFLE]
button
Adjusts the amount of shuffle (bounce).
[TEMPO]
button
Specifies the tempo.
5
Pad
[1]
–
[16]
Mode
Explanation
TR-REC
For each step, specify whether the instrument’s
tone will sound.
PTN SELECT
Select a pattern.
Hold down the [PTN SELECT] button and use
pads [1]–[8] to select a bank.
Release the [PTN SELECT] button and use pads
[1]–[16] to select a number.
INST PLAY
5
Pads [1]–[6](INST) play instrument’s tones.
5
If you hold down either the [7] or [8] (ROLL)
pad (or both) and press a [1]–[6] pad, the
instrument’s tone plays a roll. There are three
types of roll ([7] 16th note, [8] 32nd note, [7] +
[8] 64th note).
Mode
Explanation
INST REC
During realtime recording, the pads record the
corresponding instrument’s tone.
STEP LOOP
Selects the step that is loop-played.
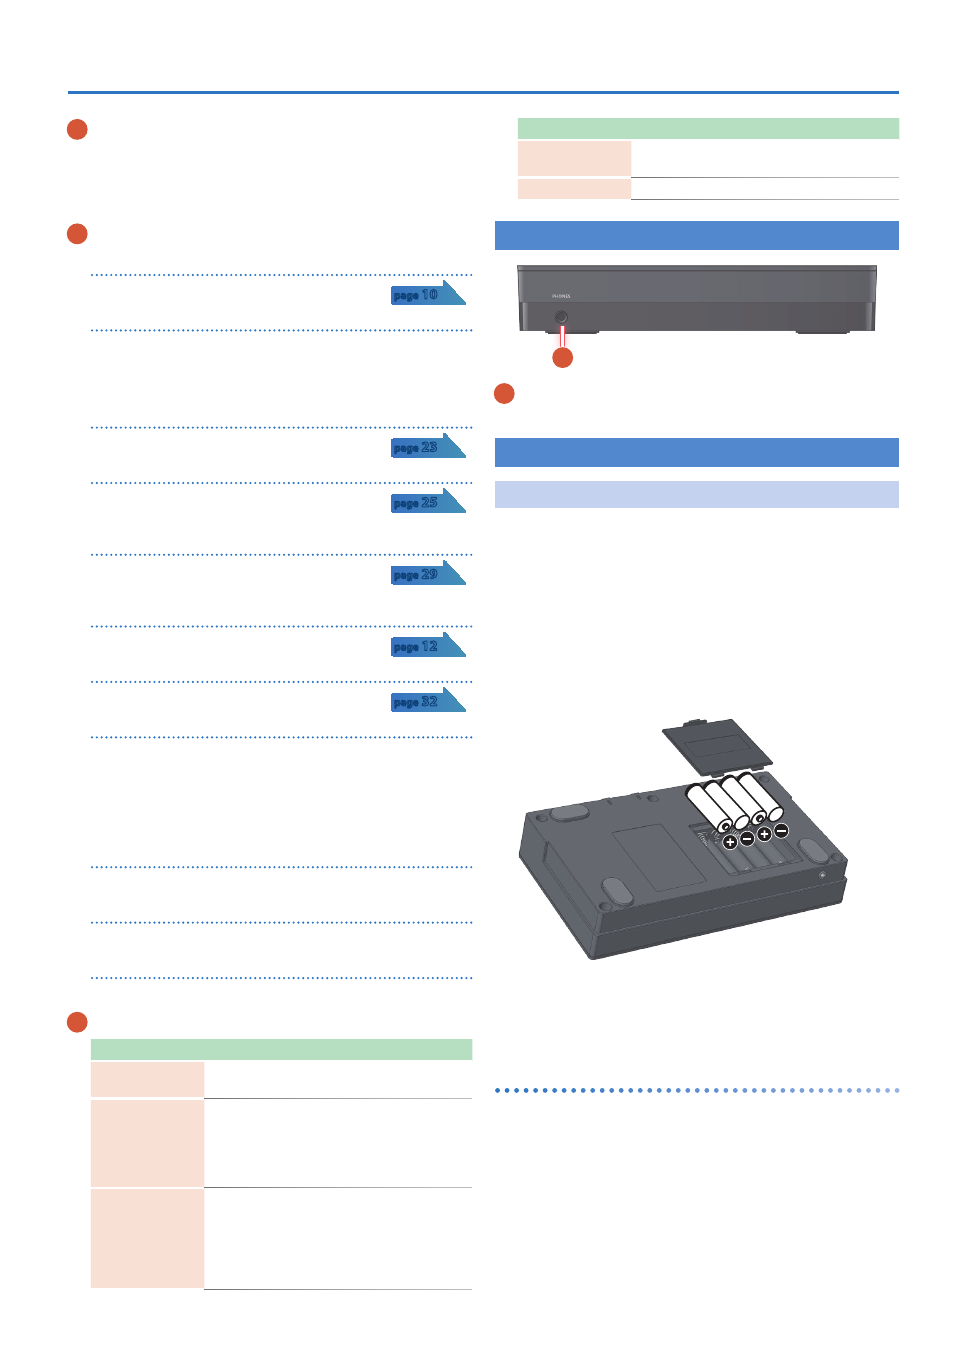
Front Panel
A
A
PHONES jack
You can connect a set of headphones here.
Bottom Panel
Installing the Batteries
As an alternative to USB bus power, you can use commercially
available AA nickel-metal hydride batteries or alkaline batteries to
power the unit.
* If USB bus power is being supplied, the unit uses USB bus power even if
batteries are installed.
1
Remove the battery cover.
* When turning the unit over, be careful so as to protect the buttons and
knobs from damage. Also, handle the unit carefully; do not drop it.
2
Taking care to observe the correct orientation of the
batteries, insert the batteries into the battery case.
3
Close the battery cover.
* If you handle batteries improperly, you risk explosion and fluid leakage.
Make sure that you carefully observe all of the items related to batteries
that are listed in “USING THE UNIT SAFELY” and “IMPORTANT NOTES”
(leaflet “Read Me First”).
Battery replacement indicator
When the batteries run low, an indication appears in the screen.
When this occurs, install new batteries.