Understanding advanced features, Synchronize – Panasonic AU-EVA1 Compact 5.7K Super 35mm Cinema Camera User Manual
Page 63
63
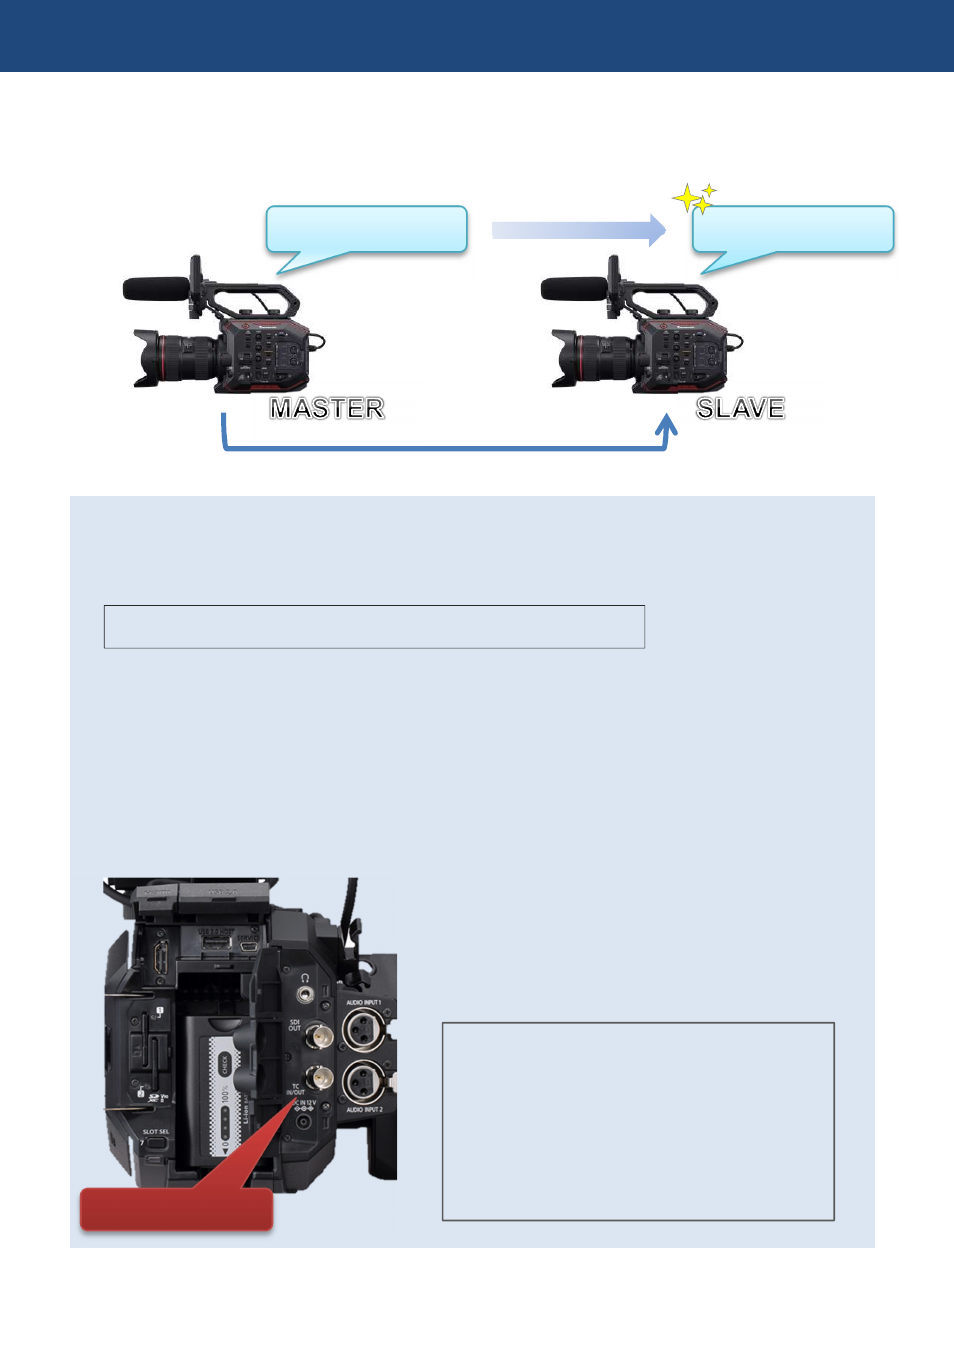
4-7. Synchronize timecode
The AU-EVA1 has a timecode IN/OUT terminal (common use for IN and OUT). The following
describes workflow know-how when using timecode synchronization feature with two AU-EVA1.
Preparation
1. Connect TC IN/OUT terminals on both master and slave units with a BNC cable.
2. Make sure that the settings of the following menu item is the same for both units.
SYSTEM SETTINGS > SYSTEM MODE > FREQUENCY
Setting for master unit
4. Set MENU > REC SETTINGS > TC > TC IN/OUT SEL item to “TC OUT”.
5. Set MENU > REC SETTINGS > TC > DF/NDF item to “DF” or “NDF (*1)”.
*1 Selectable when FREQUENCY setting is 23.98p, 24.00p, 25.00p, 50.00p, or 50.00i.
Setting for slave unit
1. Set MENU > REC SETTINGS > TC > FREE/REC RUN item to “FREE RUN”.
2. Set MENU > REC SETTINGS > TC > TC IN/OUT SEL item to “TC IN”.
4. Understanding advanced features
Synchronize
TCG 01:20:00:20
TCG 01:20:00:20
TC IN/OUT terminal
NOTE:
Since the AU-EVA1 does not have genlock
feature, timecode values may differ for 1
frame from the value supplied.
The AU-EVA1 locks timecode value while
the unit is in REC stand-by mode. Does not
lock while in recording mode.