Setting ipv4 addresses, Setting ipv4 addresses(p. 59) – Canon imageCLASS LBP674Cdw Wireless Color Laser Printer User Manual
Page 67
Setting IPv4 Addresses
95W3-01C
The machine's IPv4 address can either be assigned automatically using DHCP or entered manually.
By default, the IPv4 address is set automatically when connected to a wired or wireless LAN, but you can set it or
change it manually according to your usage environment and purpose.
This section describes how to configure the settings using the operation panel.
You can also set the IPv4 address using Remote UI from a computer after it has been set on the machine. Managing
the Machine from a Computer (Remote UI)(P. 272)
Administrator privileges are required. The machine must be restarted to apply the settings.
1
On the operation panel, press [Menu] in the [Home] screen. [Home] Screen(P. 95)
2
Press [Preferences] [Network] [TCP/IP Settings] [IPv4 Settings] [IP Address
Settings].
If the login screen appears, enter the System Manager ID and PIN, and then press [Log In]. System
3
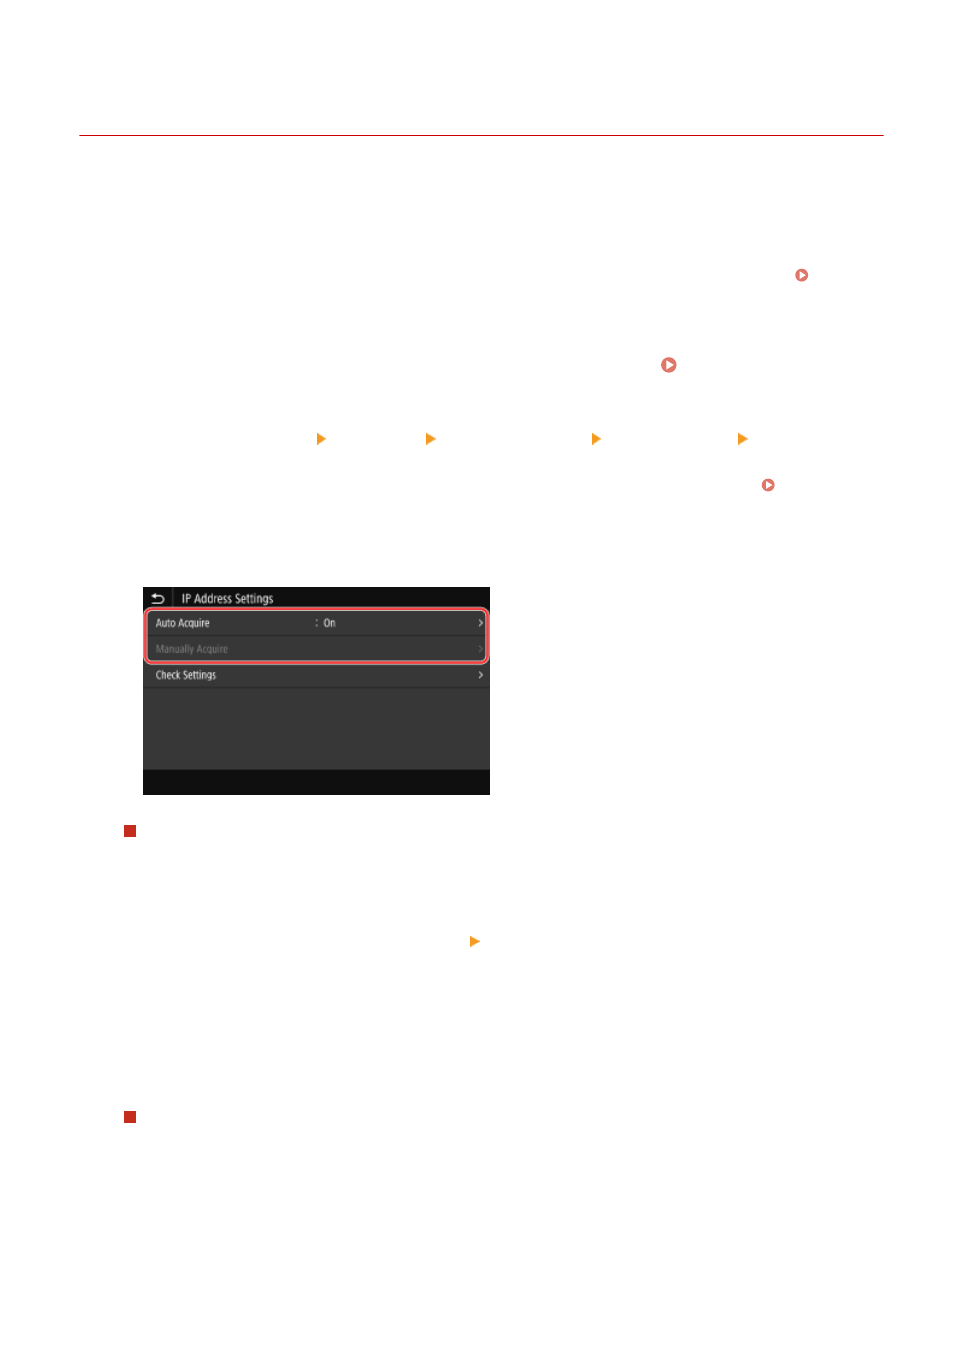
Set the IP address.
When Manually Setting the IP Address
1
Press [Auto Acquire].
➠
The [IP Address Settings (Auto Acquire)] screen is displayed.
2
Set [Auto Acquire] to [Off], and press [Apply] [OK].
➠
The [IP Address Settings] screen is displayed.
3
Press [Manually Acquire].
➠
The IP address input screen is displayed.
4
Enter the IP address, subnet mask, and gateway address, and press [Apply].
When Assigning an IP Address Automatically
1
Press [Auto Acquire].
➠
The [IP Address Settings (Auto Acquire)] screen is displayed.
2
Set [Auto Acquire] to [On].
3
Configure the Auto Acquire setting, as needed.
Setting Up
59