Retrieving stored data – Casella CEL CEL-593 User Manual
Page 12
To retrieve stored data, it is not necessary
to have the preamplifier, microphone and
interface installed.
However, when data is to be
downloaded, the relevant interface must
be attached (see Chapter 3).
8.
Retrieving Stored Data
Previous Record
(Same Screen)
Next Record
(Same Screen)
Next/Previous
Run
Previous
Screen
(Same
Record)
Next
Screen
(Same
Record)
Recall - Screen Options
980010e
Change
Frequency
Backlight
"Series 3 & 2"
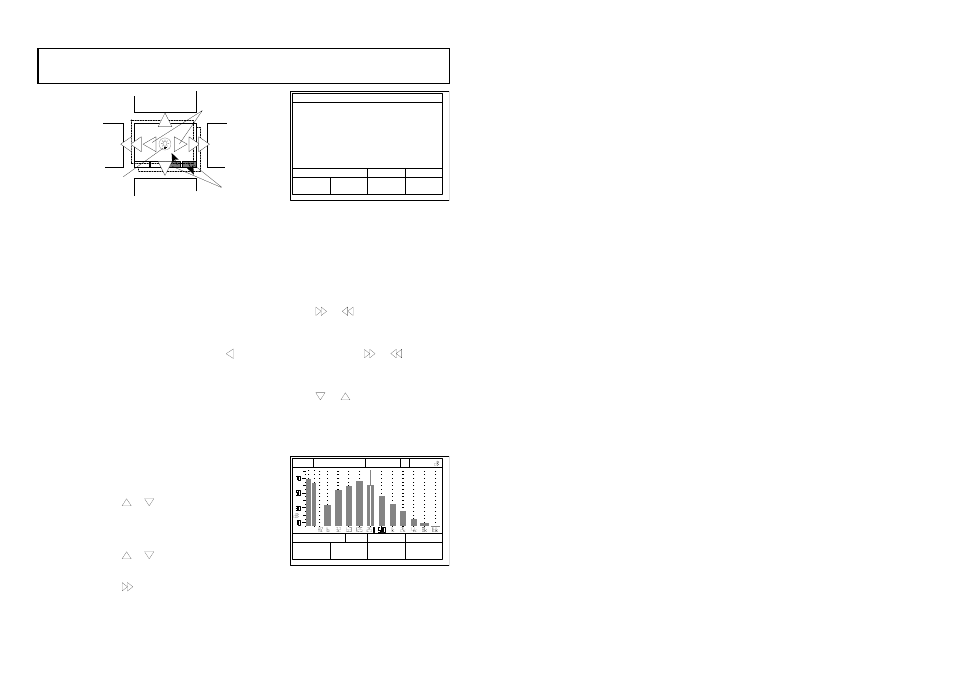
HEADER
RECALL
F, S L, A Q3
START
END
LENGTH
TIMED RECS
16-APR-98
1Ø:13:23
16-APR-98
1Ø:44:38
Ø DAYS
Ø:31:16
4
PREV
NEXT
RUN
RUN
MIC=FF
2ØØV=ON TYPE=1
LAST CAL 16-APR-98
GS-14
SLM
-
/
-
250Hz
56.4
A
L
SPLF
RECALL
GS-15
L
SLM
1
/
1
F
1
11:16:31
PREV
NEXT
RUN
RUN
1. Switch the instrument ON.
2. Wait for the self test screens to clear
and the relevant Configuration screen
to be displayed.
3. When the cursor is on the Measure
(right side) Application Box, use
to
move it to the Recall (left side)
Application Box.
4. When the required data was stored
using a different Application from that
currently loaded, change the Appli-
cation as described in Chapters 5 or 7.
5. When the required data was stored
using the current Application, press
the USE MODE key to obtain the
Status screen for the (last used) mode
and bandwidth for this Application.
Version 7 and later firmware will
highlight the recall field.
6. Press
or
keys sufficient times to
display the required recall mode and
bandwidth in the cursor field.
7. Use the RECALL option to display the
Directory screen for the bandwidth.
8. Press
or
to move the cursor to the
required entry, identified by date and
time.
9. Press
to display the Header screen
for the identified run showing a
summary of data stored.
10. Press PRINT to obtain a printout of the
Header screen on a Centronics printer
connected via a CEL-501 and C6623/2
Cable.
Note: The PRINT option becomes available
only when the CEL-501 was fitted
before the instrument was switched
ON and the printer is on-line.
11. Press
(or
) to display the first (or
last) data screen from the identified
run, and press PRINT to obtain a
printout of the screen.
12. Continue to press
(or
) to display
the remaining data screens from the
run, pressing PRINT to obtain printouts
of the screens if required.
13. Press
(or
) to display the
equivalent screens from the next (or
previous) timed record in the same
run, pressing PRINT to obtain printouts
of the screens when required.
14. When all data from this run has been
displayed and printed, use the PREV
RUN or NEXT RUN options to obtain
the header for the previous or next run
Page 70 - Getting Started - CEL-553/573/593