Baby Lock Evolve (Previous Model) (BLE8W) Instruction and Reference Guide User Manual
Page 13
O
V
E
R
V
I
E
W
11
Thread Cutter
Presser Foot Pressure Adjustment
Snap-On Presser Foot
There is a thread cutter located on the left side of your evolve.
At the end of a seam, sew off the fabric edge and continue sewing to create
a 5-6 inch (12.5-15cm) thread chain.
Bring the chain of thread up and from the back to front through the thread
cutter.
The presser foot pressure has been preset at the factory and rarely needs
adjustment. You may find it necessary, however, to decrease the pressure
for thick fabrics or increase pressure for thin fabrics to feed more smoothly
under the foot. Use a coin to turn the screw on top of the machine.
To increase pressure, turn the pressure adjusting screw clockwise.
To decrease pressure, turn the screw counterclockwise.
The evolve has the convenience of a snap-on presser foot.
To Release:
1. Raise the presser foot lever.
2. Lock the cutting blade down.
3. Raise the needles to the highest position.
4. Push the presser foot release lever located at the back of the presser foot
holder.
5. Carefully turn the presser foot clockwise 90 degrees.
6. Slide the presser foot to the rear to remove.
To Replace:
1. Raise the presser foot lever.
2. Lock the cutting blade down.
3. Raise the needles to the highest position.
4. Slide the foot from the left to right.
5. Align the bar of the foot with the groove in the holder.
6. Lower the presser foot lever to snap into place.
The presser foot that comes with the evolve has a tape sewing slot. Insert the tape or ribbon, into the slot in
the front of the foot, then under the sole of the foot. (see page 70 for more instruction)
The raised markings on the toe of the foot are seam line guides. They indicate the needle positions to help
guide your fabric for accurate seaming.
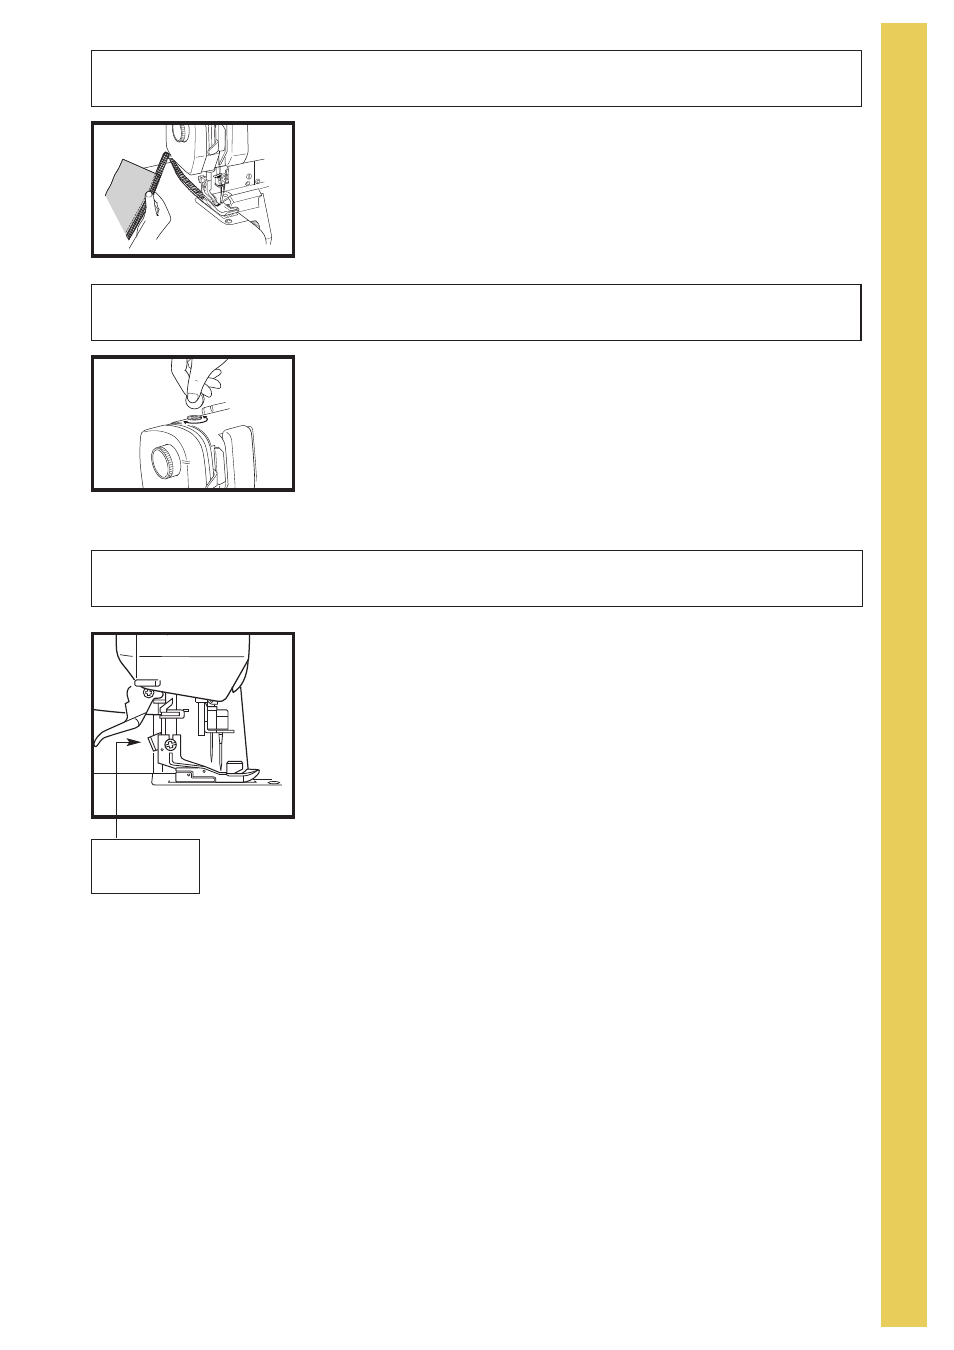
Presser Foot
Release Lever