Thread overedging overlock seam – Baby Lock Evolve (Previous Model) (BLE8W) Instruction and Reference Guide User Manual
Page 29
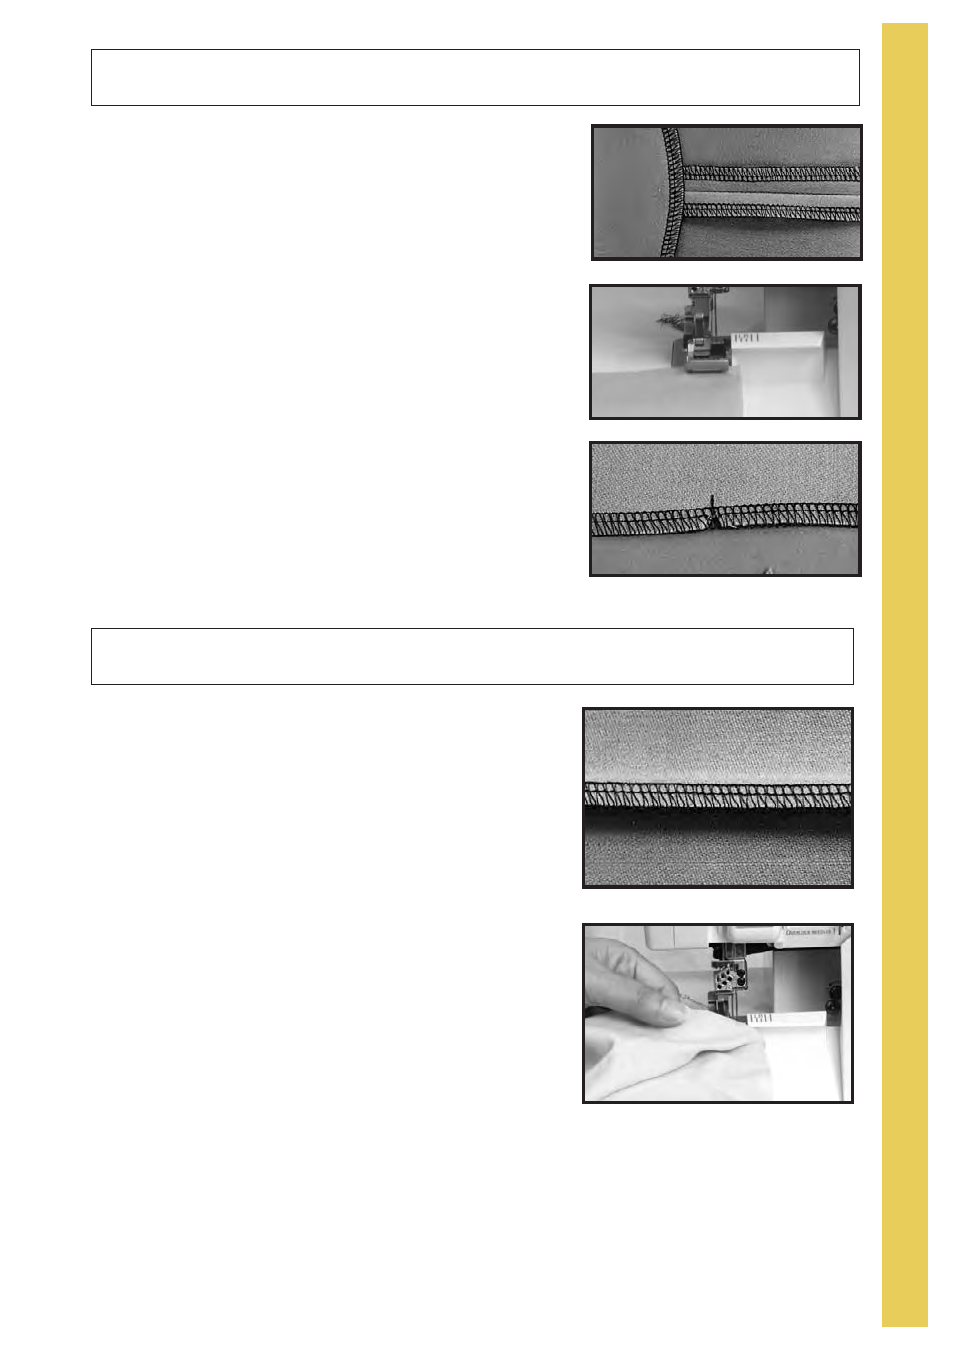
Overedging to finish facings, hems and seams before construc-
tion, is one of the most basic uses of a serger, such as making a
garment or project with 5/8 inch (16mm) pressed open seams
(fig. A).
To overedge, place the single layer of fabric in front of the press-
er foot, aligning the cut edge with upper cutting blade. Begin
sewing, continuing to guide the fabric along the blade. The edge
of the fabric should be trimmed, but not cut away. Then sew the
seams on your conventional sewing machine and press them
open as usual (fig. B).
Because notches would be cut away in this process, mark them
before sewing with "V" snips just inside the seam allowance or with
a water-soluble fabric marker (fig. C).
Note: A 2-thread overlock or 3-thread overlock can also be used
with this technique.
O
V
E
R
L
O
C
K
S
T
I
T
C
H
E
S
E
X
P
R
E
S
S
27
4-Thread Overedging
Overlock Seam
A
B
C
A
B
For garments or projects that do not require conventional
pressed-open seams, you can stitch and finish the seam in one
operation and then press the seams to one side (fig. A). A 4 or
3-thread seam is strong, yet it provides "give" or flexibility accord-
ing to the needs of the fabric.
Place two layers of fabric right sides together. Use the marks on
your serger's front cover to align the fabric for the desired seam
width. Keep your eye on the fabric edge to guide it to the appro-
priate mark (fig. B).
Do not watch the needle. If you guide the fabric accurately, the
needle will seam in the correct place automatically.
Note: For most seaming, pins are unnecessary because the
serger feeds the fabric evenly. If you need pins, place the pins
parallel to the seam line outside the seam allowance to avoid
damaging the blades.