16 .................setup, Setup – BUG-O Systems AGS-4000 User Manual
Page 12
12
1) POSITIONING THE RAIL (ARR, AFR)
Attach the rail parallel to the joint to be gouged. Position the rail using magnet plate or vacuum
cups. Wipe the track grooves free of dirt and debris. This will prevent binding and premature rail
and wheel wear. Lubricate the rack using a dry spray, if desired, for extended track life.
2) INSTALL CARRIAGE ON RAIL
2a) MPD-1065 CARRIAGE
Turn the wheel engagement knob
(A) on the side of the carriage fully counter clockwise
to disengage the wheels. Then rotate the Master Drive Unit clutch knob
(B) fully counter
clockwise to disengage the drive pinion. The carriage can now be placed anywhere on the
track. Turn the wheel engagement knob
(A) clockwise to engage the wheels firmly in the
V-grooves. Verify all four wheels are in the grooves. Manually move the carriage along the
track to verify the motion is smooth and the wheel alignment is correct. Rotate the Master
Drive Unit clutch knob
(B) fully clockwise while gently rocking the machine forward and
backward to engage the drive pinion. The rocking motion is necessary to help insure proper
gear mesh.
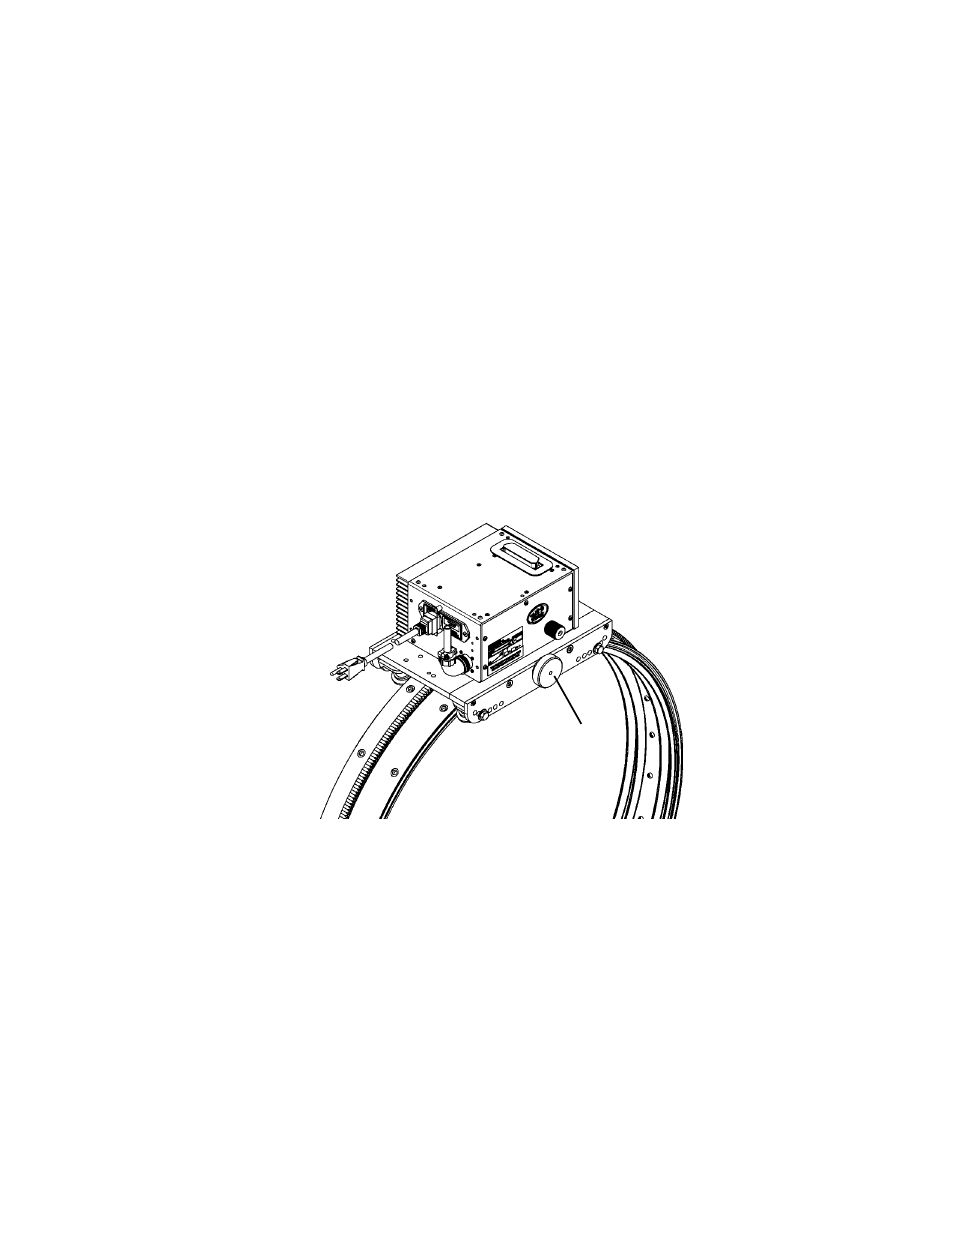
2b) POSITIONING BUG-5910* TUBE CARRIAGE ONTO ARR, AFR OR BRR RAIL
SETUP
A
BUG-5910 TUBE CARRIAGE
The Tube Carriage features a split carriage body for quick and easy placement on the rail. It
has a carrying capacity of 100 lbs (45 kg). The carriage also offers four (4) wheel positions
for circumferential applications over a wide range of diameters and flat applications. It is used
with BUG-O Aluminum Rigid Rail, Extra Heavy Duty Aluminum Rigid Rail, Semi-Flex Rail and
Bent Rigid Rail.
* BUG-5910 is the only carriage that will mount to BRR rail. It will also mount to ARR and
AFR rails with some adjustments.