MacroSystem Caladan User Manual
Page 13
12
13
4.2.5 Group
Clicking on the “Group” button opens a new
toolbar.
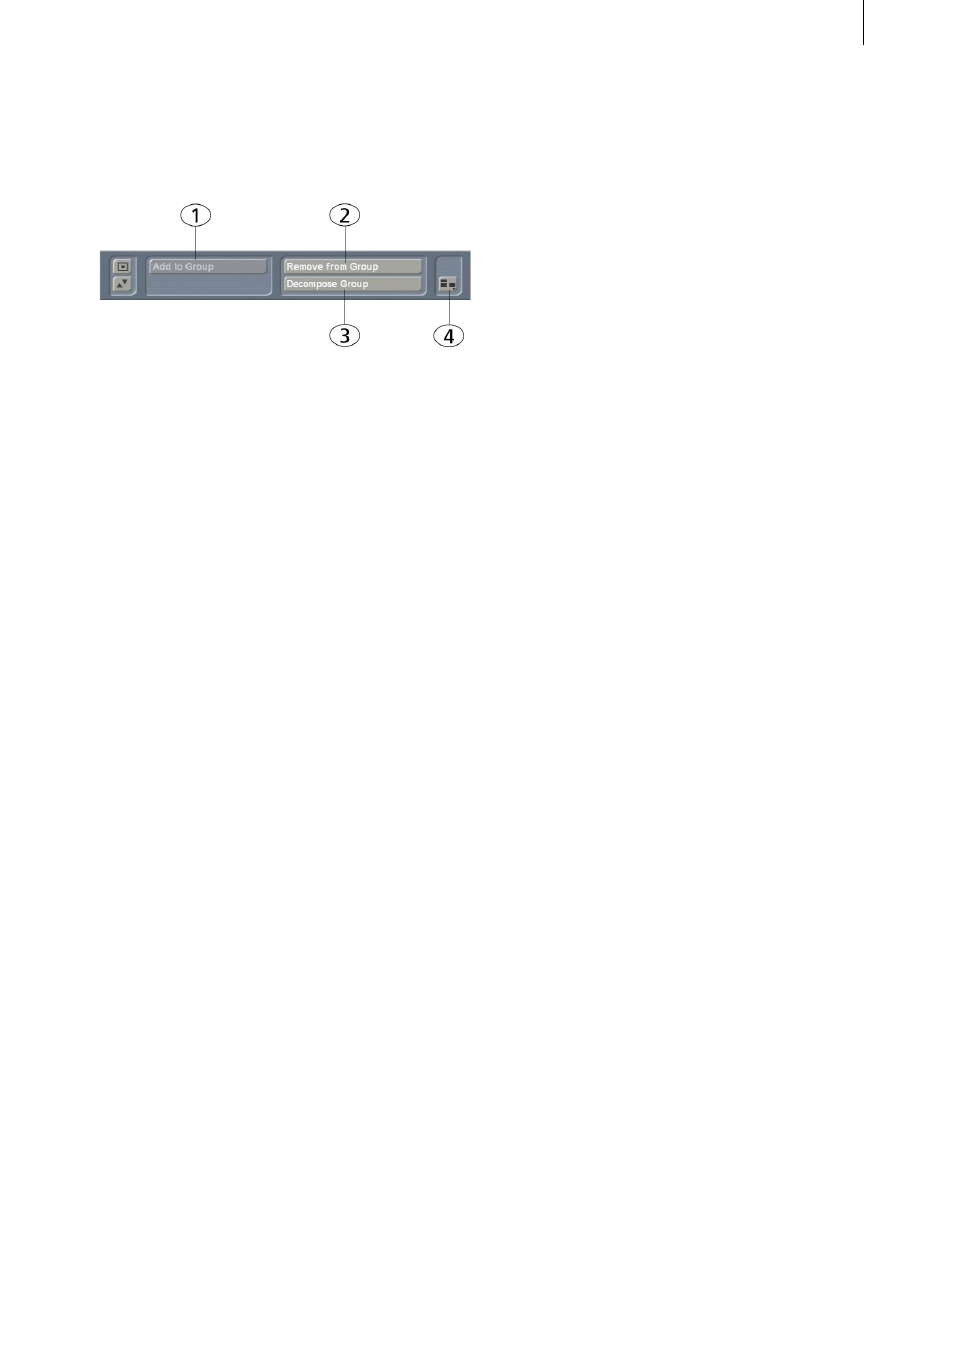
(1) First of all you see the “Add to Group”
button. Activate a box in order to activate this
button and then click on the button. This will
cause the box you just activated to appear with
a green border. Next, activate another box and
click on “Add To Group” again. You have now
created a group comprising the two marked
boxes – the green border now encloses both
boxes. To add more boxes to this group, activate
them and then click on “Add to Group”. The
grouped boxes are only ever edited as a single
unit, e.g. if you were to click on “Delete Box”
(in the “Boxes” menu), all the grouped boxes
would be deleted together (after a warning
message has been displayed).
You can confirm the grouping by closing this
toolbar, which you do by clicking on the button
in the right corner. If you want to undo the
grouping, click on the “Group” function in
the main menu again. You will notice that the
“Add to Group” button on the subsequently
appearing toolbar is now inactive. If you now
click on one of the boxes in the group, the
“Remove from Group” and “Decompose
Group” buttons become active.
The “Group” function is useful if, for instance,
you have already designed the front of a DVD
cover and then suddenly notice that you have
inadvertently placed the boxes on the back of
the cover. Simply create a group comprising all
the relevant boxes and then move or copy the
group.
Note: Only group your boxes once you have
finished making all your changes to their
settings (content, border, shadow).
After all, these functions can only have an effect
on individual boxes and not on groups of boxes.
Please also make sure that you do not create a
group comprising a single box! If you were to
do so, it would be easy for you to overlook the
fact that the box is actually a group and then you
might begin to wonder why you can no longer
edit the box’s properties.
(2) If you click on the “Remove from Group”
button, the currently active box will be removed
from the group.
(3) You can break up the entire group by
clicking on “Decompose Group”. The individual
boxes, however, will of course be retained.
(4) This button takes you back to the main menu.
4.3 Miscellaneous
Various functions are combined in this section
and are explained below.
4.3.1 Print
You must first place suitable paper in the printer,
such as label paper for a CD cover. Next, print
the label that you have designed (cover, sticker,
etc.) by clicking on the “Print” button.
If you want to print out several labels on one
sheet of paper (Mini-DV cover, Mini-DV labels,
D8 cover, D8 label), a control first appears which
you can use to set the number of labels that you
want. The labels on the sheet are continuously
numbered starting from number 1 in the top left.
Once you have switched on the printer and
clicked on “Ok”, the printing process starts and
a progress bar appears.
If the print job cannot be started, an appropriate
notification will appear advising you to check all
the cable connections, paper and ink.
Note: While you are familiarizing yourself with
the software, we recommend you use normal
paper to make your test printouts so as not to
waste labels should errors occur.