MacroSystem Caladan User Manual
Page 16
16
17
cassette and then confirm with “Ok”. In a
moment, the box you have drawn will be filled
with the image that you just selected. In our
example, we have chosen a scene that we edited
previously using the “SplitX Image Collection”
(Border 01).
Tip: If the image appears distorted, open the
main Caladan menu, click on the “Settings”
button and activate the “Keep Image Aspect
Ratio” function.
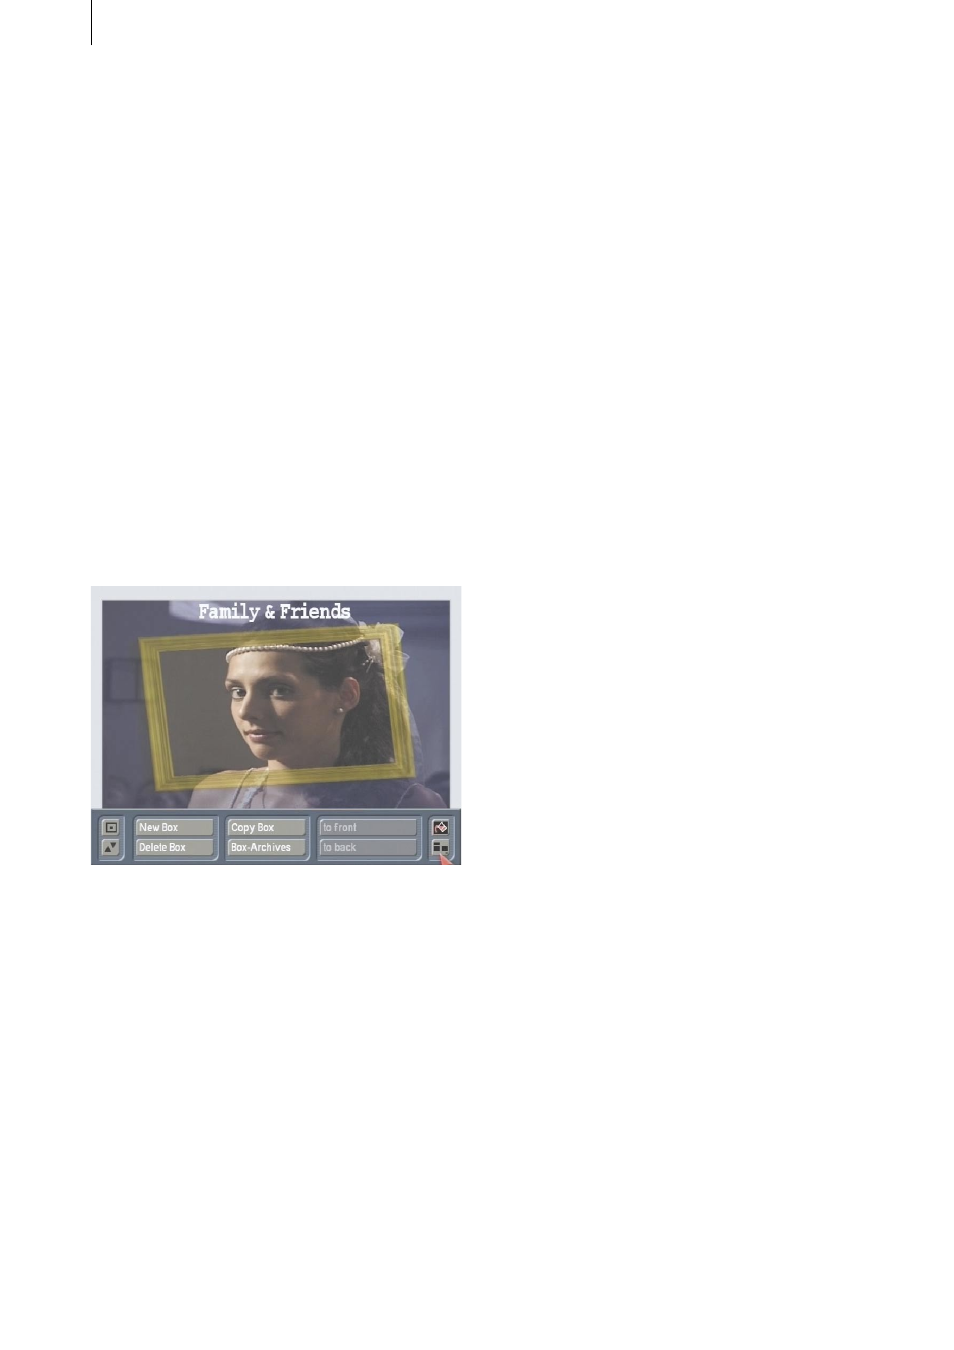
Now open the “Boxes” menu again and create a
“New Box”. You should position it over a single-
colored area of the screen. Next, switch back to
the “Content” menu, select the “transparent”
setting and click on the “Text” button. Use the
keyboard that then appears to enter a suitable
title for your video cassette, e.g. “Family &
Friends”. You can of course also use an external
keyboard to do this instead.
Please make sure you set a suitable font size,
since the default size might be unsuitable for
your box. Afterwards, close the toolbar and
insert the paper that you want to print on into
the printer. Next, switch on the printer and click
on the “Print” button in the main Caladan menu.
Note: We recommend you first print out a test
page on normal paper to avoid wasting labels if
any errors occur.
5.2 Designing a DVD cover with a
picture and text
Open the “Edit” menu, click on “Special” and
select “Caladan”. Next, click on the “Start
Caladan” button to open the main Caladan
menu.
For the “Label Type”, select the “DVD Cover”
medium since, in this example, you want
to design a DVD cover that suits your video
footage. Afterwards, in the “Miscellanous”
menu you should click on the “Settings” button
and then activate the “Snap to boxes and
auxiliary lines” function (i.e. a tick mark appears
in the little box). This ensures that the lines that
you draw will snap to the predefined auxiliary
lines and boxes. Next, in the “Arrangement”
menu, click on the “Boxes” button to open a
new menu.
In the foreground you see the toolbar and in the
background the DVD cover that you are going to
be designing.
As you can read at the top edge, the back of the
DVD cover is displayed on the left of the screen
and the front on the right.
Now start by designing the front of the cover.
Next, click on the “New Box” button and
position the cross in the top left corner of the
right-hand box (i.e. the front cover). Confirm this
position with a click on the left trackball button
and roll the trackball until the cross is positioned
at the bottom right corner. Then confirm this
position too so that the front of the cover if
completely covered by a new box.
If you have not previously made any changes to
the settings, the box will appear in white.
Next, click on the “Copy Box” button to create
a copy of the box, which appears slightly offset.
Move the trackball pointer onto the copy so that
the pointer turns into a hand. Click on the left
trackball button, move the box into the left-hand
box (i.e. the back cover) and then confirm this
new position by clicking on the left trackball
button again.
Afterwards, draw a third box that fills the spine
of the DVD cover (i.e. the elongated box located