Example exercises – MacroSystem Caladan User Manual
Page 15
14
15
4.3.4 Info
Clicking on this information button will display
the program version.
4.3.5 Archive
This button allows you to save the changes you
have made to the settings so you can access
them again later. The colors, font types, etc. are
saved. You can then reload them later in order
to use them during further editing work. You can
also load a previously stored label design into
another label, though it is quite possible that the
appearance will be different.
5. Example exercises
5.1 Designing a video cassette label
Open the “Edit” menu, click on “Special” and
select “Caladan”. Next, click on “Start Caladan”
in order to open the main Caladan menu.
For the “Label Type”, select “VCR Label Top” to
create a label that you can stick to the top side of
your VHS cassette.
Then, in the “Miscellaneous” menu, you should
click on the “Settings” button and activate the
“Snap to boxes and auxiliary lines” function
(i.e. a tick mark appears in the little box). This
ensures that the lines that you draw will snap to
the predefined auxiliary lines and boxes.
Confirm with “Ok” and then, in the
“Arrangement” section, click on the “Boxes”
button in order to draw a box necessary for the
design.
A new menu opens containing a toolbar in its
foreground. The background displays the video
cassette label that you are designing.
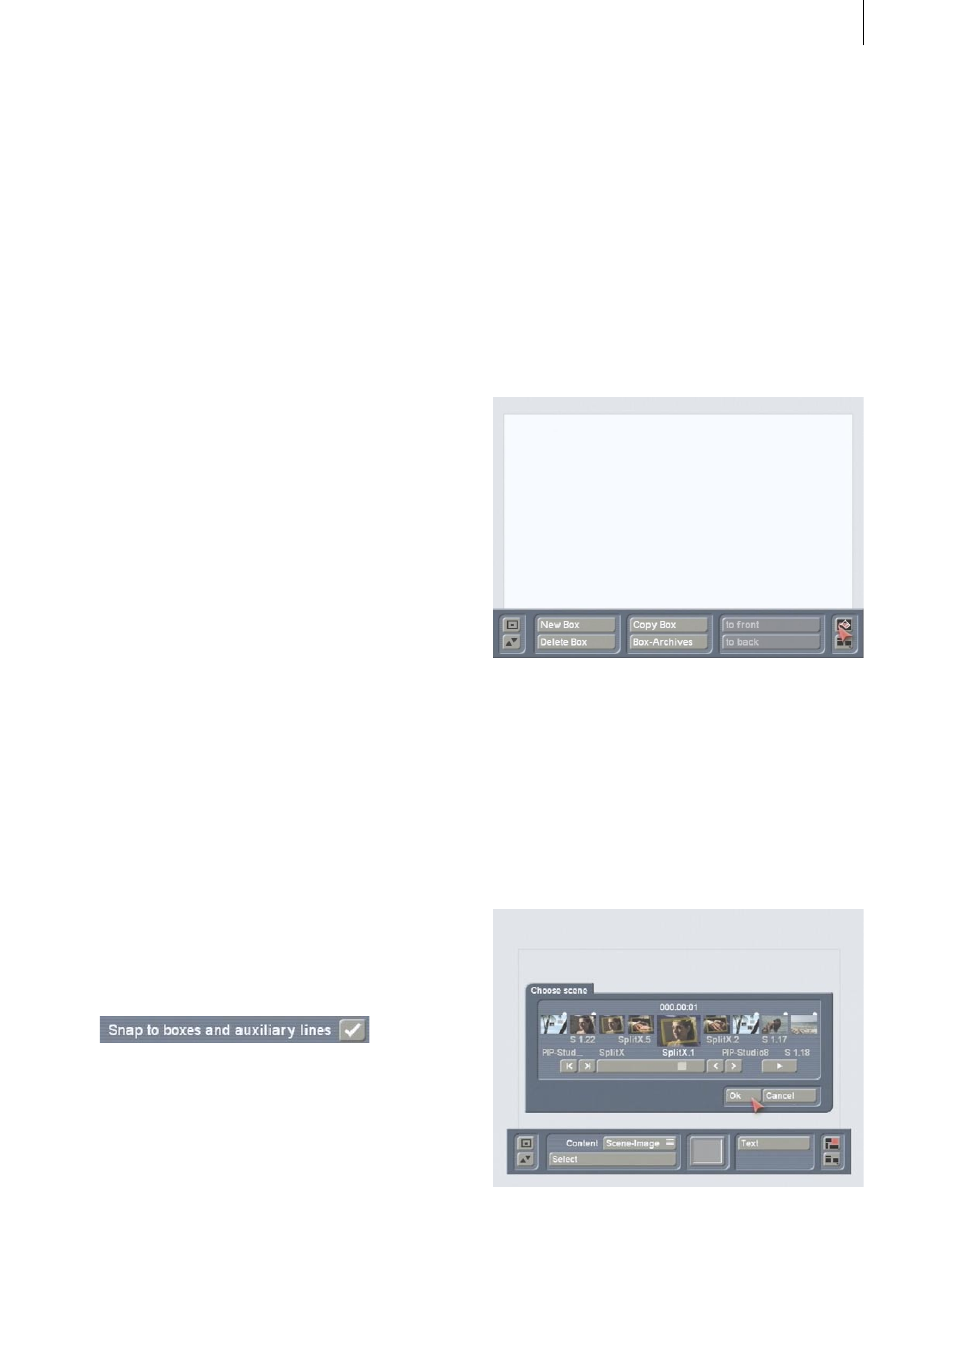
Next, click on the “New Box” button. A cross
appears which you should then position in the
top left corner of the label (the boundaries of the
label are defined by the auxiliary lines). Briefly
click the left trackball button once to confirm this
position and keep rolling the trackball until the
cross arrives at the bottom right corner. Confirm
this position too by clicking on the left trackball
button. You will see that you have drawn a box
covering the entire area of the cassette label.
If you have not previously made any changes
to the settings, the box will initially appear in
white.
Now click on the Paint Can symbol to open
the “Content” menu in which you can make
changes to the box’s design. In the subsequently
appearing toolbar, you will see the “Content”
selection button, which you can use to set the
“Scene Image” option.
Afterwards, click on the “Select” button to open
the scene bin of the currently selected project.
Open the scene that you want to use to depict
the video footage that is stored on the VHS