MacroSystem Caladan User Manual
Page 7
6
7
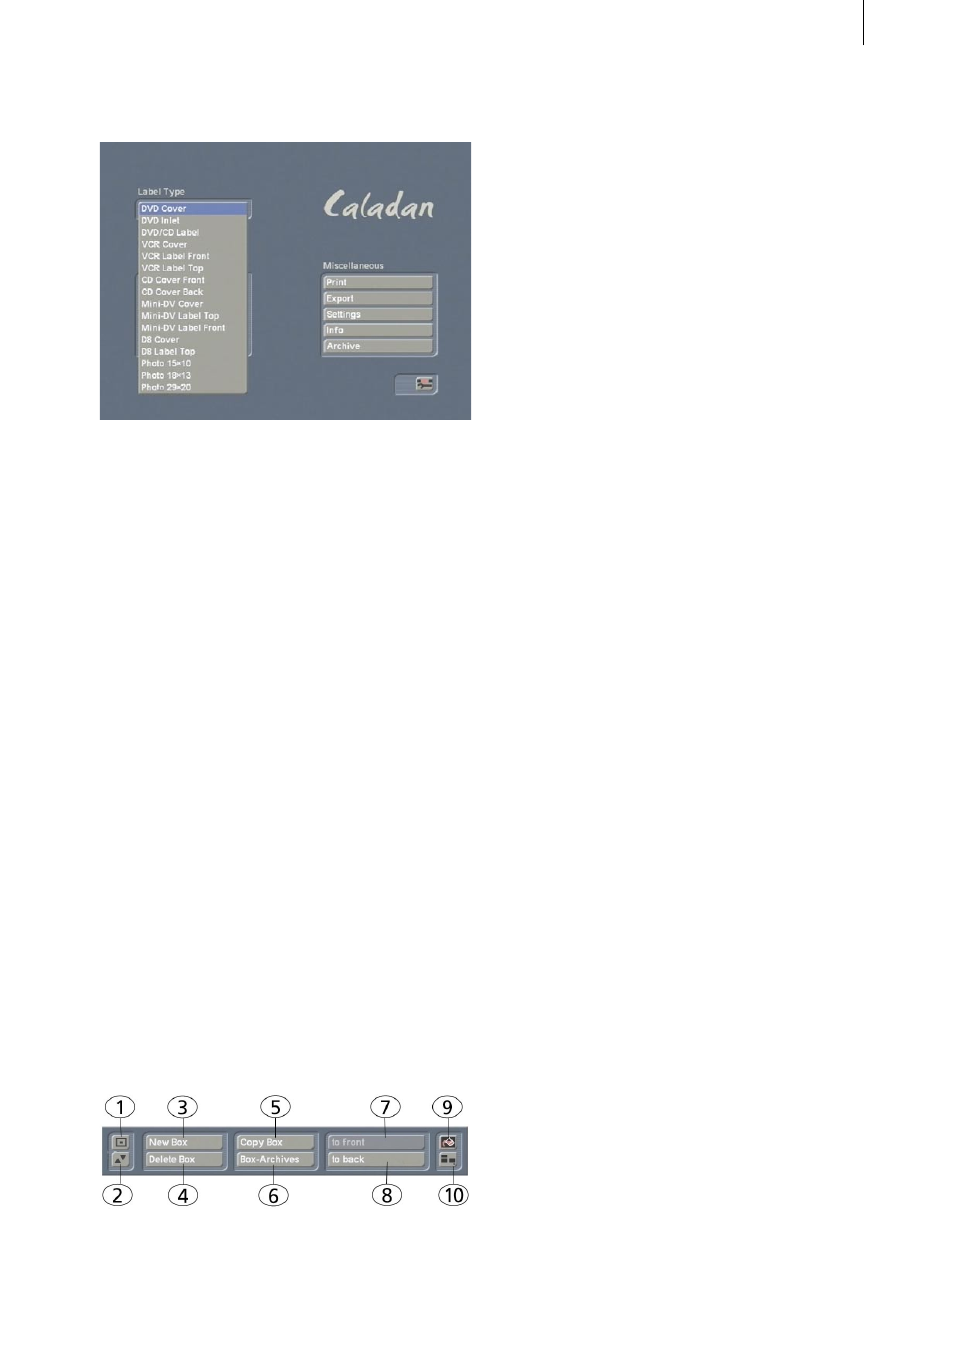
4.1 Label Type
If you press the “Label Type” button, a list of all
the supported labels appears. This is where you
can select the medium that you want to design
(e.g. the “DVD/CD Label”).
4.2 Arrangement
Several options are grouped together under the
heading “Arrangement” and are explained in
the following sub-chapters.
4.2.1 Boxes
If you click on the “Boxes” button you will see
the label type that you selected appear in the
background. If the label is made up of several
sides (e.g. a DVD cover), the top edge of the
screen will indicate which part of the label is
which (front, back or inside). From now on, we
shall call the outlines of the label “auxiliary
lines”.
The label is superimposed at the bottom edge of
the screen by a toolbar that looks like this:
(1) This button allows you to reduce the size of
the toolbar to just this button and the one below
it – doing so enables you to view all parts of the
background image.
(2) This button allows you to move the toolbar to
the opposite edge of the screen.
Please note: The position of the front-cover or
rear-cover indicator that is displayed at the top
edge of the screen does not change – it might
therefore be covered up.
(3) After you click on the “New Box” button, you
will see a cross appear instead of the trackball
pointer. You can use it to draw a box. The
position of the box is indicated at the bottom
edge of the screen. The toolbar is not visible
while you are doing this. To draw the new box,
use the trackball to position the cross where you
want the top left corner of the box to be. Next,
briefly click the left trackball button to confirm
the selected position. Then roll the trackball to
the right and down until the box is the size that
you want it to be.
You can make the box as large as you like,
however, it should remain within the area
enclosed by the auxiliary lines of the label that
you selected. (If necessary, you can also position
the box edges within the cut-off area, i.e. make
the box extend past the auxiliary lines. This will
ensure that the label that you want is printed
out fully when you later decide to print it.) Once
the box is the size that you want, click on the left
trackball button again.
You will notice that the toolbar is displayed
again and that the box is of a different color.
(If you are using the software for the first time,
it will appear in white unless you have made
changes to the settings.
To change the color or contents of the box,
please refer to Chapter 4.2.2.).
Note: If you subsequently want to alter the
position or size of a box, move the screen
pointer over the box. If the box is active (this is
indicated by the black-and-white border), the
screen pointer will turn into a hand symbol. If
the box is not yet active, position the screen
pointer over the box and click on the left