MacroSystem Caladan User Manual
Page 14
14
15
If you have only installed the demo version of
the Caladan program, you will not be able to use
the print function.
4.3.2 Export
This function allows you to store label designs
on a SmartMedia card.
If you click on the “Export” button you can
select the type of storage media under the
“Memory Card” menu item. Furthermore, you
can choose between four different quality levels
using the “Image Quality” button.
Finally click onto “Ok” and use the appearing
requester to enter the desired name for the label
that is to be exported. Note that special charac-
ters (non-english letters) should not be used as
they are not supported.
If you have only installed the demo version of
the Caladan program, you will not be able to use
the export function.
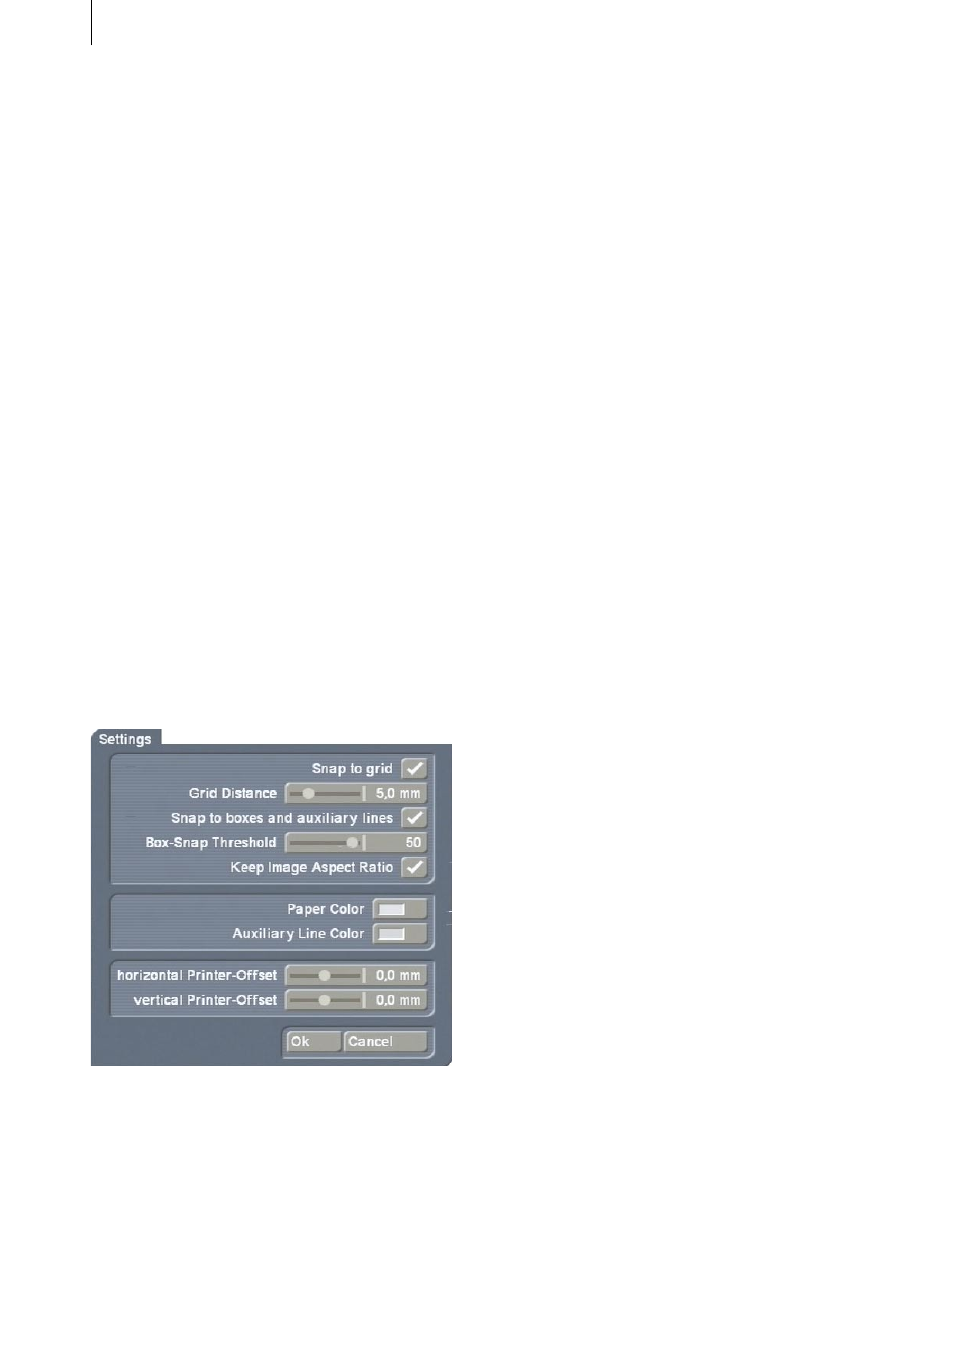
4.3.3 Settings
You can make various changes to the settings by
clicking on this button:
An invisible grid is activated if you activate the
“Snap to Grid” function. When creating boxes,
this function allows you to align the edges of
the boxes with an invisible grid, thus enabling
you to position them more easily. If you click
on the little box again, the tick mark disappears
and the grid is deactivated. By the way, you
can also activate this function – if you have the
Power Key Option installed – from within other
menus (e.g. from the “Boxes” toolbar) using the
keyboard (see Chapter 6). You can use the “Grid
Distance” control to define the spacing between
the invisible grid lines (measured in mm).
If you activate the “Snap to boxes and auxiliary
lines” function, you will be able to position
the boxes more easily since they will align
automatically with the predefined lines that are
displayed for each label type or with the lines
of a created box. This option is similar to the
“Snap to grid” function used in PC software.
This function can likewise be activated from
other menus using the Power Key Option (see
Chapter 6).
The “Box-Snap Threshold” allows you to set the
distance (in pixels) that the edge of a box must
have to an auxiliary line before it will “snap” to
that auxiliary line.
Furthermore, you can decide here whether you
want to activate “Keep Image Aspect Ratio”,
which ensures that no changes are made to
the proportions of an image when positioning
the background image in the “Content” menu.
If you place the image or scene within a small
border, the image will be reduced in size and its
edges “cut off”. This function therefore always
takes the image center as its reference point.
You can use the “Paper Color” and “Auxiliary
Line Color” buttons to open a color box that you
can use to define the color of the paper medium
and the auxiliary lines (whereby the auxiliary
lines refer to the boundaries displayed on the
medium).
Furthermore, you can use the “horizontal
Printer-Offset” and “vertical Printer-Offset”
buttons to make corrections if you notice that
the printouts are slightly offset. This can happen,
for instance, if the printer does not draw in the
paper completely straight.