AEC WD 350 through WD3000 Dehumidifying Dryers User Manual
Page 45
350-2100 cfm Dryers
Chapter 6: Maintenance
44 of 58
11. Slide the control chassis back into the control housing. The remaining parameters are set with the
keypad.
12. Ready the dryer for startup with a real or simulated load. Restore the electrical power.
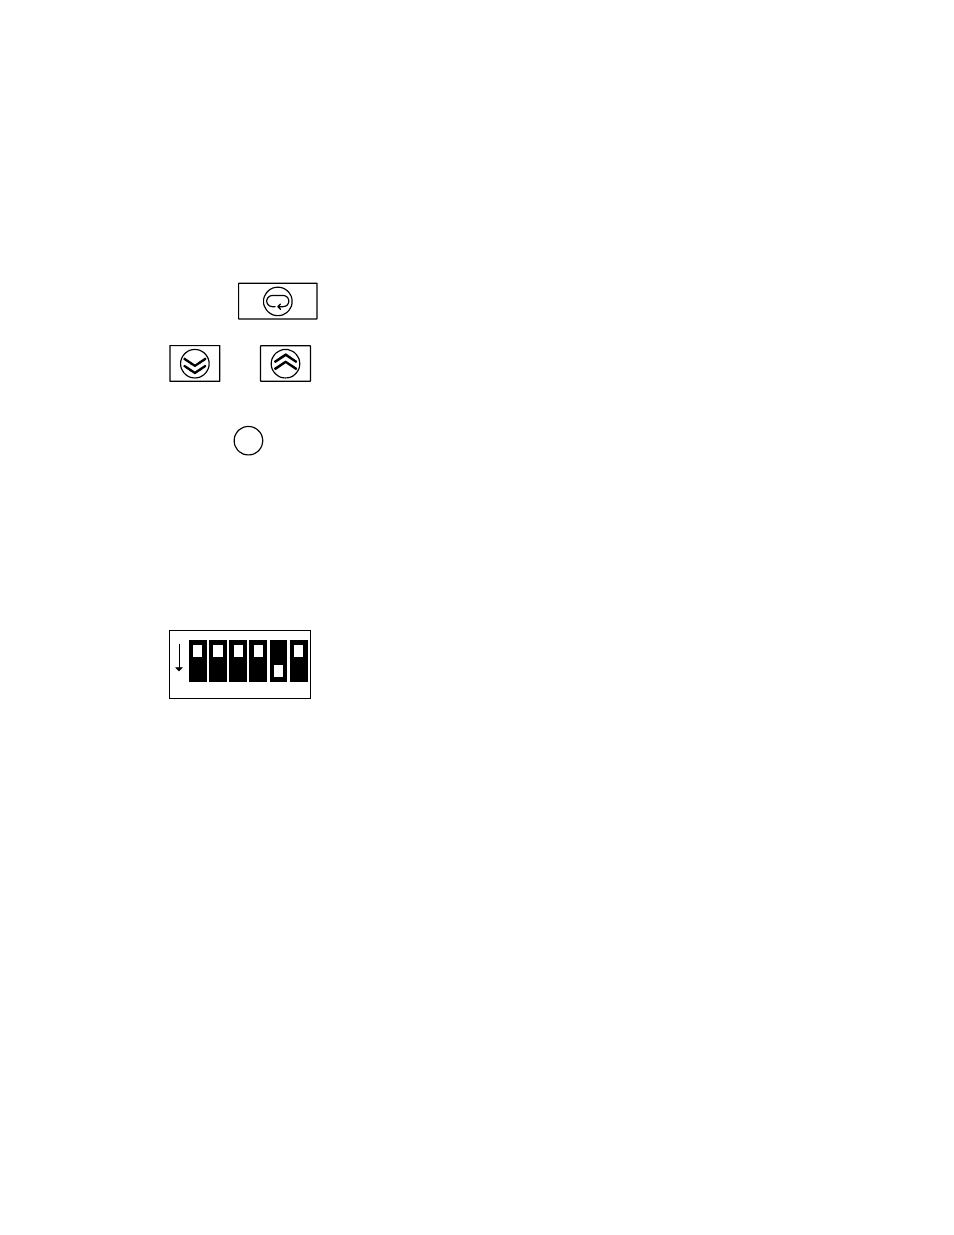
13. Turn the control power on. The PV LED will display four zeros [0000] and then display the current
process air temperature.
14. Press
to page through the Level-0 control parameters. The PV LED displays codes
indicating the currently selected mode; the SV LED shows the selected parameter's current setting. Use
and
to select a setting.
15. Set the Level-0 parameters according to Figure 10.
16. Press
for at least two seconds to access the Level-1 parameters. Set them using the procedure
in the previous step.
Note: You can proceed to Level-2, but these parameters are read- only. Controls with optional communications
have user-set variables [unit address and ID] on Level-2.
17. Turn off the power switch on the graphic display and remove all electrical power to the dryer.
18. Press up the latch at the bottom of the control's front panel and slide out the control chassis.
1
2
3
4
5
6
ON
19. Set the #6 position of the DIP-type function selector switch to OFF. It is marked SW201
[FUNCTION] and is on the right circuit board. Slide the control back into the chassis.
20. Turn the control power on. The PV LED will display four zeros [0000] and seconds later display
the current process temperature.
21. Auto-tune the dryer using the procedure in Section 5-6. If the control still fails to control, call the
Service Department
.