Removing a power module – H3C Technologies H3C S5820X Series Switches User Manual
Page 56
46
CAUTION:
•
Follow the forward inertia of the power module when inserting it into the chassis to ensure that the
power module has firm contact with the connector on the backplane.
•
To prevent damage to the connector on the powered device, insert the power module gently. If you
encounter a hard resistance while inserting the power module, pull out the power module and insert it
again.
•
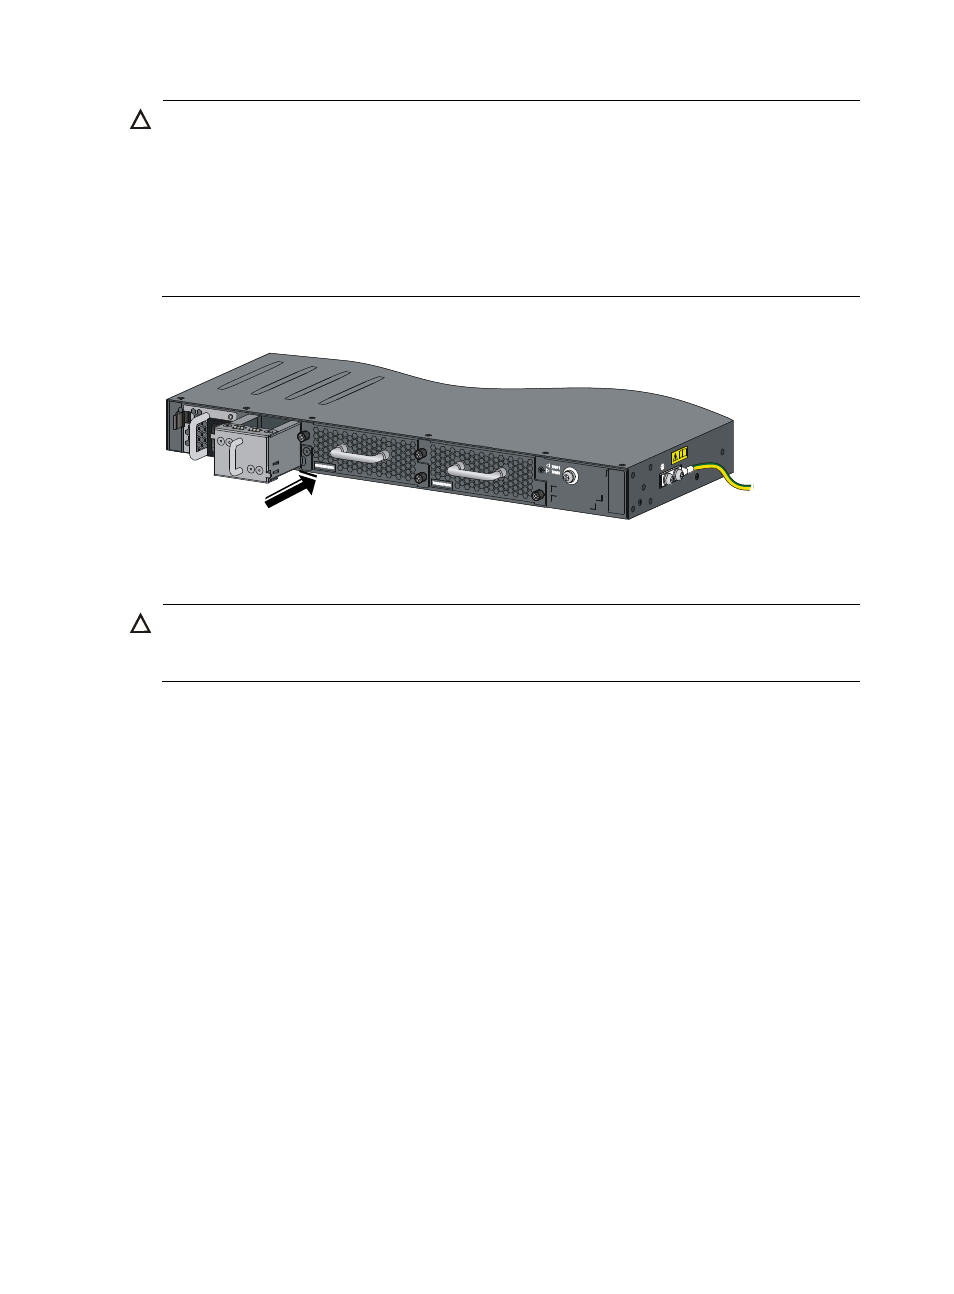
To ensure good ventilation of the switch, install a power filler module in the empty power module slot if
the switch is installed with only one power module, as shown in
.
Figure 45 Install a power filler module
Removing a power module
CAUTION:
If the switch has only one power module, removing the power module powers off the switch. If the switch
has two power modules, removing one power module does not affect the operation of the switch.
To remove an LSVM1AC650, LSVM1DC650, LSVM1AC300, or LSVM1DC300 power module from the
S5820X-26S switch:
1.
Wear an ESD-preventive wrist strap and make sure it makes good skin contact and is well
grounded.
2.
Squeeze the tabs on the power cord connector with your thumb and forefinger, and pull the
connector out to remove the power cord, as shown in
3.
Hold the handle on the power module with one hand, pivot the latch on the power module to the
right with your thumb, and pull the power module part way out of the slot. Then supporting the
power module bottom with one hand, slowly pull the power module out with the other hand, as
.