Video and audio switching – Grass Valley CONTROL Center CameraMan Rev.B User Manual
Page 22
Use Your CONTROL Center
Page 19
Video and Audio Switching
Video Switching
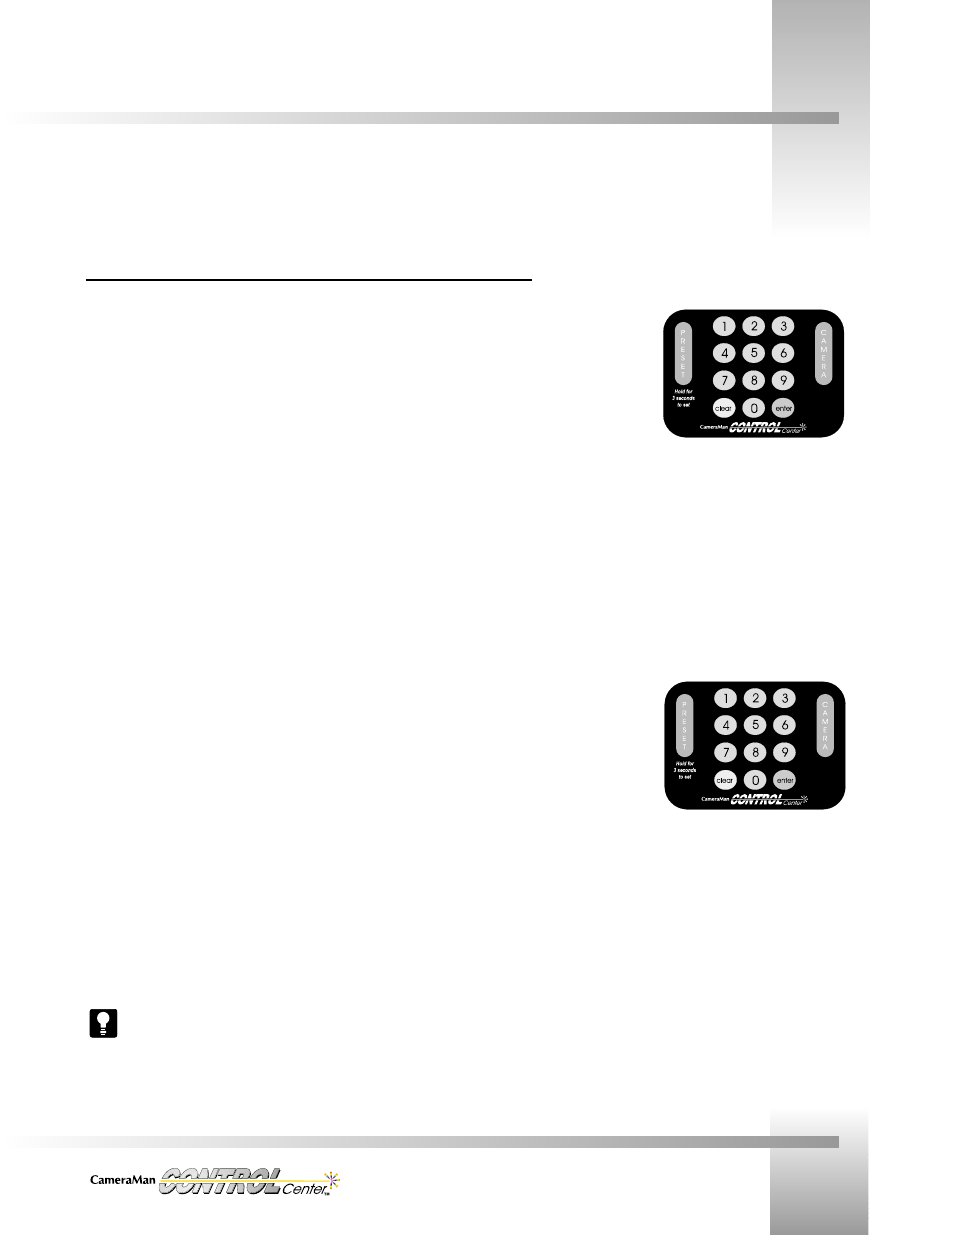
Camera Switching (Preview video and Camera Control)
On the numerical keypad in the center of the Control unit:
1. Press the number which correlates to the appropriate input source jack on the rear
panel of the switcher (i.e. press 1 for camera 1’s video cable connected to jack 1,
press 2 for camera 2’s video cable connected to jack 2, etc.)
2. Press the Camera Button (located to the right of the numerical keypad).
When you switch by pressing a number and then the Camera Button, the video from the
numbered source (1, 2, etc.) that you designated is automatically switched to the preview
(PVW) output and displays on the preview monitor if one is connected. Preview switching
always follows camera selection using a number and the Camera Button.
You also have physical control over the designated camera and can choose parameters for the
camera using the Control Unit’s joystick, slide bars, and buttons. Look at the screen, in the box
under PVW, and you will see the input number you chose, confirming that switching has taken
place. Look at the upper-left of the screen and you will see the camera number of the camera
you are now controlling. Simultaneously pressing a number and the Camera button causes
switching of the designated video input to the PVW video output and gives control of the
designated camera.
Video-Only Switching (input source to any output and no Camera Control)
On the numerical keypad in the center of the Control Unit:
1. Press the number which correlates to the appropriate input source jack on the rear
panel of the switcher (i.e. press 1 for a VTR’s video cable connected to input jack 1,
press 8 for a camera’s video cable connected to input jack 8, etc.)
2. Look at the LCD screen and press the Function Command Button below the video
output that you want to use (PVW, 1, 2, or 3). The video from the input source you
designated is switched to the chosen output and will go to whatever device is
connected to that output jack (monitor, VTR etc.).
3. Look at the boxes (PVW, 1, 2, 3) on the screen. In the box of the output you chose is
the number of the input source you selected, confirming that switching has taken
place. You have switched video signals only and if the source you selected is a
camera different from the one indicated in the upper-left of the LCD screen, you do
not have camera control.
After making any switch, look at the box under the output you designated and you will
see the input source number is now displayed in the box. The input/output graphic
display on the Standard switching screen and on the Home screen (does not show PVW)
immediately shows you a status of which inputs and outputs are connected.
Now that you are familiar with the components and features of your CameraMan CONTROL Center, you can begin using its video
and audio switching capabilities.