Rose Electronics Orion User Manual
Page 58
52
Orion Installation and Operations Manual
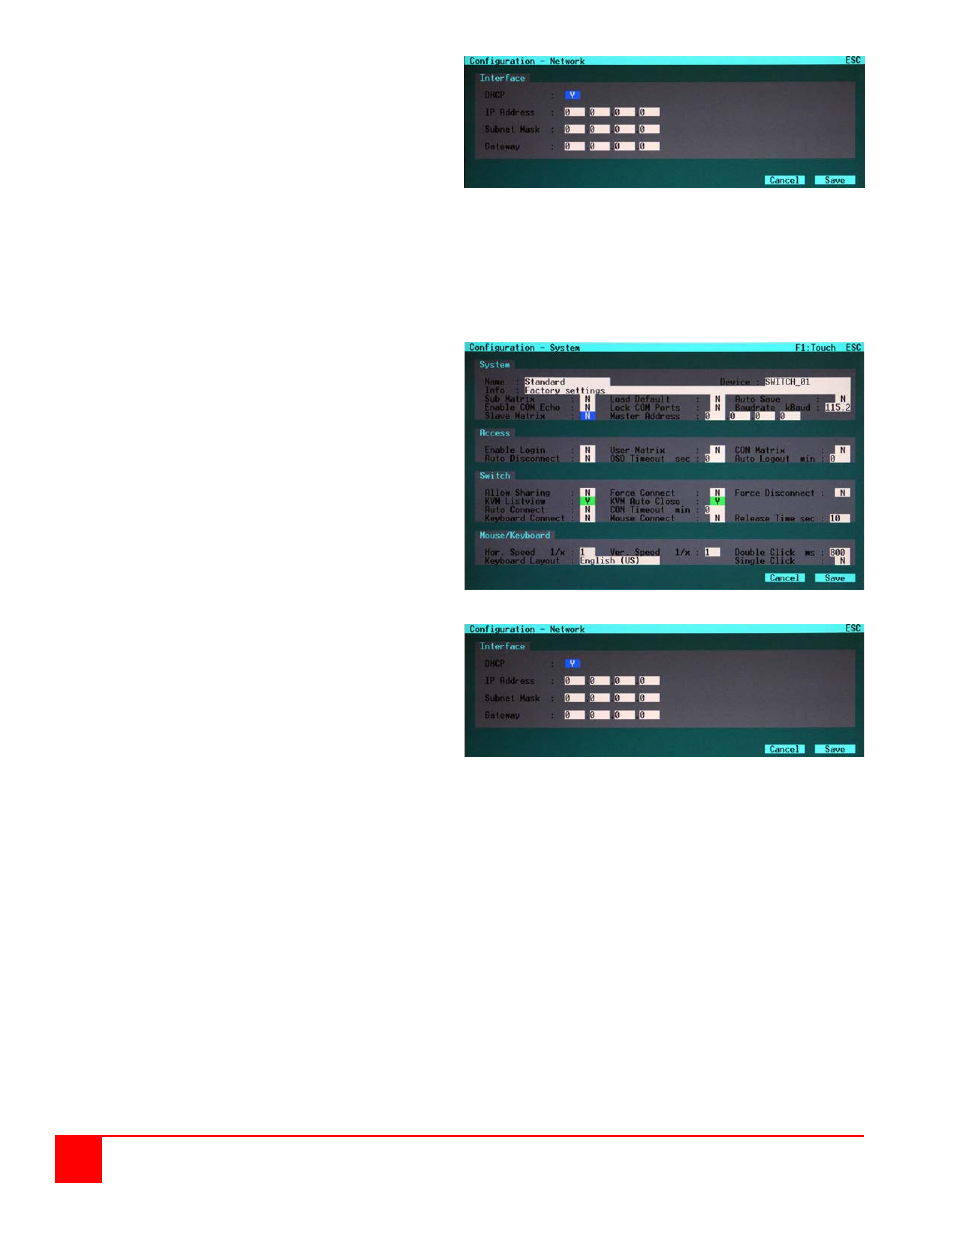
4. Escape from the Configure System menu and
navigate to the Configuration Network menu
as shown below.
5. Set the DHCP field to “N”
6. Enter the IP address (Assigned to the “Master”
unit by your network administrator) for the
Master unit
7. Enter the subnet mask (Assigned by your
network administrator)
8. Enter the Gateway if necessary
9. Save the information and restart (power cycle)
the Master Orion Unit
Connect a console (keyboard/monitor/mouse) to the
secondary unit.
1. Display the secondary unit’s OSD and
navigate to the Configure System menu as
shown
2. Set the Slave field to “N”
3. Set the Synchronize field to “Y”
4. In the Master Address field, enter the
assigned IP address of the Master Unit
5. Save the information
6. Escape from the Configure System menu and
navigate to the Configuration Network menu
as shown
7. Set DHCP to “N”
8. Enter the IP address (Assigned to this
“Secondary” unit by your network
administrator)
9. Enter the subnet mask (Assigned by your
network administrator)
10. Enter the Gateway if necessary
11. Save the information and restart (power cycle)
the Secondary Orion Unit
With these settings, the “Master” Orion unit will send the port switching command to all connected “Secondary” units.
Switching commands can be issued from the OSD or the keyboard.