Enter the box information – TA Triumph-Adler P-4030 MFP User Manual
Page 194
5-36
Operation on the Machine > Using a Custom Box
4
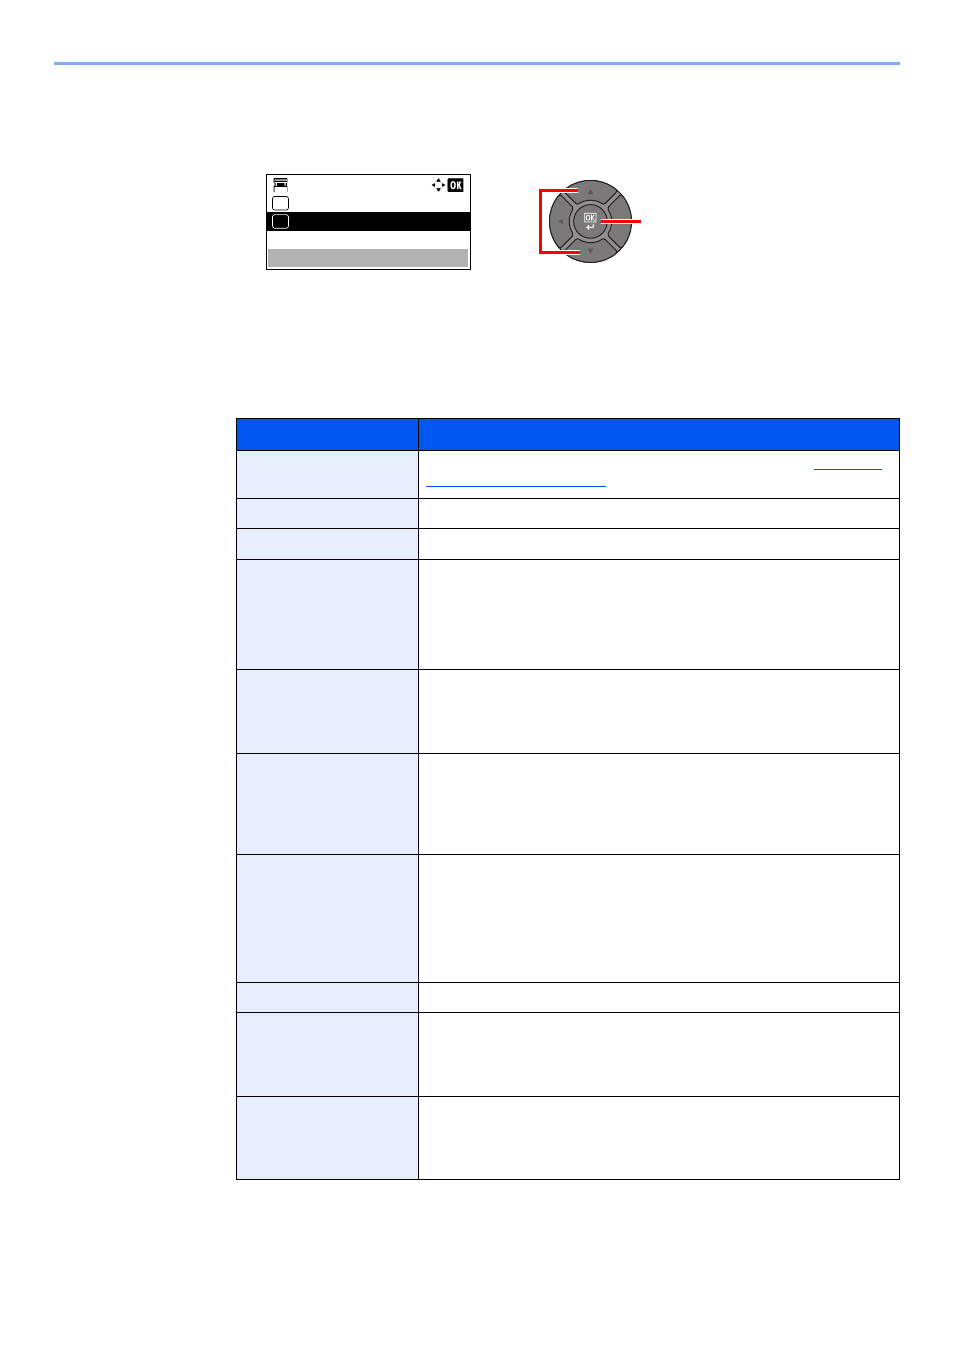
To complete the box registration, press the [
▲
] or [
▼
] key to select [Exit] and then press
the [
OK
] key. The Custom Box is created.
To register further Box information, press the [
▲
] or [
▼
] key to select [Detail] and then
press the [
OK
] key. Proceed to next step.
3
Enter the box information.
Press [Edit] or [Change] on each item and enter the information then press the [
OK
] key.
Press the [
►
] key to view the next screen. Press the [
◄
] key to return to the previous screen.
The table below lists the items to be set.
Item
Description
Box Name
Enter a box name consisting of up to 32 characters. Refer to
for details on entering characters.
Owner
*1
*2
*1 Displayed when the user login administration is enabled.
*2 Displayed when the user has logged in as administrator.
Set the owner of the box. Select the owner from the user list that appears.
Permission
Select whether to share the box.
Box Password
User access to the box can be restricted by specifying a password to
protect the box. Entering a password is not mandatory.
Enter a password of up to 16 characters and press the [
OK
] key. Reenter
the same password for confirmation and press the [
OK
] key.
This can be set if [Shared] is selected in “Permission”.
Box Number
Enter the box number by using the numeric keys or pressing the [
▲
] or
[
▼
] key. The box number can be from 0001 to 1000. A Custom Box
should have a unique number. If you enter 0000, the smallest number
available will be automatically assigned.
Usage Restrict.
To preserve the SSD capacity, the storage capacity for a box can be
restricted. To enable a capacity restriction enter a value for the storage
capacity of the Custom Box in megabytes by using the numeric keys or
pressing the [
▲
] or [
▼
] key. You can enter a limit between 1 and 30,000
(MB).
Auto File Del.
Automatically deletes stored documents after a set period of time.
To enable automatic deletion, press the [
▲
] or [
▼
] key to select [On] and
press the [
OK
] key. Use the numeric keys or press the [
▲
] or [
▼
] key to
enter the number of days for which documents are stored. You can enter
any number between 1 and 31 (day(s)).
To disable automatic file deletion, select [Off] and press the [
OK
] key.
Free Space
Displays the free space on the box.
OverwriteSetting
Specifies whether or not old stored documents are overwritten when new
documents are stored. To overwrite old documents, press the [
▲
] or [
▼
]
key to select [Permit] and press the [
OK
] key. To retain old documents,
press the [
▲
] or [
▼
] key to select [Prohibit] and press the [
OK
] key.
Del. afterPrint
Automatically delete a document from the box once printing is complete.
To delete the document, press the [
▲
] or [
▼
] key to select [On] and press
the [
OK
] key. To retain the document, press the [
▲
] or [
▼
] key to select
[Off] and press the [
OK
] key.
2
1
Menu:
Exit
01
Detail
02