Applied Motion BLuDC4-Q User Manual
Page 11
11
11
11
11
11
BLuDC-S,-Q Hardware manual
BLuDC-S,-Q Hardware manual
BLuDC-S,-Q Hardware manual
BLuDC-S,-Q Hardware manual
BLuDC-S,-Q Hardware manual
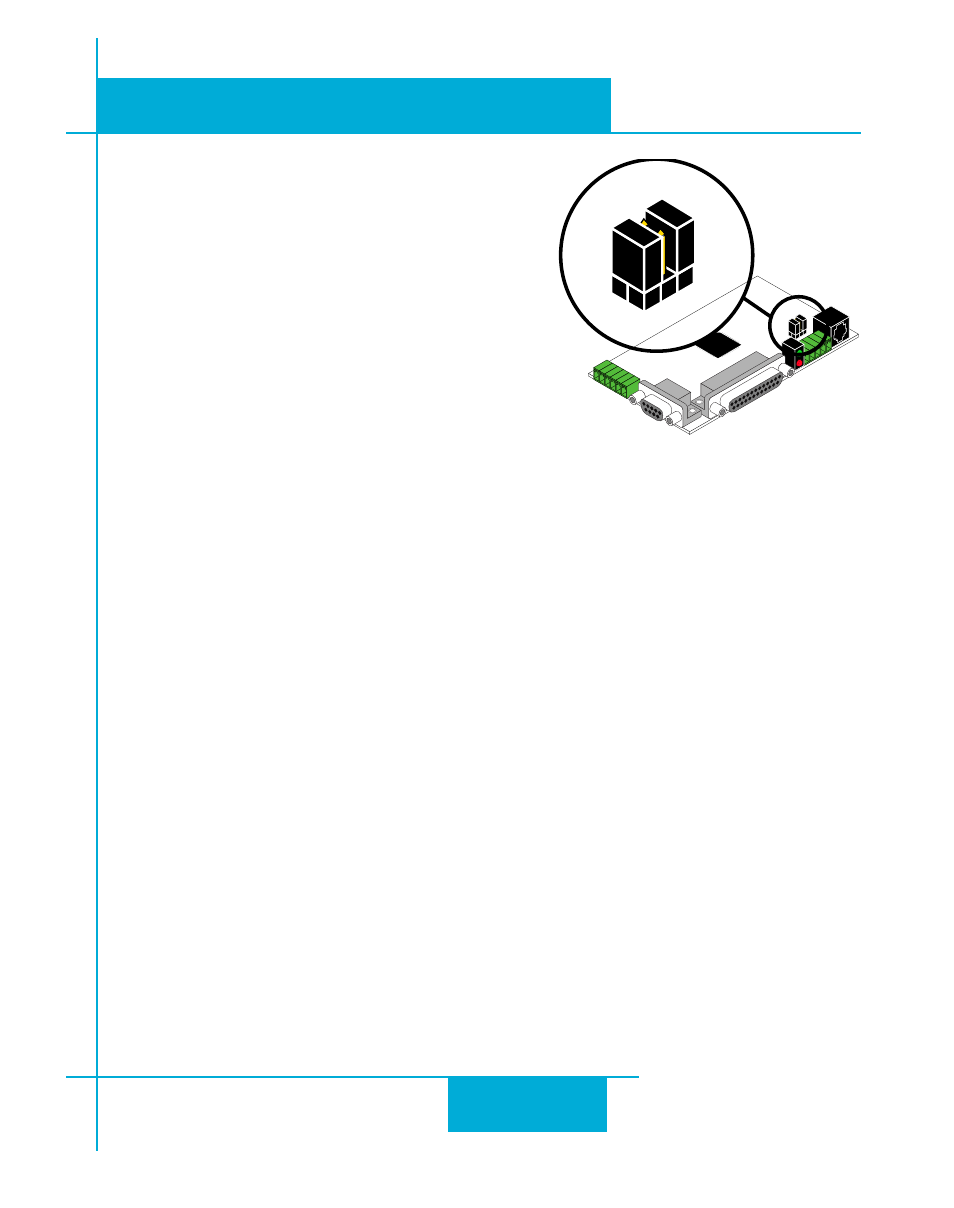
Jumper Settings
There is a small, six pin header located just behind the
RS-485 connector. When the drive leaves our factory,
there are two jumpers on the outside pins of this header,
which selects two wire mode. For four wire operation,
these jumpers must be removed. The jumpers are visible
on the BLuDC4. To access the jumpers on the BLuDC9
drive, the cover must be removed.
Assigning Addresses
Before wiring the entire system, you'll need to connect
each drive individually to the host computer so that a
unique address can be assigned to each drive. Use the RS-232 programming cable and the
Quick
Tuner™ software that came with your drive for this purpose.
Connect the drive to your PC, then launch the
Quick Tuner™ software. Finally, apply power to your
drive. If you have already tuned your drive, then you should click the Upload button so that the
Quick Tuner™ settings match those of your drive. Click on the Drive tab, then select the “SCL”
operating mode. If you have a Q drive, you may want to select “Q Programming”. Either way, you’ll
see the RS-485 Address panel appear. Just click on the address character of your choice. You can
use the numerals 0..9 or the special characters ! " # $ % & ' ( ) * + , - . / : ; < = > ? @ . Just make
sure that each drive on your network has a unique address. If you are using a 2 wire network, you
may need to set the Transmit Delay, too. Once you’ve made your choices, click Download to save
the settings to your drive.