Adding a new folder, Organizing the folders, Add a new folder – Compuprint 4247-L03 Remote Printer Management Utility User Manual
Page 19: Add a new printer
Now you can structure and organize the database as follows:
Adding a New Folder
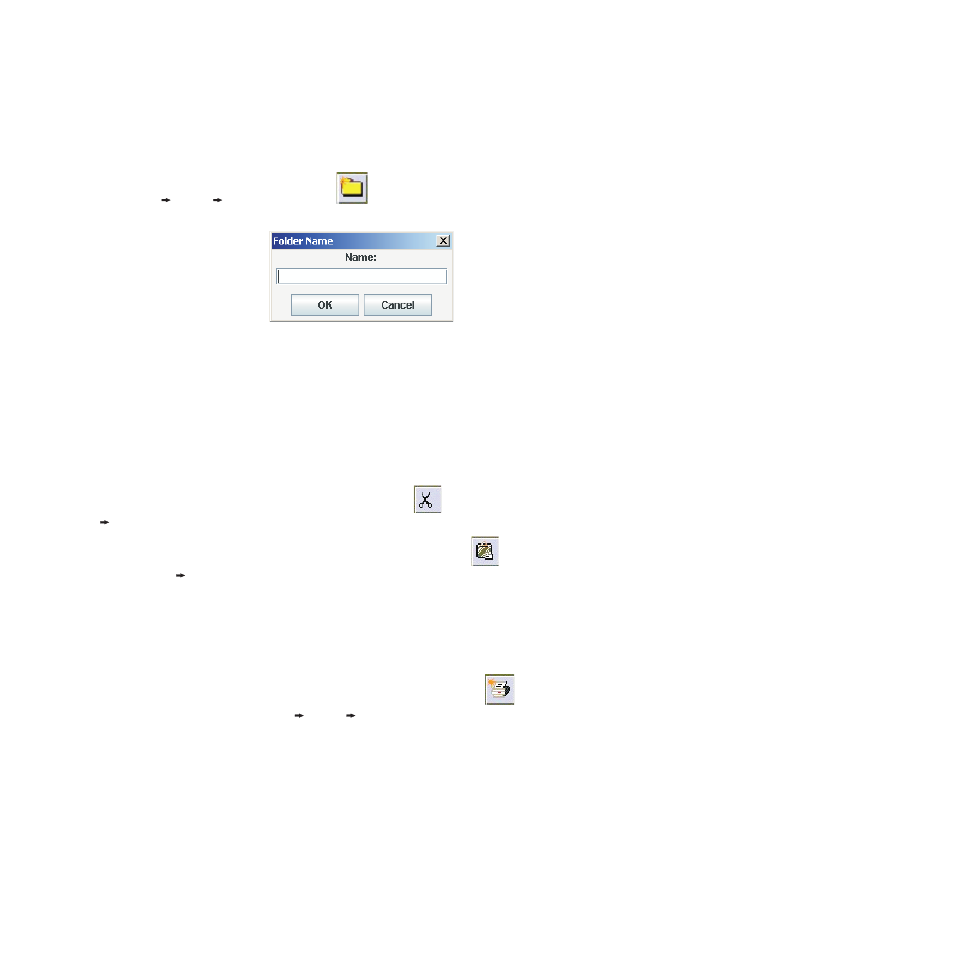
1. Select Edit
Insert
Folder or select the
icon (Add a new folder) on the tool bar. The
RPMU prompts you for the folder name.
2. Enter a name for the printer group you want to create and then select the OK button.
Note: The RPMU is able to manage nested folders. The printer database may be structured as needed.
Organizing the Folders
Reorganize the Printers Already Present in the Database
If you performed the automatic device discovery procedure described above, you will already have a list of
printers connected to the network. In this case you have to reorganize these printers in the folder structure
you created with the cut and paste procedure:
Select the printer to put in the new folder and then select the
icon (Cut an object) (or select Edit
Cut).
Select the folder in which you want to put the printer and then select the
icon (Paste an object)
(or select Edit
Paste).
The printer and the corresponding information now appear in the folder.
Manually Inserting a Printer
To manually insert a printer at any time while organizing the database, as either the first printer or in
addition to the existing printers in the database, proceed as follows:
1. Select the folder in which you want to insert the printer and then select the
icon (Add a new
printer) on the tool bar (or select Edit
Insert
Printer).
The Remote Printer Management Utility
15