Compuprint 4247-L03 Remote Printer Management Utility User Manual
Page 11
IP Address
Enter the printer's IP Address in this field.
Netmask
Enter the Netmask that identifies the printer connection.
Port
Enter the port number.
Timeout
Enter the timeout value.
Workgroup
Enter the printer's Workgroup in this field.
As soon as the new printer data are confirmed, the RPMU tries to contact the
printer to update its current status.
Note: If the printer is not found within the time indicated as Timeout, the RPMU
displays the printer in the database as “not ready”.
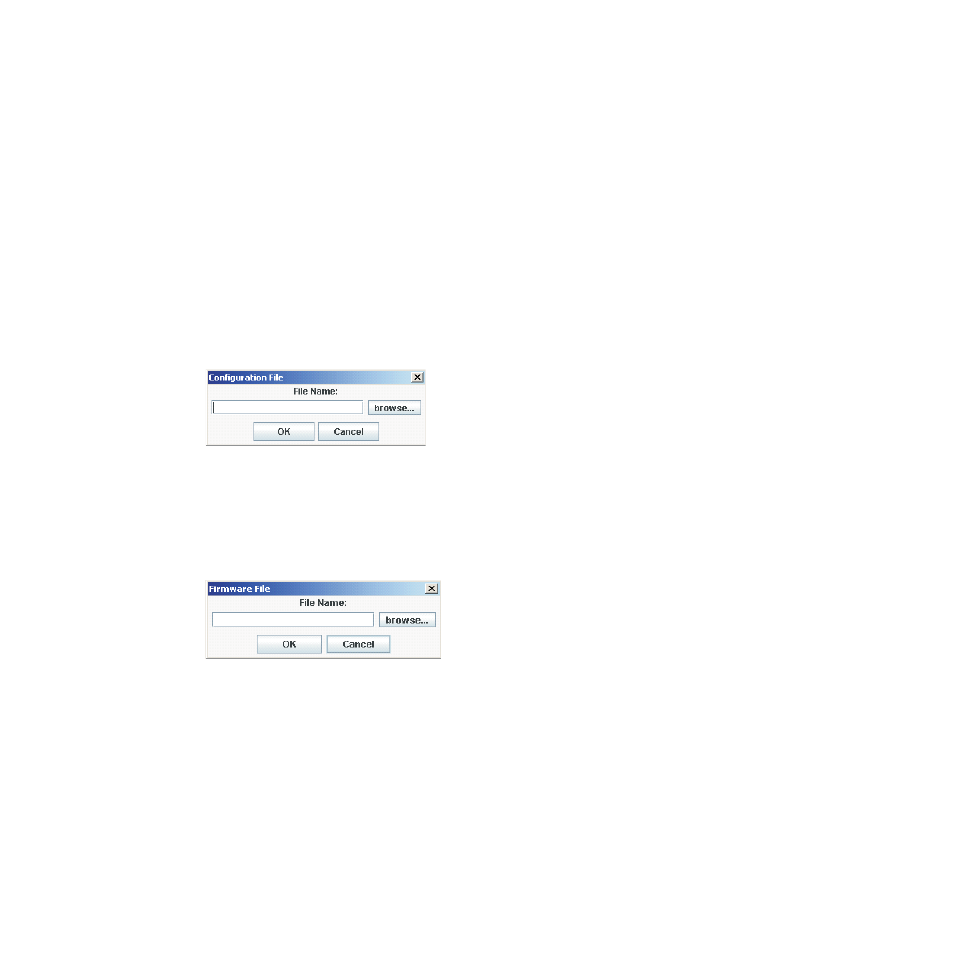
Configuration File
Selecting Configuration File displays the following dialog box. Enter the name of
the configuration file, or look for it on your computer by selecting the Browse
button.
Pressing OK allows the RPMU to insert the selected configuration file into the
current folder. See “Inserting a Configuration File into a Folder” on page 17 and
“Configuring the Printers in the Database” on page 19.
Firmware File
Selecting Firmware File displays the following dialog. Enter the name of the
firmware file you want to download directly, or look for it on your computer by
selecting the Browse button.
Selecting OK allows the RPMU to insert the selected firmware file into the current
folder. See “Inserting a Firmware File into a Folder” on page 16 and “Updating the
Printer's Firmware Version” on page 26.
Cut
Selecting Cut removes the selected item (folder, printer, or file) from the database and
copies it into the paste buffer.
Copy
Selecting Copy copies the selected item into the paste buffer. The selected item remains
unchanged.
Paste
The item inserted in the paste buffer (with the Cut or Copy function) is put in the selected
position in the database tree.
Delete
The selected item is permanently removed from the database.
The Remote Printer Management Utility
7