Mounting, Wiring, Configuring – Digital Alert Systems DASAMS User Manual
Page 9: Amc menus
Digital Alert Systems
AMS Installation /Operation & Integration Guide
Revision 1.1
Page 9 of 28
Step 2. AMC — Installation and Initial Configuration
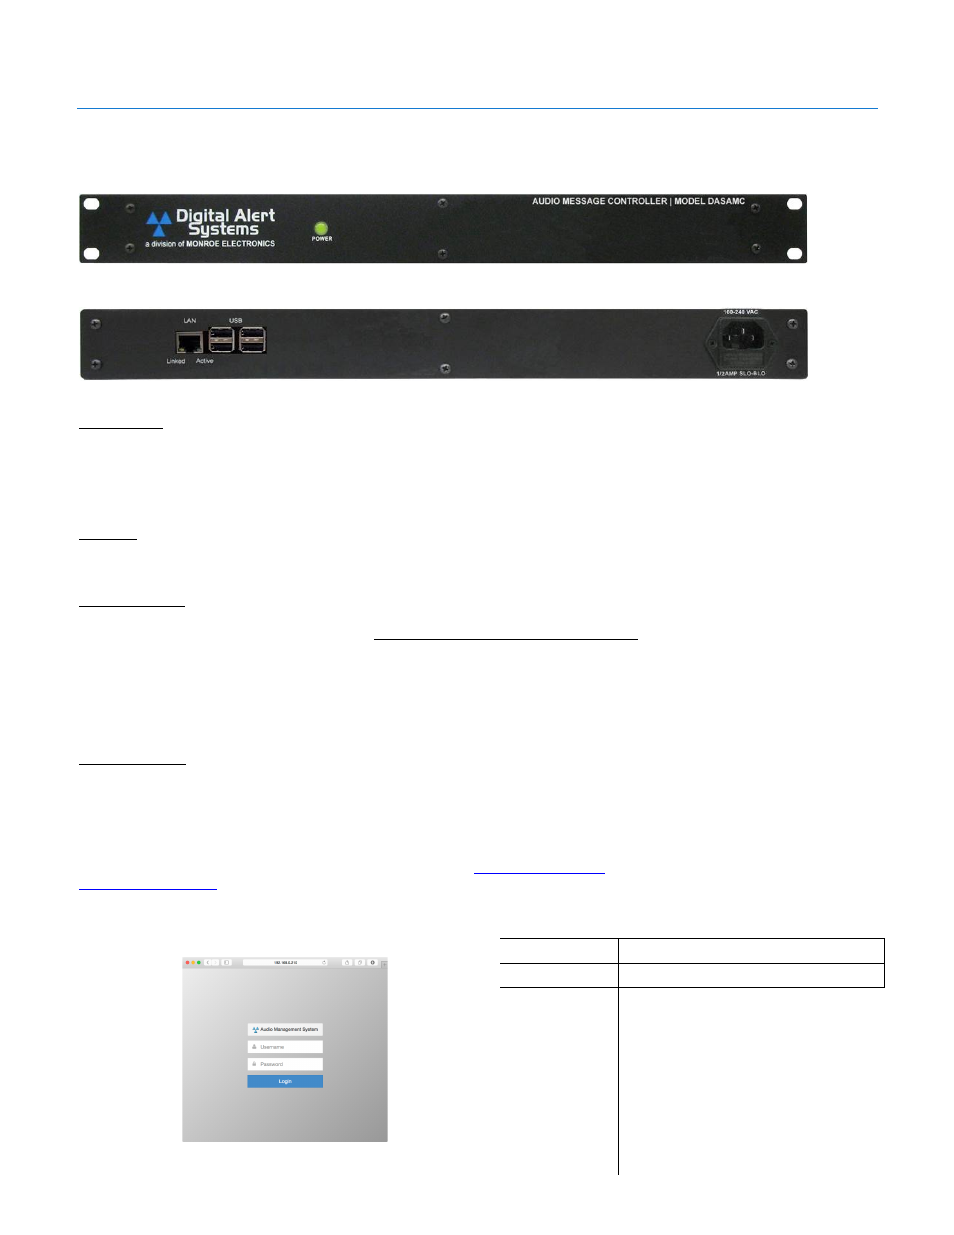
Figure 11 AMC - Audio Message Controller - Front Panel
Figure 12 AMC - Audio Message Controller - Rear Panel
Mounting
The AMC can be easily mounted in any standard 19” equipment rack. Device location is very flexible as it usually only requires
AC Power and a network connection able to reach the same network as the associated MultiPlayer. If the USB serial ports are
used (rarely) the distance to the serial data source should be taken in account making placement more distance critical.
Wiring
Connect the AMC to the same network as the MultiPlayer. Provide AC power.
Configuring
The AMC is initially configured with both factory default static IP Address at 192.168.0.210 and DHCP client for network
administrators wishing to manage DHCP access to these devices. The media access control address (MAC address) is printed
on the rear panel of the device, so network administrators may assign a specific IP address to the unit through the network
DHCP server. Please contact your network administrator if you have questions regarding your network connections.
AMC Menus
Log In Screen
From a web browser type the IP address of the AMC (default is 192.168.0.210) and press Enter. The log in screen as shown in
Figure 13 should appear.
If the page does not appear it may require entering the full path
http://xxx.xxx.xxx.xxx
or the secure version
https://xxx.xxx.xxx.xxx
where xxx.xxx.xxx.xxx is the AMC’s IP address in order to gain access.
When using https:// a prompt may ask about the security certificate to allow access. Simply respond in the affirmative.
Figure 13 AMC Log In screen
Default
(Case sensitive)
Username
admin
Password
password