Adjusting the control panel – DR Power Z-Mower 19.5 HP Versa-Pro User Manual
Page 40
36 DR
®
VERSA-PRO
™
Z-MOWER
Adjusting the Control Panel
WHEN PERFORMING ANY ADJUSTMENT OR MAINTENANCE, YOU MUST FIRST SHUT OFF THE ENGINE,
SET THE PARKING BRAKE, WAIT FIVE (5) MINUTES TO ALLOW PARTS TO COOL AND DISCONNECT THE
SPARK PLUG WIRE(S), KEEPING IT AWAY FROM THE SPARK PLUG(S).
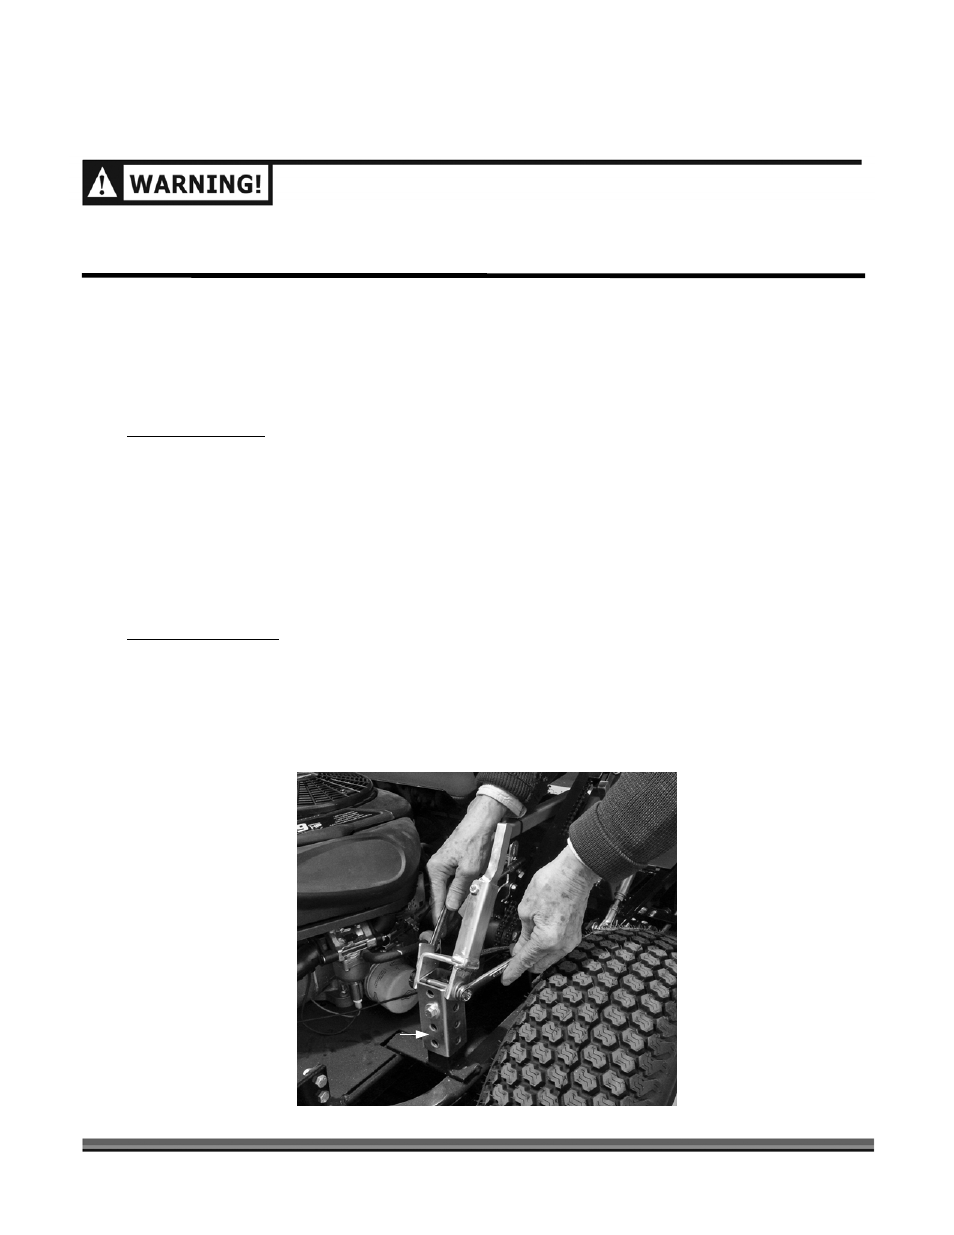
You may raise or lower the height of the Control Panel, in both the Ride and Walk-Behind modes by
moving the respective Control Arm Rest Assemblies (Figure 23).
Tool Needed:
•
(2) 1/2" Wrench
Ride Mode position:
1. Move the Control Arm to the Walk-Behind position.
2. Remove the Nut and Bolt in the Front Control Rest Tube.
3. Raise or lower the Tube to the desired height.
4. Replace the Nut and Bolt but do not tighten. Return the Control Arm to the Ride position and test
the adjustment. Repeat as necessary.
5. Tighten the Bolt securely.
Walk-Behind position:
1. Move the Control Arm to the Ride position and adjust the Rear Control Rest Tube as in steps 2 and
3 above.
2. Replace the Nut and Bolt but do not tighten. Return the Control Arm to the Walk-Behind position
and test the adjustment. Repeat as necessary.
3. Tighten the Bolt securely.
Figure 23
Control Rest Tube