Flowserve HED Worthington User Manual
Page 43
HED/HED-DS USER INSTRUCTIONS ENGLISH 85392695 – 06/14
Page 43 of 64
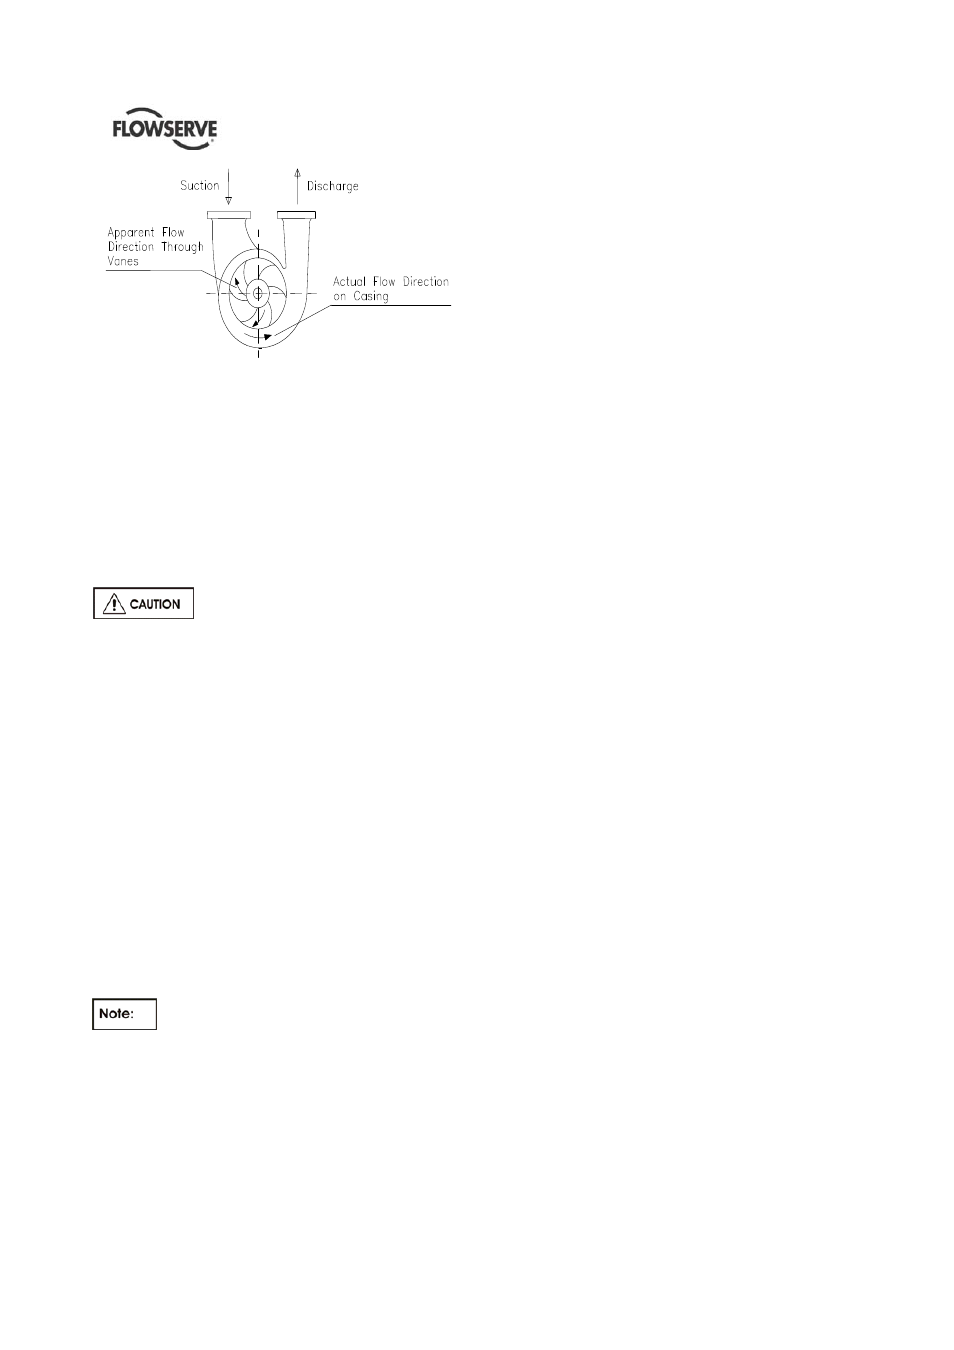
Figure 6.5
c) Install 2nd stage impeller against shaft shoulder.
d) Install 2nd stage impeller locking nut. Use a pin
spanner wrench to tighten the nut.
e) Place rotor on “V” blocks or rolls and check with
dial indicator wear rings for high spots or run out
(0.13 mm max).
f) Replace shaft, complete with 2nd stage impeller
through the casing; lifting gear will help in this
operation).
Care must be taken not to nick or
burr any components, especially running fits.
g) Install 1st stage impeller against respective shaft
shoulder.
h) Install 1st stage impeller locking nut. Use a pin
spanner wrench to tighten the nut.
i) Place new gaskets onto the stuffing box cover
flanges and offer the stuffing boxes to the casing.
j) Replace nuts and washers and tighten evenly
until a face to face condition is achieved.
k) From the non-drive end push the rotor as far
inboard as possible and scribe a line on the shaft
in line with the stuffing box machined face. From
the drive end push the rotor as far inboard as
possible and scribe another line on the shaft.
Move the rotor inboard again to halfway between
these lines. This is the rotating element centred.
l) Replace mechanical seal cartridge (do not
tighten).
6.9.3 Thrust and line bearings
It is most important that all parts to be
assembled have been thoroughly cleaned. Failure
to comply may cause serious damage to the
pump.
6.9.3.1 Ball Ball
a) Install oil shields from each end of shaft,
positioning them against their respective shaft
shoulder.
b) Fit inner bearing covers with their labyrinth ring in
place, and locate them against the shields.
c) Ensure that new gaskets are fitted.
d) Thrust and line bearings can now be fitted. Check
the duplex bearings are mounted back-to-back.
e) Fit slinger, lock-washers and lock nuts. Tighten
lock nuts and lock tab on lock-washers.
f) Install bearing housings sliding them over thrust
and line bearings.
g) Locate bearing housings to their respective
location on stuffing box brackets and tighten
bolting.
h) Fix both inner bearing covers to bearing
housings.
i) Position outer bearing covers and tighten bolting.
Ensure that new gaskets are fitted.
j) Set labyrinth ring on line bearing cover and
secure oil shield with set screws.
k) Install nuts securing mechanical seal plate
assembly to stuffing box at both ends of pump.
Tighten nuts evenly.
l) Finally set seal assemblies according the
manufacturer’s instructions.
m) Turn rotor by hand to ensure there are no rubs or
binding.
6.9.3.2 Sleeve Ball
a) Place new gaskets onto the outboard stuffing box
cover flange and suction diaphragm, and offer
the stuffing box to the casing.
b) Replace nuts and washers and tighten evenly
until a face to face condition is achieved. Any
difficulty in pulling up the suction diaphragm
should be investigated.
c) From the non-drive end push the rotor as far
inboard as possible and scribe a line on the shaft
in line with the stuffing box machined face. From
the drive end push the rotor as far inboard as
possible and scribe another line on the shaft.
Move the rotor inboard again to halfway between
these lines. This is the rotating element centred.
d) Replace mechanical seal cartridge (do not
tighten).
e) Install inner oil shields together with respective
labyrinth rings from each end of shaft, in their
respective position. Fit “O” rings in labyrinth rings.
Do not tighten oil shield set screws.
f) Slide in position onto shaft all sleeve bearing oil
rings.
g) Fit thrust bearing assembly. Check duplex
bearings are spaced and mounted back-to-back.
Install between bearings rotating and stationary
spacers together with the oil ring. Slide external
sleeve over the bearings and bolt it to the
stationary spacer. Make sure that side slot is in