K-Patents PR-01-S User Manual
Page 43

INSTRUCTION MANUAL FOR K-PATENTS PR-01-S (-AX/FM/CS)
DOCUMENT/REVISION No. INM 1/14
Effective: May 15, 2009
41
DEFINITIONS
Refractive Index (R.I.) calibration
Calibration of PR-01-S with standard refractive index liquids: As a result of calibration procedure, a set of
R.I. parameters are calculated: RIBias, RIGain, RISquare and RiCube. These parameters define the
calibration polynome used for refractive index measurement with a reference temperature of 25°C.
The Refractive Index (R.I.) calibration can be traced to national standards, whenever certified standard R.I.
liquids are used in the calibration.
Accuracy of R.I. calibration
Maximum deviation accepted in R.I. calibration: The total acceptable deviation for PR-03 is R.I. 0.0006.
This comes from the accuracy of PR-01-S (R.I. 0.0002) and from the accuracy of the standard R.I. liquids
used in the calibration (R.I. 0.0002).
Repeatability of the R.I. calibration
Deviation from the latest R.I. calibration of PR-01-S: The repeatability of PR-01-S is R.I. 0.0002. This can
be verified as described in the following section.
VERIFICATION OF REFRACTIVE INDEX (R.I.) CALIBRATION
The R.I. calibration can be verified with three certified standard R.I. liquids as follows:
1
Take the sensor from the process and mount it on a service bench.
2
Allow the sensor temperature to settle close to 25°C. The temperature does not have to be exactly
25°C, since the differences in the calibration temperature are compensated by the software.
3
Ensure that the prism is clean from process medium. Use a cleaning solvent appropriate for the
process medium.
4
Use the certified standard R.I. liquids, which corresponds to the values indicated in the Final test
section of the latest Delivery data sheet or Standard calibration sheet of the PR-01-S. The three R.I.
values are selected by K-Patents calibration software to represent the used R.I. range.
5
Check the R.I. calibration with the three R.I. liquids. The use of K-Patents PR-01-S sample holder is
recommended to ensure a right portion of liquid on the prism.
6
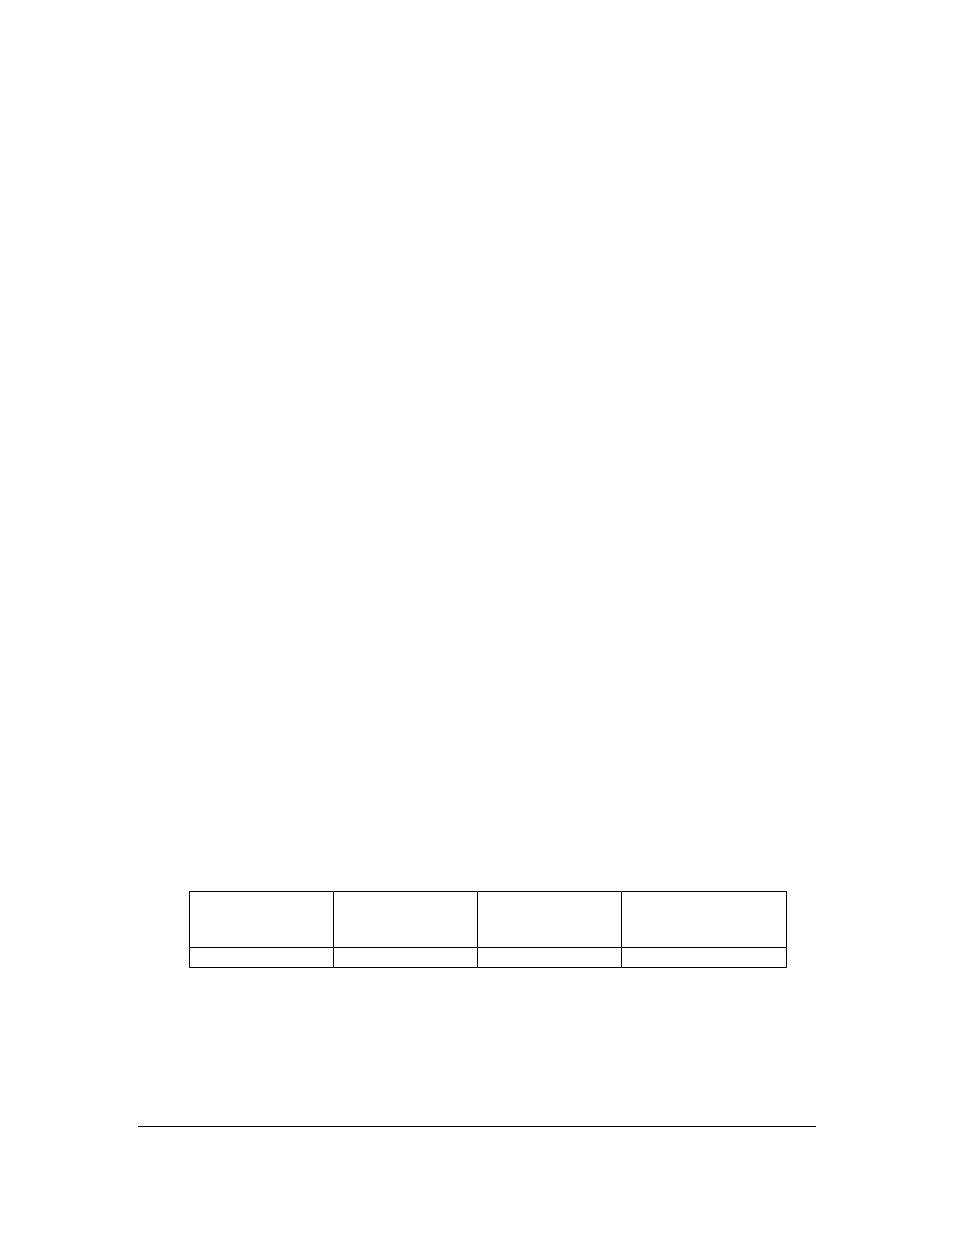
The R.I. calibration can be checked against the standard R.I. liquid values as follows:
Display
Key-in sequence
from Normal
Display
Value to be
checked
Acceptable value
Information display D
Standard RI (25°C)
Sample R.I. ± 0.0006