English, Divx, Wma jpeg mp3 cd – Marantz DV6600 User Manual
Page 17: Vcd dvd-rw dvd-a dvd-v, Dvd-v, Dvd-a dvd-v
– 17 –
EN
English
Getting started
•
Turn on the power of the TV, amplifier
and any other components which are
connected to the DVD player.
•
Make sure the TV and audio receiver
(commercially available) are set to the
correct channel.
Press the POWER button.
• “P-ON” will appear briefly on the display panel.
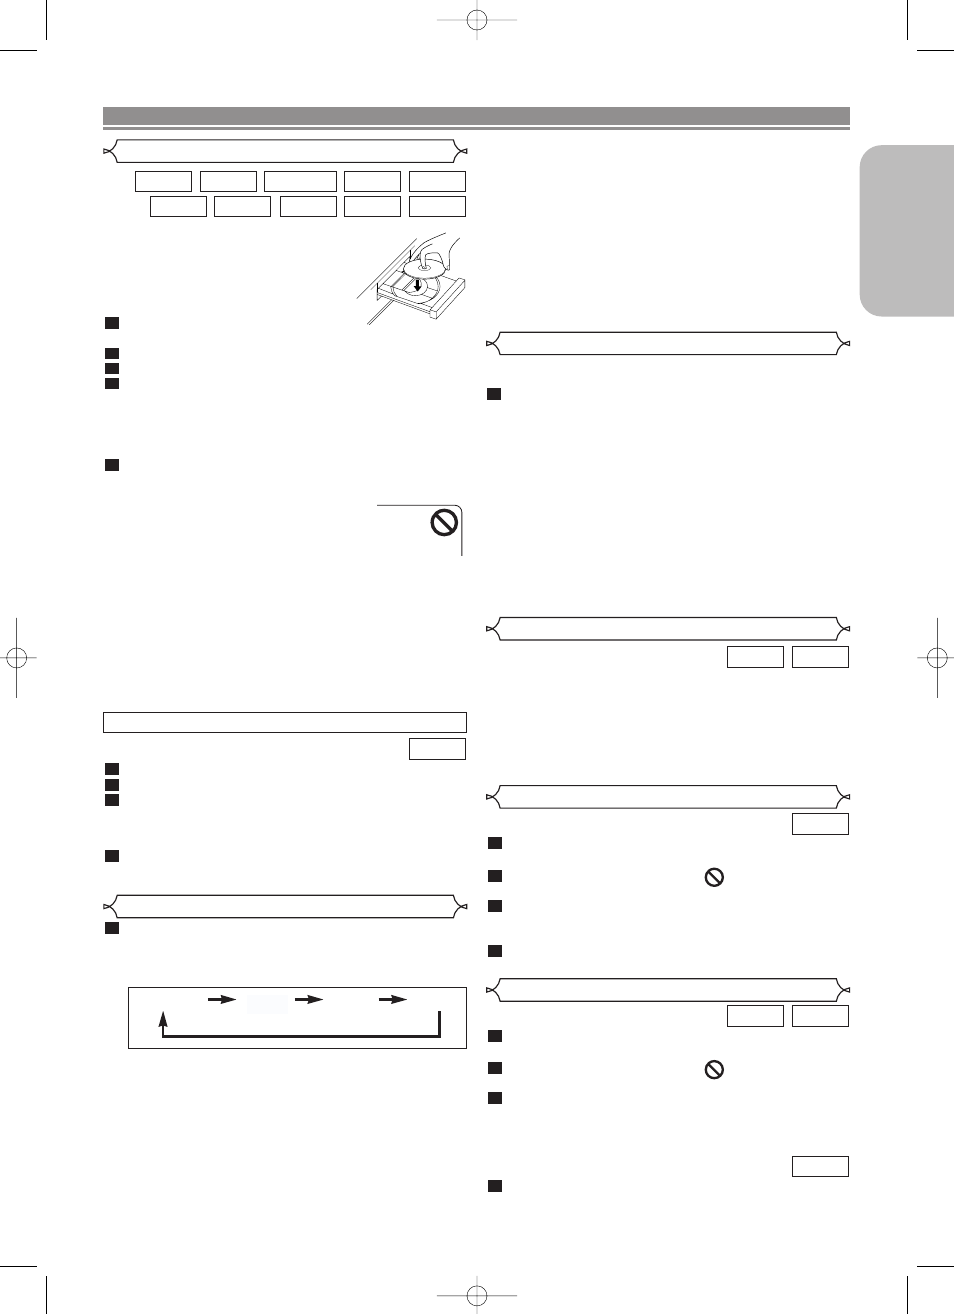
Press the OPEN/CLOSE button to open disc loading tray.
Place the disc in the tray, with the label facing up.
Press the PLAY button.
• The tray will close automatically, and playback will start
from the first chapter or track of the disc. If the playback
does not start automatically, press the PLAY button.
• When you play back the DVD with a title menu, it may
appear on the screen. In this case, refer to “Title Menu”.
Press the STOP button to stop playback.
NOTES:
• A “prohibited icon” may appear at the top-
right on the TV screen during operation,
warning that a prohibited operation has
been done to the DVD player or the disc.
• With DVDs that use some titles for play-
back program signals, playback may
start from the second title, or it may skip these titles.
• During the playback of two layered disc, pictures may
stop for a moment. This happens when the 1st layer
switches to the 2nd layer. This is not a malfunction.
• The operation may vary when you playback DVDs with
disc menu or Video CDs with PBC. Refer to the manual
accompanying the disc for details.
• A DVD-RW disc recorded in the VR mode may freeze
momentarily during playback depending on how the playlist
was made and edited (deleted titles, repeated recording).
5
4
3
2
1
DivX
®
WMA
JPEG
MP3
CD
Super
Audio CD
VCD
DVD-RW
DVD-A
DVD-V
PLAYING A DISC
Press the MENU button.
• The DVD main menu will appear.
If the feature is not available,
symbol may
appear on the TV screen.
If disc menu is available on the disc, audio lan-
guage, subtitle options, chapters for the title and
other options will appear for selection.
Press the Cursor buttons (L / K / B / s) to select an
item, and the ENTER button to confirm selection.
4
3
2
1
DVD-V
Basic Playback
Disc Menus
DVD may contain menus to navigate the disc and access spe-
cial features. Press the appropriate Numeric buttons or use the
Cursor buttons (L / K / B / s) to highlight your selection in the
DVD main menu and press the ENTER button to confirm.
NOTE:
• Unless stated, all operations described are based on
remote control use. Some operations can be carried
out using the menu bar on the TV screen.
DVD-A
DVD-V
General Features
Press the TOP MENU button.
• The title menu will appear.
If the feature is not available,
symbol may
appear on the TV screen.
Press the Cursor buttons (L / K / B / s) to select
an item, and the ENTER button to confirm selec-
tion.
• Playback will begin at the selected title.
When playing a Video CD with PBC func-
tion, the title menu will appear automatically.
1
VCD
3
2
1
DVD-A
DVD-V
Title Menu
Insert a Video CD.
Press the STOP button.
Press the Numeric buttons to enter the desired
track number.
• The PBC function is now cancelled and the playback of
the Video CD will start.
To call back the PBC function, press the STOP but-
ton twice, and then press the PLAY button.
• Title menu will appear on the display.
4
3
2
1
VCD
CANCELLING AND CALLING BACK THE PBC FUNCTION
HDMI Setup
Press the HDMI button on the front panel to select
the HDMI output mode.
The output mode changes as follows every time
the HDMI button is pressed.
• Press the HDMI button once to display the current
HDMI output mode.
• Press the HDMI button appropriate times to display the
desired mode.
• Leave the display showing the desired resolution for 3
seconds, and the current HDMI output mode will be
changed to the selected one.
480P/576P
(Default)
: Video output from the HDMI OUT terminal at 480p or 576p.
720P
: Video output from the HDMI OUT terminal at 720p.
1080i : Video output from the HDMI OUT terminal at 1080i.
hdOFF: No video outp
ut from the HDMI OUT terminal.
1
NOTES:
• Video and audio signals may be distorted temporarily
when switching to/from the HDMI output mode.
• Use a display equipment with an HDMI terminal.
• Progressive video signal will not be output from the
COMPONENT VIDE OUT during the HDMI output mode.
• You cannot set a resolution which is not compatible on
the connected display equipment.
• You can check the HDMI connection status by pressing
the DISPLAY button during playback with the HDMI
output mode. (Refer to pages 24-25.)
• The HDMI button is inoperative when no HDMI connec-
tion is made or the connected HDMI equipment is
turned off.
hdOFF
1080i
480P/576P
720P
AUDIO EX Mode
You can enjoy higher quality audio by stopping the analog
video signals and display.
Press the AUDIO EX. button on the front panel to
output audio and HDMI signals only (no analog
video signals will be output, and the display will be
turned off).
• You can press the AUDIO EX. button either during
playback or in stop mode.
• The AUDIO EX. indicator will light up.
• The higher quality sound will be achieved.
NOTES:
• In setup menu, the AUDIO EX. button is not available.
• The AUDIO EX mode will be released when you press
the buttons listed below.
OPEN/CLOSE button (on both the remote control and
the front panel), SETUP, POWER or DISPLAY button
(on the remote control), POWER ON/STANDBY or
AUDIO EX. button (on the front panel).
1
E61M5UD(EN).qx3 05.9.14 5:08 PM Page 17