Display setting, Dvd setup, Audio setting – Marantz DV6600 User Manual
Page 28
Choose the appropriate Audio Setting for your equipment as
it only affects during the playback of DVD discs of the DVD
player.
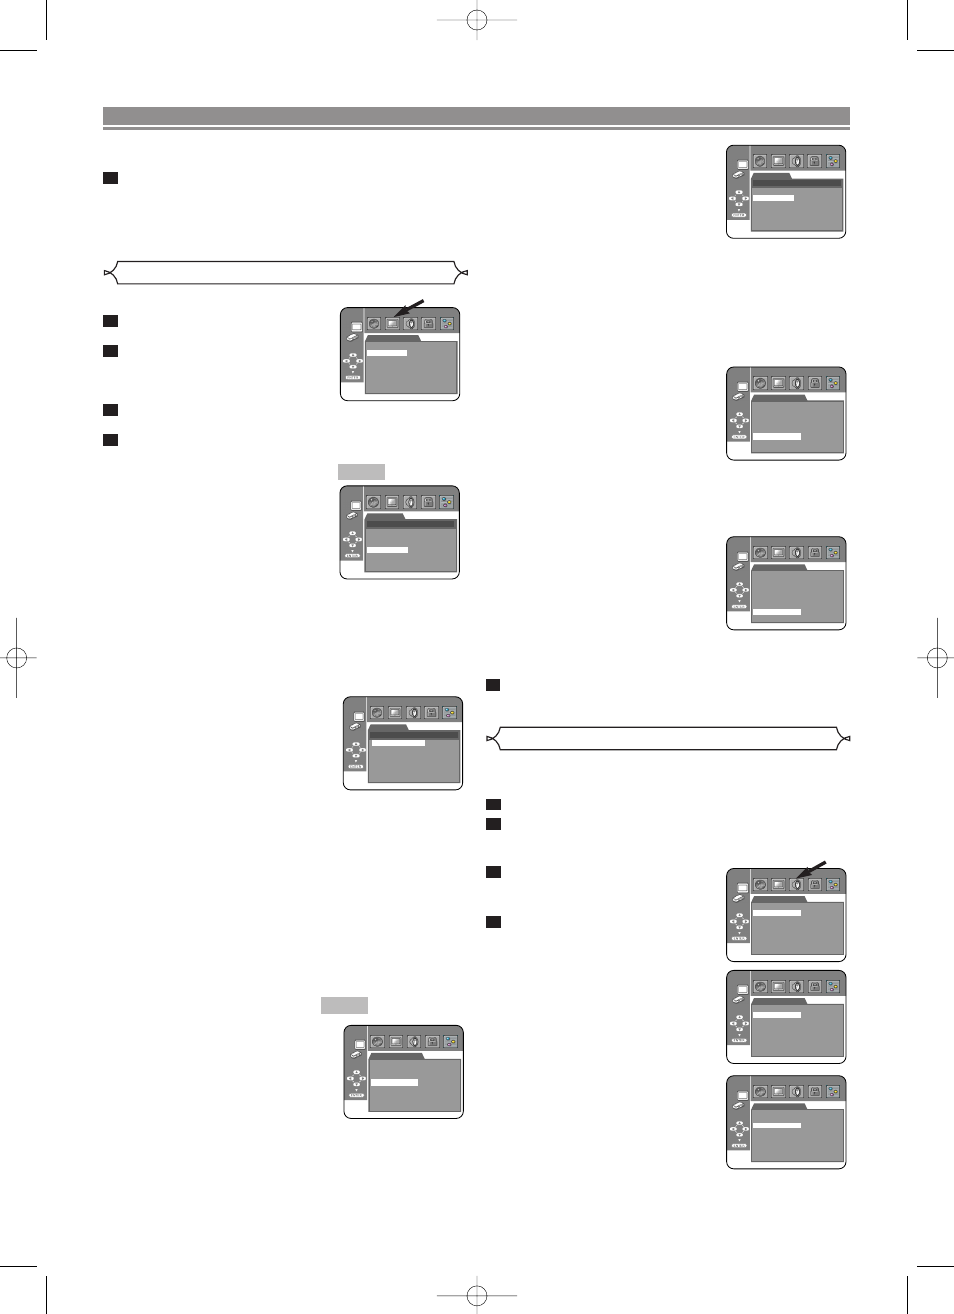
Press the SETUP button in stop mode.
Press the Cursor buttons (s or B) to select CUS-
TOM, then press the ENTER button.
• The CUSTOM mode will appear.
Press the Cursor buttons
(s or B) to select AUDIO, then
the ENTER button to confirm.
Press the Cursor buttons
(K or L) to select the below
items, then press the ENTER
button.
DRC (Dynamic Range Control)
(Default: ON)
• To compress the range of sound
volume.
• DRC function is available only on
the discs that are recorded in the
Dolby Digital format.
DOWN SAMPLING (Default: ON)
• Set to ON when outputting in
48kHz (or 44.1kHz).
• This function is available only on
digital outputting of a disc record-
ed in over 96kHz (or 88.2kHz).
• This function is not effective for the HDMI sound output.
4
3
2
1
– 28 –
EN
AUDIO
DRC
DOWN SAMPLING
DOLBY DIGITAL
DTS
HDMI AUDIO
ANALOG AUDIO
ON
ON
BITSTREAM
BITSTREAM
AUTO
2.0CH
PROGRESSIVE MODE
(Default: AUTO 1)
• Press the Cursor buttons (K or
L
) to select a mode for the pro-
gressive scan output, then press
the ENTER button.
• AUTO 1: mode suitable for
images on the film material.
• AUTO 2: mode for images on the material of 30-frame
film.
• VIDEO 1: mode for normal video material.
• VIDEO 2: mode for video material with less move-
ments.
• VIDEO 3: mode for video material with many move-
ments.
FORMAT (Default: RGB)
• Select an HDMI output mode
between YCbCr and RGB.
• To change this setting, connect
the player to an equipment com-
patible with YCbCr using an
HDMI cable, and output video
signals from the HDMI OUT terminal. The setting is
fixed to RGB and cannot be changed if the connected
equipment is not compatible with YCbCr. This setting
also cannot be changed when no video signal is output
from the HDMI OUT terminal.
RGB RANGE
(Default: NORMAL)
• Select a HDMI picture mode
between NORMAL and
ENHANCED.
• Select ENHANCED if the black-
white contrast is not clear.
• This setting is effective only for the HDMI RGB output.
• This setting cannot be changed when no RGB signal is
output from the HDMI OUT terminal.
Press the SETUP button to exit.
• Be sure to press the SETUP button, or the setting will
not work.
5
Display Setting
You can change certain aspects of the DVD display screens,
and various display mode settings.
Press the SETUP button in
stop mode.
Press the Cursor buttons (s
or B) to select CUSTOM, then
press the ENTER button.
• The CUSTOM mode will appear.
Press the Cursor buttons (s or B) to select DIS-
PLAY, then press the ENTER button to confirm.
Press the Cursor buttons (K or L) to select the be-
low items, then press the ENTER button.
TV ASPECT (Default: 16:9 WIDE)
• Press the Cursor buttons (K or
L
) for an item selection, then
press the ENTER button.
• Select 16:9 WIDE if a wide-
screen TV is connected to the
DVD player.
• Select 4:3 LETTER BOX for a
black bars appears on top and bottom of the screen.
• Select 4:3 PAN & SCAN for a full height picture with both
sides trimmed.
• Select 16:9 SQUEEZE if a wide-screen TV is connected
to the DVD player and you want to maintain the original
source aspect of 4:3. However, when playing back discs
recorded on 16:9, images will be output as 16:9 WIDE.
STILL MODE (Default: AUTO)
• Press the Cursor buttons
(K or L) for an item selection
(AUTO, FIELD or FRAME), then
press the ENTER button.
• This adjusts the resolution of
pictures in the still (PAUSE)
mode.
• If you select AUTO, automatically select the best reso-
lution setting (FRAME or FIELD) based on the data
characteristics of the pictures.
• If you select FIELD, pictures in the still mode will be
stabilized although they will be coarse due to a little
amount of data.
• If you select FRAME, pictures in the still mode will be
highly defined although they will be blurred due to out-
put of two fields at the same time.
NOTE:
• An individual picture on TV screen is called as “frame”,
which consists of two separate images called as “field”.
Some pictures may be blurred at the AUTO setting in
the still mode due to their data characteristics.
PROGRESSIVE (Default: OFF)
• Press the Cursor buttons (K or
L
) to set PROGRESSIVE to ON
or OFF, then press the ENTER
button.
• The setting will be effective when
you exit the setup screen by
pressing the SETUP button.
• When PROGRESSIVE is ON,
“P.SCAN” appears on the DVD player’s display.
• This setting is fixed to OFF during the HDMI output
mode. Set the HDMI mode to hdOFF or remove the
HDMI cable to change the setting.
• Refer to page 12 for more details.
QUICK
QUICK
4
3
2
1
DVD SETUP
DISPLAY
STILL MODE
AUTO
FIELD
FRAME
DISPLAY
TV ASPECT
4:3 LETTER BOX
4:3 PAN & SCAN
16:9 WIDE
16:9 SQUEEZE
TV ASPECT
STILL MODE
PROGRESSIVE
PROGRESSIVE MODE
FORMAT
RGB RANGE
16:9 WIDE
AUTO
OFF
AUTO 1
RGB
NORMAL
DISPLAY
16:9 WIDE
AUTO
OFF
AUTO 1
RGB
NORMAL
DISPLAY
TV ASPECT
STILL MODE
PROGRESSIVE
PROGRESSIVE MODE
FORMAT
RGB RANGE
Audio Setting
AUDIO
DRC
DOWN SAMPLING
DOLBY DIGITAL
DTS
HDMI AUDIO
ANALOG AUDIO
ON
ON
BITSTREAM
BITSTREAM
AUTO
2.0CH
AUDIO
DRC
DOWN SAMPLING
DOLBY DIGITAL
DTS
HDMI AUDIO
ANALOG AUDIO
ON
ON
BITSTREAM
BITSTREAM
AUTO
2.0CH
DISPLAY
PROGRESSIVE MODE
AUTO 1
AUTO 2
VIDEO 1
VIDEO 2
VIDEO 3
TV ASPECT
STILL MODE
PROGRESSIVE
PROGRESSIVE MODE
FORMAT
RGB RANGE
16:9 WIDE
AUTO
OFF
AUTO 1
RGB
NORMAL
DISPLAY
TV ASPECT
STILL MODE
PROGRESSIVE
PROGRESSIVE MODE
FORMAT
RGB RANGE
16:9 WIDE
AUTO
OFF
AUTO 1
RGB
NORMAL
DISPLAY
• Only the languages supported by the disc can be
selected.
Press the SETUP button to exit.
NOTE:
• Language Setting for AUDIO and SUBTITLE is not
available with some discs. Then use the AUDIO and
SUBTITLE buttons. Details are on pages 25-26.
6
E61M5UD(EN).qx3 05.9.14 5:08 PM Page 28