Configuring channel delay – Grass Valley iTX Output Server 2 v.2.6 User Manual
Page 40
34
Output Server 2 Channel Configuration
Configuring Channel Delay
To select the XG Inside channel for Output Server 2:
1 Open the Output Server 2 user interface for the channel you want to configure, as
described in
Accessing the Output Server 2 User Interface
2 Go to Configuration > Channel tab.
The channel configuration options appear. The XG Inside options are in the top right
corner of the window.
IMPORTANT
If this area is grayed out it means you do not have the necessary software
installed on your playout server. For more information about configuring
Vertigo XG Inside, see the
Vertigo XG Inside User Guide
.
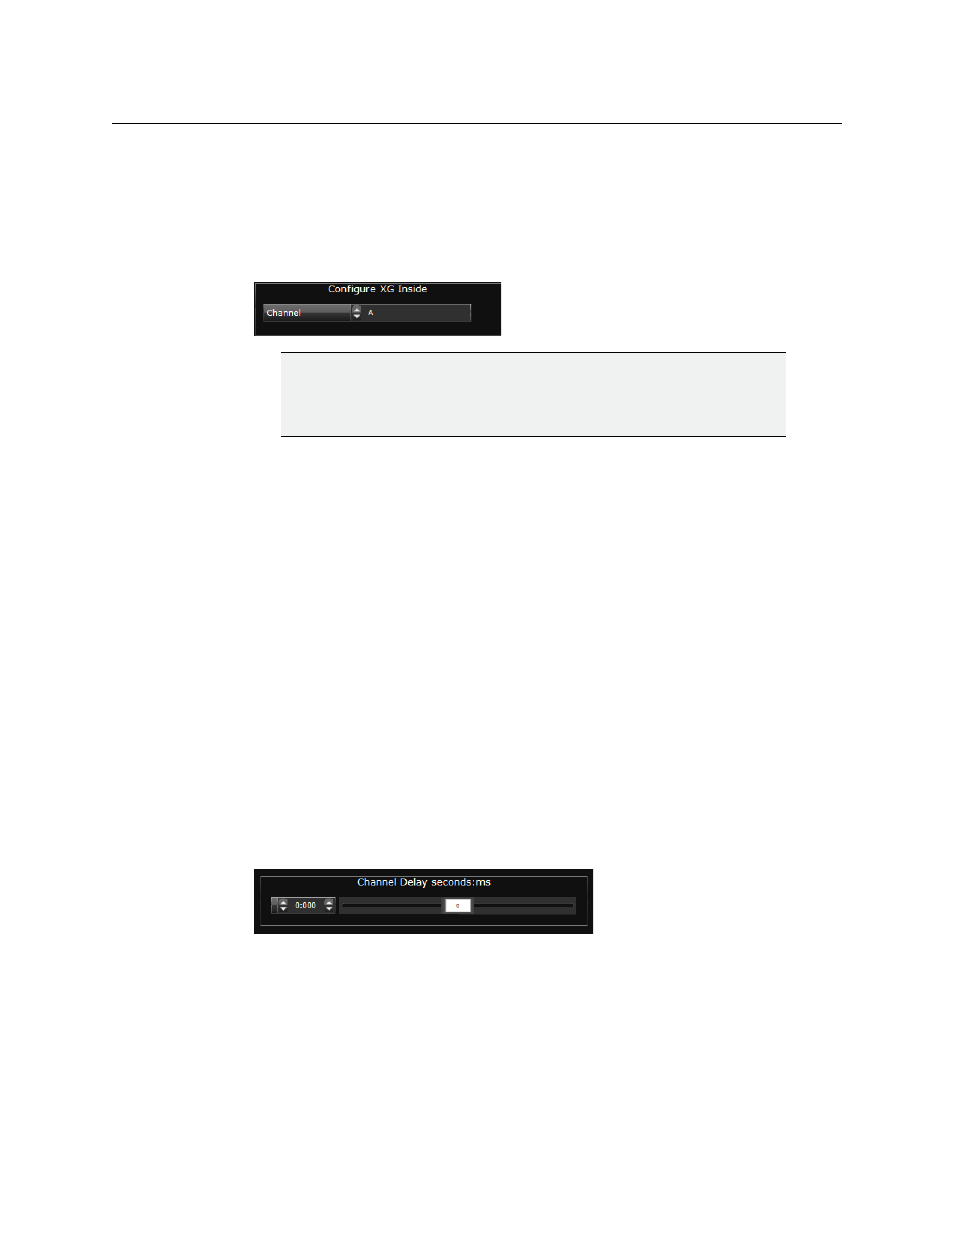
3 For Configure XG Inside, use the drop-down list to select the channel on which to
render XG Inside graphics.
4 Click Save to store your changes and automatically reboot the Output Server 2 service.
Alternatively, wait until you have finished making changes in other areas of the
Configuration panel, then click Save.
Configuring Channel Delay
A channel delay may be needed to adjust the output timing for transitions, such as when
switching the output of a national channel into and out of regional sub-channels. For
accurate transitions, the internal processing may need adjusting to take account of the
throughput time of a live source. This is configured from the Channel tab of the Output
Server 2 user interface.
To configure a the channel delay for an Output Server 2 channel:
1 Open the Output Server 2 user interface for the channel you want to configure, as
described in
Accessing the Output Server 2 User Interface
2 Go to Configuration > Channel tab.
The channel configuration options appear. The channel delay options are on the
bottom left of the window.
3 To set the Channel Delay seconds:ms, enter a value in seconds and milliseconds or use
the slider.
4 Click Save to store your changes and automatically reboot the Output Server 2 service.
Alternatively, wait until you have finished making changes in other areas of the
Configuration panel, then click Save.