Updating the jep-100 panel using netconfig – Grass Valley JEP Series v.1.3.0 User Manual
Page 45
JEP Series — Installation Manual
45
Updating the JEP-100 panel Using NetConfig
Updating the JEP-100 panel Using NetConfig
This section describes the steps that are needed to update the JEP-100 using
the NetConfig application.
Follow these steps to update the JEP-100 software:
1.
Start NetConfig.
2.
Click the
Load SW
button in the Tool bar row (
Note
You only need to click the Load SW button to access the load software page.
However, you can click the IP View button to see the IP addresses on the left
panel (
).
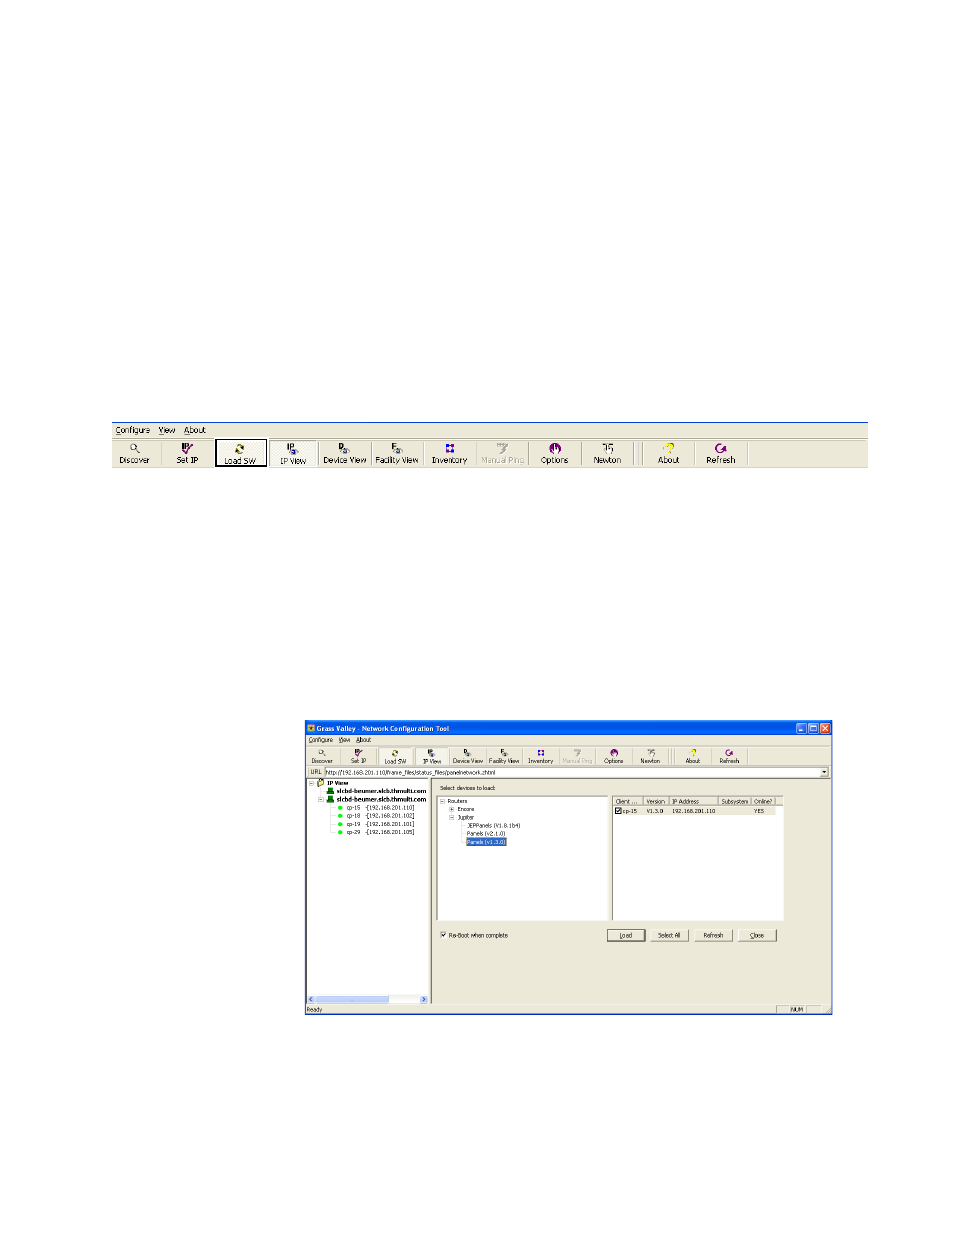
Figure 24. Tool bar Row of the NetConfig Application
3.
Select the panel from the navigation panel on the left hand side.
4.
Select the Panels (v1.3.0) in the select devices to Load area.
5.
Click the Preferred panel’s check box under the Client column.
6.
Select the
Re-boot when complete
check box.
7.
Click the
Load
button
Figure 25. Updating the JEP-100