Bk bl, Recording and looping a sample bm – Casio XW-G1 User Manual
Page 17
Learning to Play by Playing (For Synthesizer Novices)
E-15
As you do when selecting a tone, you can use the
bp
dial to
select the sequence you want. For now, let’s select preset
sequence 2-3, and then press
bk
START/STOP. This will
start playback of the sequence you selected.
Each sequence has eight variations (patterns), which you can
select using the
bl
PATTERN 1 to 8 buttons. Experiment
with selecting the various patterns to get an idea of what is
available.
Example: To select Pattern 3
The Step Sequencer uses nine (8 through 16) of the 16 parts
of the Synthesizer’s sound source, which provides plenty of
support every for very complex rhythms. You can find out
which parts are outputting sound at any time by checking the
level meter on the Synthesizer’s display.
As the sequence plays back, the
4
buttons (1 to 16)
continually turn on and off, which indicates the movement of
the notes of the part that is being edited (the part indicated by
the pointer (e) in the illustration above. This is the way the
Step Sequencer repeatedly produces the 16 steps.
You can select a part for editing using the
9
PART minus
(–) and plus (+) buttons. Use the
5
slider to edit individual
steps. For more information, see page E-50.
What we have seen here is just a very small part of the many
and varied rhythms that can be produced by your Synthesizer.
Be sure to take a look at the procedure under “Using the Step
Sequencer” on page E-50 to find out how you can create your
own original sequences.
The following shows an simple example of how to use the
sample looper to sample a sound and create a loop.
Connect the other electronic music instrument from which you
want to record the sample or a microphone to the Synthesizer.
(See page E-8.)
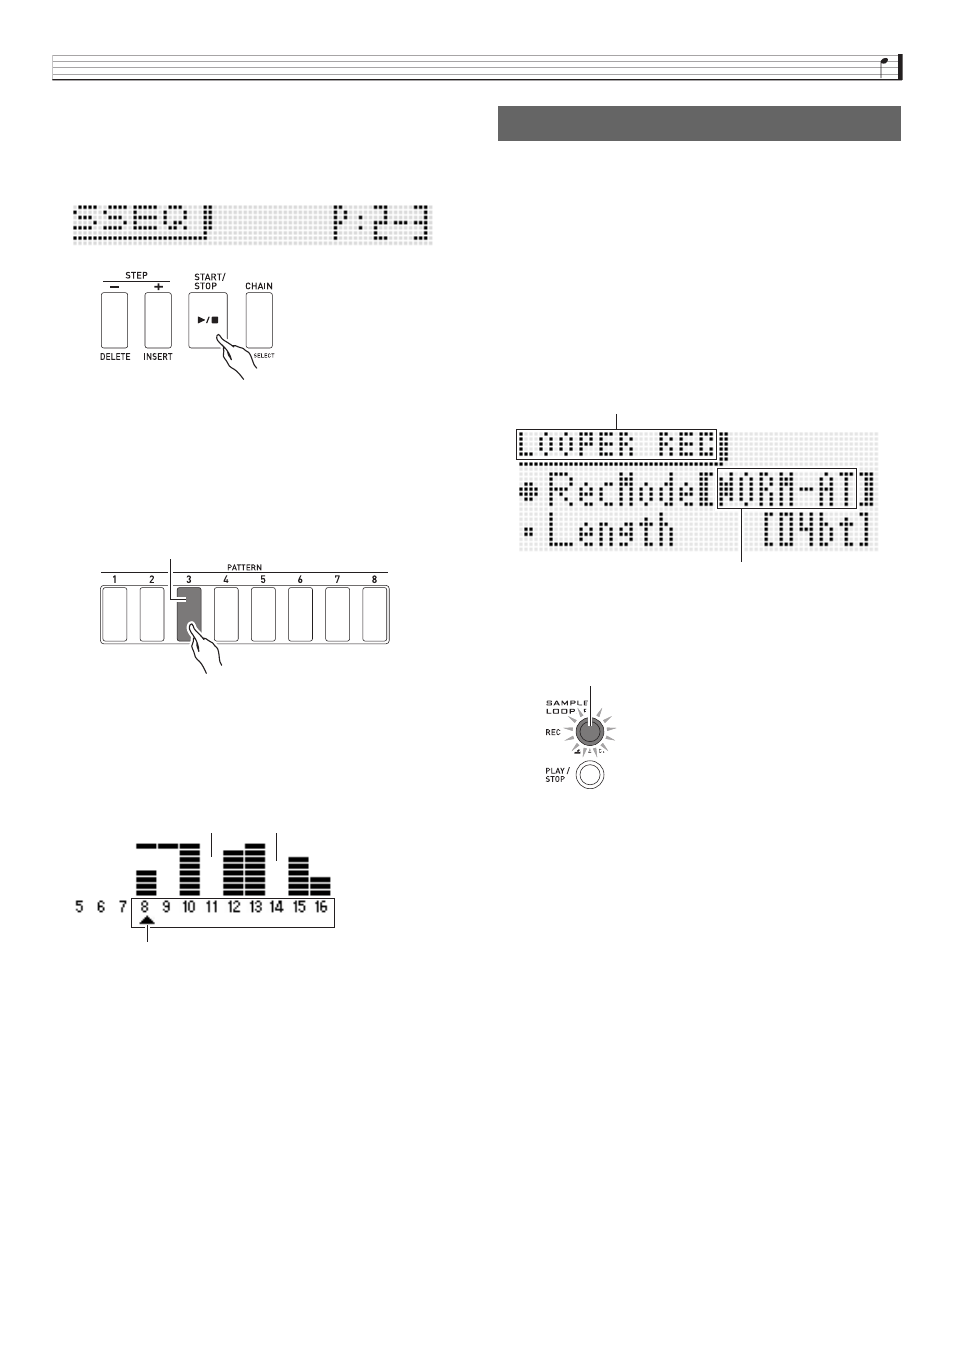
Press
bm
REC to display the LOOPER REC (sample looper
recording setting) screen.
• Use the
br
cursor (q, w) buttons and the
br
minus
(–) and plus (+) buttons to change the “Rec Mode” setting
to “NORM-AT” and the “Length” setting to “04bt”.
Press
bm
REC again.
This will cause the
bm
REC button to flash. This operation
will enter the record auto start mode.
Output the sound on the other electronic music instrument or
microphone, or play something on the Synthesizer. The
Synthesizer will detect the sound and start recording.
• The
bm
REC button lights when recording starts.
After recording of four beats is complete, playback of a loop of
what was recorded starts automatically.
• The
bm
REC button starts flashing at high speed and
overdubbing is paused. Anything you play at this time is not
overdubbed into the sample, so you can play a duet with
what you recorded previously or practice for future
overdubbing.
When you are ready to start overdubbing, press
bm
REC
again. so the
bm
REC button light stops flashing and remains
lit.
• Whatever you play at this time is overdubbed on what you
recorded previously.
• Each press of
bm
REC toggles between loop playback and
overdubbing.
To stop recording, press
bm
PLAY/STOP.
For details, see “Recording and Playing Back with the Sample
Looper” (page E-64).
bk
bl
Lit: Selected pattern
Parts 11 and 14 unused
Part selected for editing (e)
Recording and Looping a Sample
bm
REC mode setting screen
Auto REC mode
Flashing