To select the trigger mode – RIGOL DSG3000 Series User Manual
Page 69
Chapter 2 Front Panel Operations
RIGOL
DSG3000 User’s Guide
2-29
Press Delay to set the delay from the start of the #1 pulse to the start of the #2
pulse of the double-pulse modulating signal.
Use the numeric keyboard or knob to input the desired delay value.
The range of the delay is from 20 ns to 170 s – 20ns.
NOTE:
When “Ext” modulation source or “Train” pulse mode are selected, the
above-mentioned menus are grayed out and disabled.
To Select the Trigger Mode
Press Pulse Source to select “Int” modulation source; press Trig Mode to select
“Auto”, “Ext Trig”, “Ext Gate”, “Key” and “Bus” trigger mode.
Auto
The default mode is auto. The RF signal generator meets the trigger condition at
any time and will start the pulse modulation once the Pulse function is enabled.
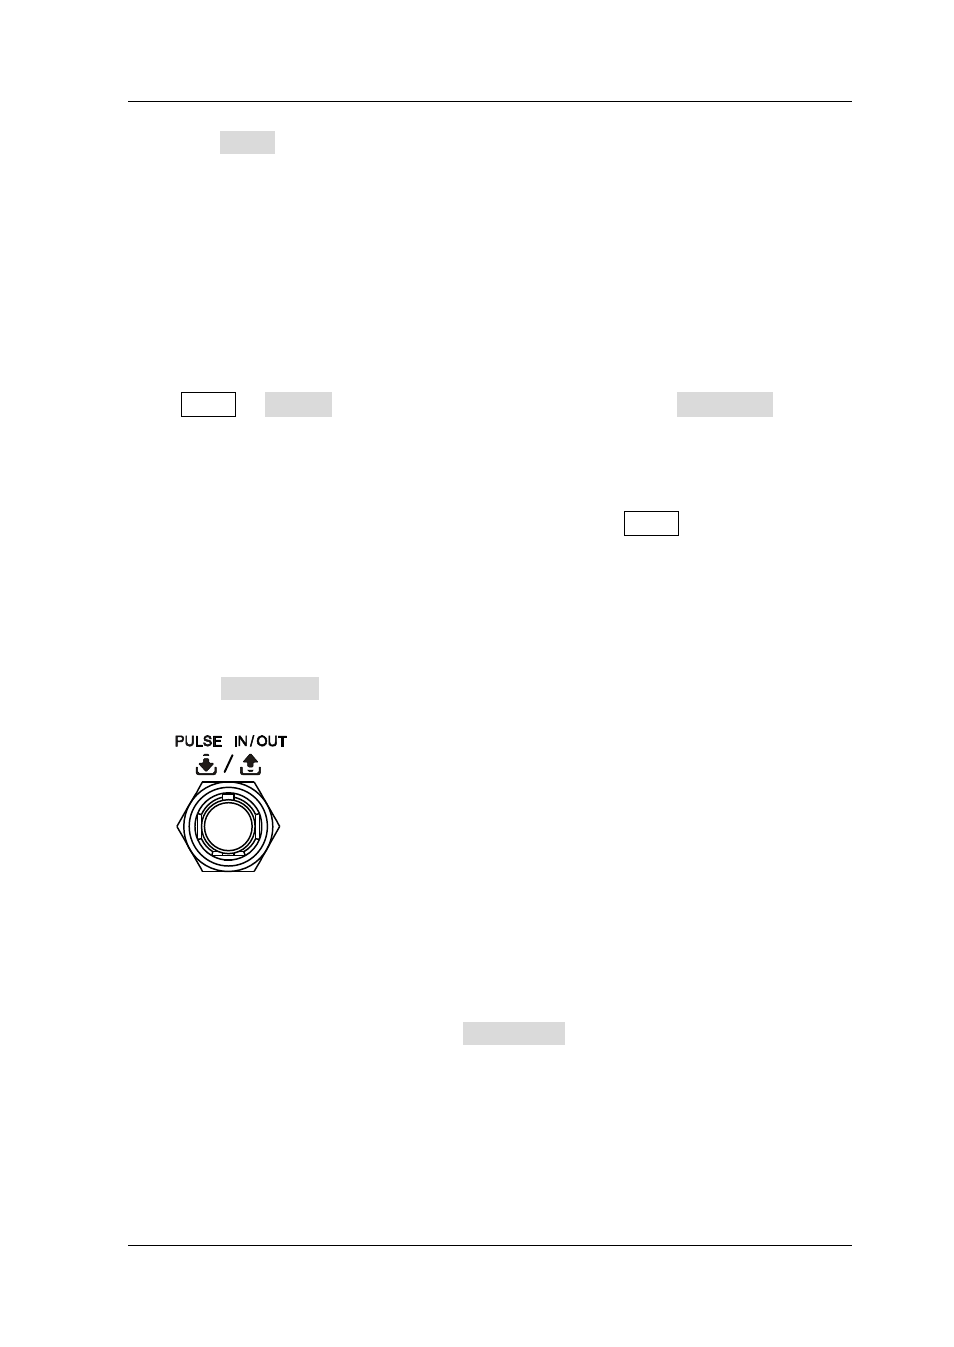
External Trigger
In external trigger, the RF signal generator accepts the external trigger signal
input from the [PULSE IN/OUT] connector (as shown in the figure below) at
the rear panel. The instrument starts a pulse modulation each time a TTL pulse
signal with specified polarity is received. To specify the polarity of the TTL pulse,
press Trig Slope to select “Pos” or “Neg” and the default is “Pos”.
External Gate
In external gate mode, the RF signal generator accepts the external gated signal
input from the [PULSE IN/OUT] connector at the rear panel. The instrument
starts a pulse modulation within the valid level range each time a gated signal
with specified polarity is received (as shown in the figure below). To specify the
polarity of the gated signal, press Gate Polar to select “Normal” or “Inverse”
and the default is “Normal”.