Changing the jtag clock frequency, Changing the jtag clock frequency –4 – Altera EthernetBlaster II User Manual
Page 22
2–4
Chapter 2: EthernetBlaster II Communications Cable Administration
JTAG Clock Settings
EthernetBlaster II Communications Cable User Guide
January 2014
Altera Corporation
w
Use caution when changing the JTAG clock setting from the default setting—even if a
device supports a higher frequency, your board design also affects the maximum
operating frequency of your cable.
Changing the JTAG Clock Frequency
To change the JTAG clock frequency, use the following steps:
1. In your browser, open and log into the EthernetBlaster II administrative web page.
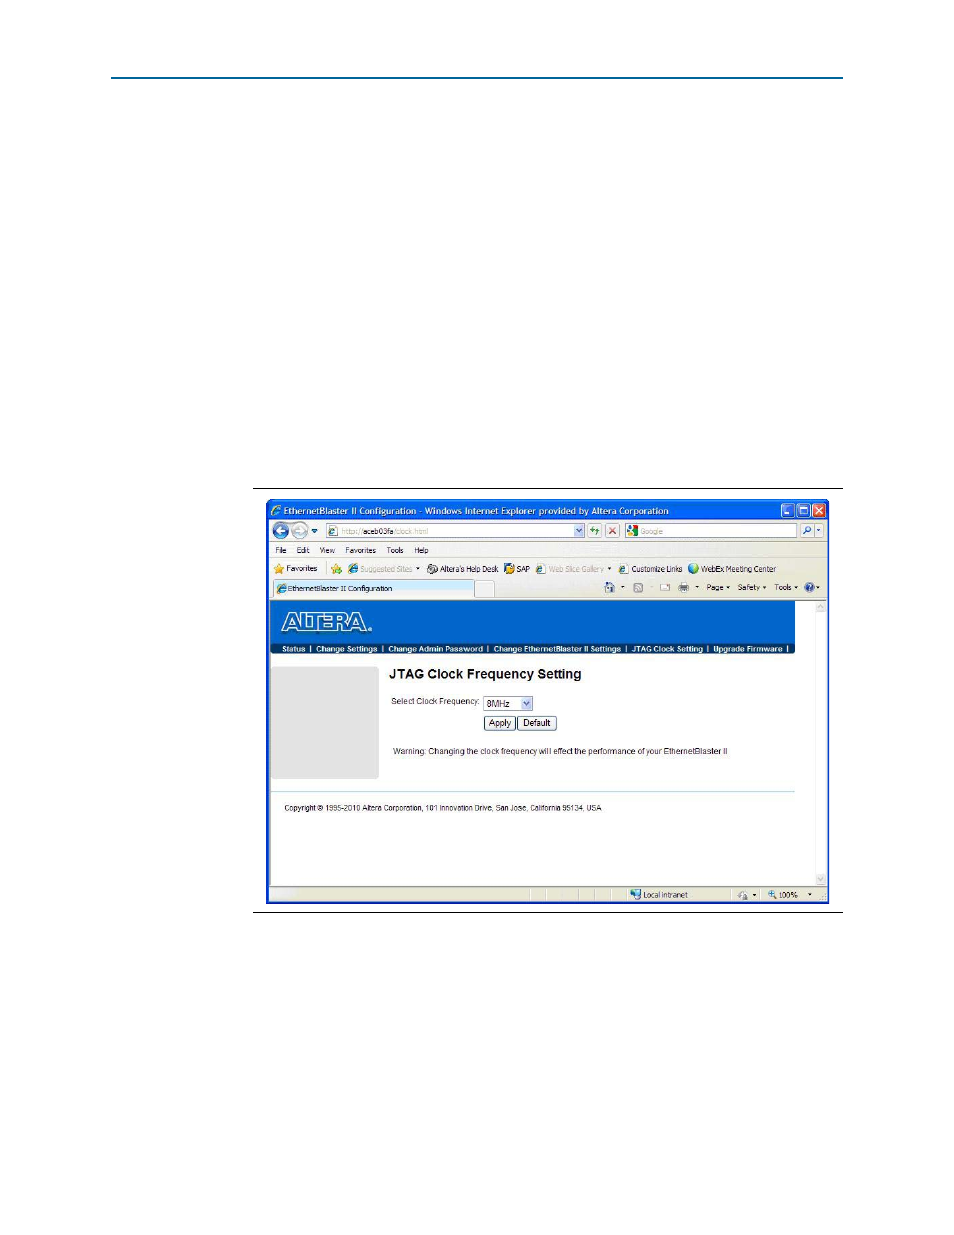
2. Click the JTAG Clock Setting tab (
a. The value shown in the Select Clock Frequency option is the JTAG clock
frequency that the cable is currently set to.
3. To change the frequency, select a value from the drop down menu, then click
Apply
.
4. To return to the default value of 8 MHz, either click Default or select 8 MHz from
the drop down menu and then click Apply.
Figure 2–3. JTAG Clock Setting Page