Choose a font family and style, Change the font on multiple layers, About missing fonts and glyph protection – Adobe Photoshop CC 2014 v.14.xx User Manual
Page 687
Note:
Choose a font family and style
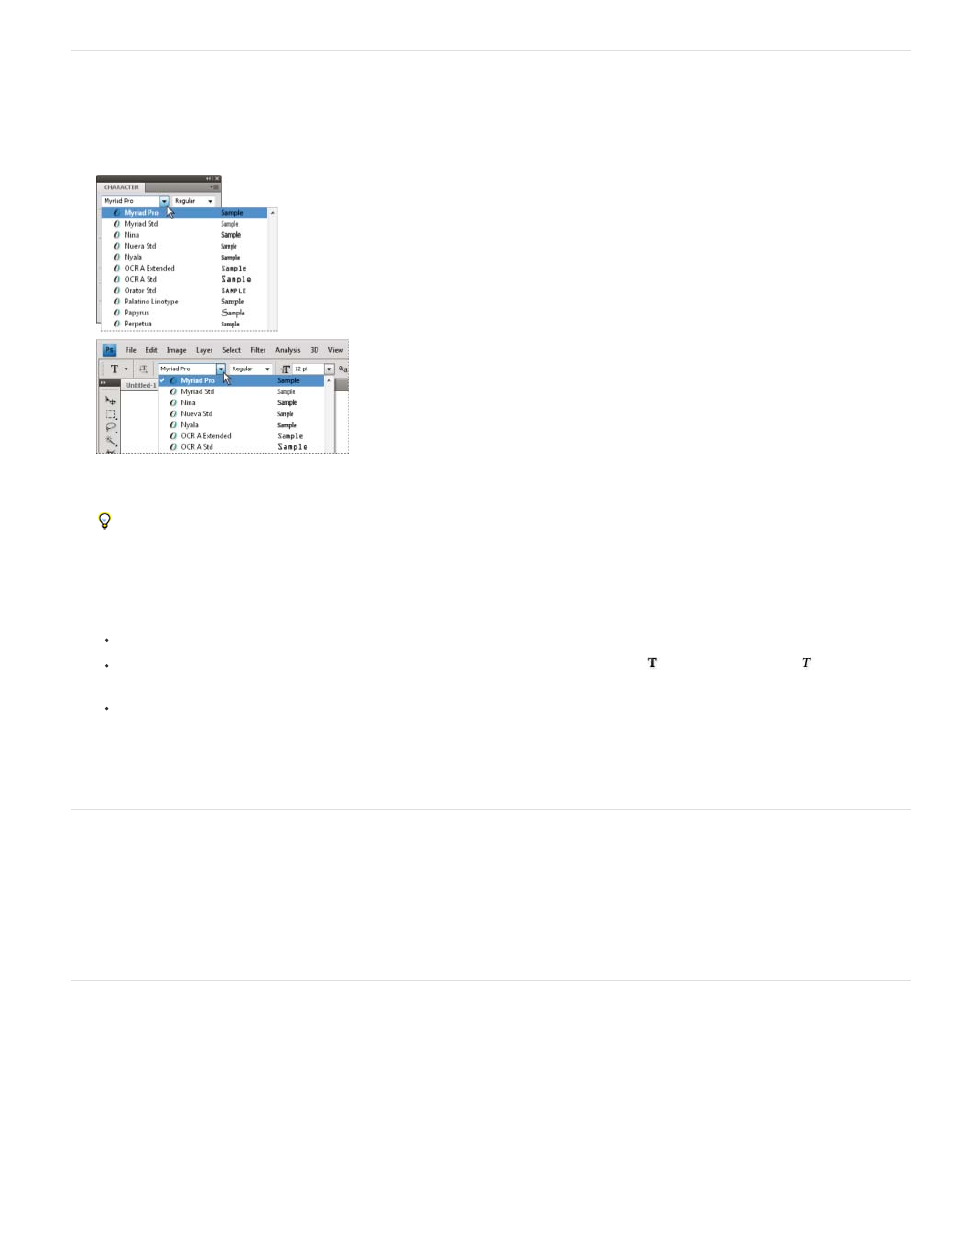
1. Choose a font family from the Font Family menu in the Character panel or options bar. If more than one copy of a font is installed on your
computer, an abbreviation follows the font name: (T1) for Type 1 fonts, (TT) for TrueType fonts, or (OT) for OpenType fonts.
The Font Family menu in both the Character panel and the options bar shows a preview of available fonts.
You can choose a font family and style by typing its name in the text box. As you type, the name of the first font or style beginning with
that letter appears. Continue typing until the correct font or style name appears.
2. To choose a font style, do one of the following:
Choose a font style from the Font Style menu in the Character panel or options bar.
If the font family you chose does not include a bold or italic style, click the Faux Bold button
or the Faux Italic button
in the
Character panel to apply a simulated style. Alternatively, choose Faux Bold or Faux Italic from the Character panel menu.
Use a dynamic shortcut. Dynamic shortcuts are keyboard shortcuts that are available (in edit mode only) for Faux Bold, Faux Italic, All
Caps, Small Caps, Superscript, Subscript, Underline, and Strikethrough.
You cannot apply Faux Bold formatting to warped type.
Change the font on multiple layers
1. In the Layers panel, select the type layers you want to change.
2. In the Character panel, select type characteristics from the pop-up menus.
About missing fonts and glyph protection
If a document uses fonts that aren’t installed on your system, you see an alert message when you open it. If you later try to edit type layers with
missing fonts, Photoshop prompts you to substitute an available matching font. If many layers contain missing fonts, you can quicken the
substitution process by choosing Type > Replace All Missing Fonts. (In CS5 this command is in the Layer > Type menu.)
Glyph protection protects against incorrect, unreadable characters that appear if you enter non-roman text (for example, Japanese or Cyrillic) after
selecting a roman font. By default, Photoshop provides glyph protection by automatically selecting an appropriate font. To disable glyph protection,
deselect Enable Missing Glyph Protection in the Type preferences.
680