3 chapter menu – MacroSystem Arabesk 5 User Manual
Page 10
10
fill the DVD faster than normal or low quality.
The low data rate ensures that more than two hours of video
footage can be burned on a DVD. This will obviously also result
in a lower image quality, for which a corresponding warning
message is displayed.
Normal quality corresponds to the usual quality of commercial
DVDs.
Note: The “Very high” quality level exploits the DVD standard
to its fullest. In that case, your DVD can not be played by all
DVD players. This will usually lead to a jittery video image or
even error messages. When you exit the “Add Film” menu by
clicking on OK, a corresponding warning will be displayed.
In case you wish to take a shorter High Defintion project and
burn it to a DVD instead of a Blu-Ray disc, the Medium quality
would be the advisable choice.
Should you wish to create a Blu-ray, the quality setting must at
least be set to High in order to obtain the necessary data rate.
Audio mode This button is used to set the audio quality. This
is not possible when creating a Blu-ray. The choice is between
uncompressed and compressed. Compressed audio only uses
a fraction of the storage capacity, but its quality is unimpres-
sive. Compressed audio should also be tested, since some
hi-fi systems cannot render the compressed audio.
In many cases, music videos for example, uncompressed
audio would be advisable.
Note: For technically interested users: Uncompressed audio
is 16 bit and 48 kHz PCM audio, while compressed audio is
MPEG audio.
Size approx. This is the approximate capacity your project
needs on the data carrier, expressed as a percentage. The cal-
culation is based on the previously explained quality settings
as well as on the length of the project. The displayed value is
only an approximation. The real value of the required storage
capacity can be higher as well as lower.
When there is not enough capacity available, you will have to
lower the image and sound quality or remove other projects.
Before the film is added, a warning will be displayed if the proj-
ect might not (or no longer) fit on the disk. Since these values
are only approximations, it is possible that -in some cases- a
project will fit on the medium, in spite of the warning.
Free capacity The remaining capacity displayed here, gives
an indication of the capacity which is still available on the disk.
The reference medium you have chosen will be the basis of
this calculation. This field will not be displayed when working
on a Blu-ray.
Edit Chapter Menu Clicking on the “Edit Chapter Menu” will
now allow you to divide your project in different pieces (chap-
ters). These chapters can then be selected directly during
playback – a big help for very long projects.
3.3 Chapter menu
To reach the individual design screens for the chapter menus,
you can go two ways. Via “Add film” or via “Film, Chapters”. In
both cases, you‘ll find the menu option “Edit Chapters” which
is used to work on the chapter menu.
Note: The chapter menu can only be reached through “Film,
Chapters” when the corresponding movie has not yet been
finalized.
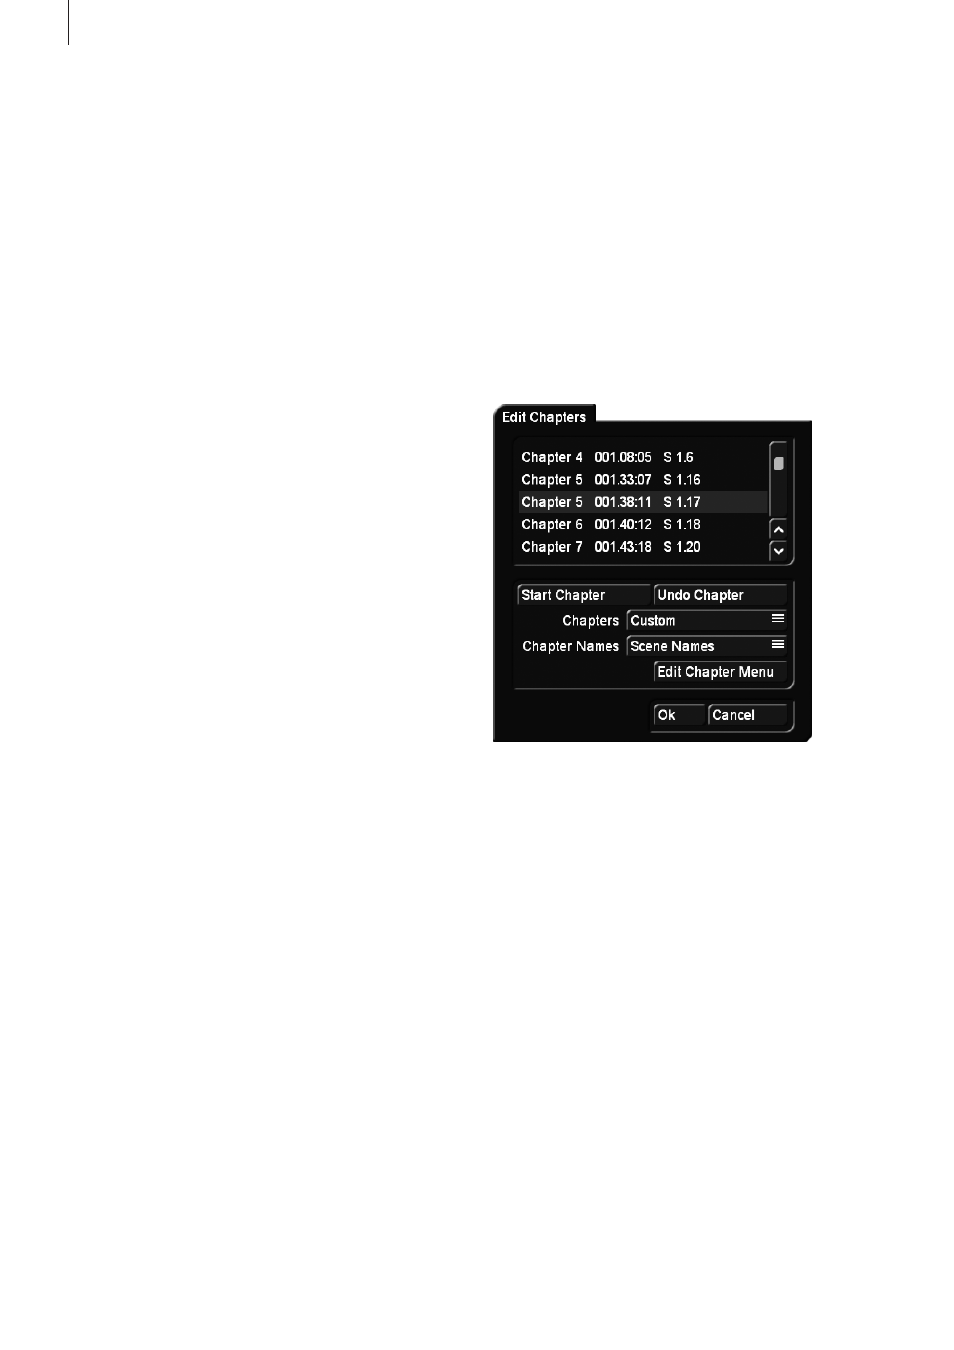
Click on the “Edit Chapters” function to open a window in
which you can select the individual storyboard scenes. The
scenes will then be displayed in a manner similar to this:
Since a chapter must always start at the beginning of a scene,
you should now scroll through the scenes listed in this window
and then decide where you would like to put the start of a
chapter. To do this, you should select the line with the wanted
scene and then click on the “Start Chapter” button.
Serial numbering is automatic. This way, Chapter 1 may be
renamed to Chapter 2.
Click on the “Undo Chapter” button, and the current chapter
number will again be assigned to the previous one.
Up to 99 chapters can be created. While there is no limit to the
number of chapters per page, their positioning should be care-
fully considered for the sake of clarity.
Use the Chapters option to automatically generate chapters.
If you do not want any chapters, you should set this here. All
chapters will be deleted as a result. If you would like to set a
chapter mark for every scene of a movie, select “Scenes ->
Chapters”. Of course, this function only makes sense if your
scenes correspond to the desired chapters. This function can
also be used to set all scenes as chapters, after which you
delete the chapters you do not want. Should you want to set
chapter marks every five or ten minutes, you can select this as
well. This will automatically set a chapter mark after this time
interval.