MacroSystem Arabesk 5 User Manual
Page 16
16
scene length. If is longer than the moving background scene,
it will automatically be shortened at the end. If the background
scene is longer, the sequence in the button will simply re-
peat itself until the end of the running time of the background
scene.
If you have selected the “Color/Pattern” type, this will enable
you to select a corresponding background from the Image
Pool instead.
By clicking on the Select button, you will be able to access
the project selection, where you can highlight and confirm the
project you want, in order to call up the corresponding scene
bin, from which a scene can be selected. The scene you have
selected will then be used as a scene image or as a sequence,
depending on the Type you have chosen. Should you want to
select a color or a pattern, this button will give you access to
the Image Pool.
The “Action” button is used to choose between the options
“Start Movie” and “Chapter Menu”.
This is used to determine whether the player should immedi-
ately start playing a movie (after selecting a title) when the disk
is inserted, or if the Chapter menu should be presented.
If you have selected the “Start Movie” function, you will be
able to use the DVD menu button of the remote control to jump
to the chapter menu, while the disk is playing. This will obvi-
ously only be possible if you have indeed created a chapter
menu.
Size is used to determine how large the image should be and
whether or not only the text should be displayed.
If you select “free”, you will be able to use the frame of the
button to give it any size you wish. If it was previously set to
“small”, “middle” or “large”, grabbing and pulling the frame
of the button will automatically set it to “free”. Use the option
“Like original” to use the predefined size. This option is only
available for the “Color/Pattern” button type. This is particu-
larly useful when working with predefined button elements or
arrows.
Adding/removing buttons
On the right of the
menu, there are two smaller buttons. There is one with an
asterisk and one with an X. These can be used to add any
number of buttons to your menu. They could, for example, be
used in the main menu to change to the chapter menu of the
movie. In the chapter menu, these additional buttons could be
used to jump to the first/last page of the chapter menu, or to
return to the main menu.
The X button is only active, when you are currently positioned
on top of such a new button. This button can be removed by
clicking on the X.
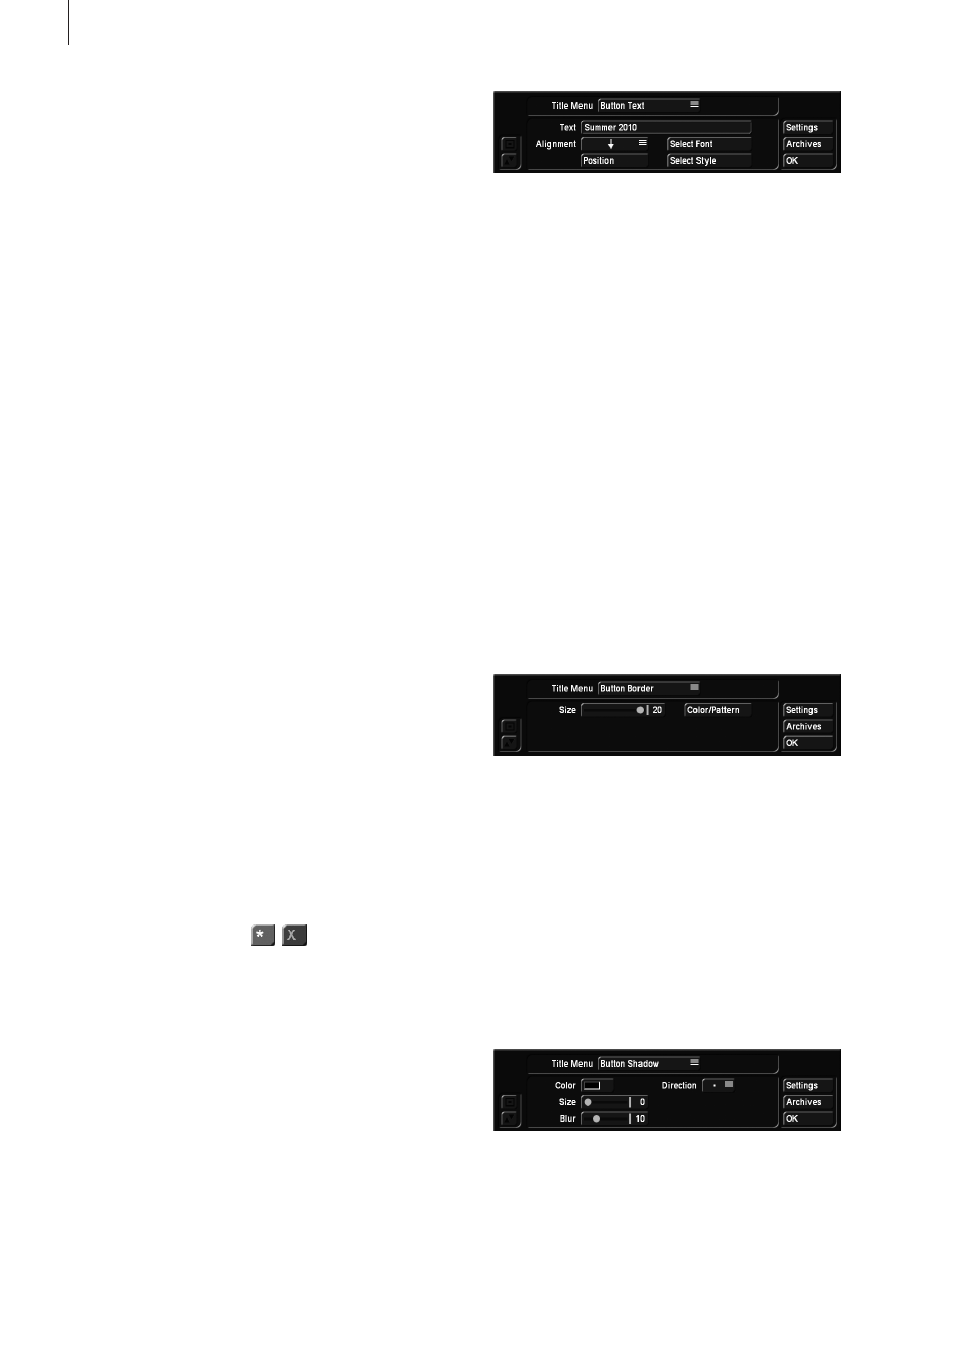
Button Text Use this for general changes to the titling of the
movie.
The “Button Text” button is used to change the font type and
size. The Style button can be used to access the Font window.
In this window, several more settings can be adjusted, such as
text color, italic, frame size or shadow.
The button text can be displayed in multiple text lines, regard-
less of its location. It also possible to define an individual text
position, using “Position”. Note that positioning using the
“Position” function can be reset by selecting the arrows under
“Position”.
The name of the button is not always necessarily the name of
the project. The project names can be found under Info Film.
If the name is changed there, it will not be changed automati-
cally in the disk menu. Buttons are named only in the “Button
Text” menu. If you leave the text blank, the program will use
the name from Info Film. If you do not wish to have text for the
button, you must delete both the text in Info Film as well as the
button text itself.
Button Border Use this function to edit the border of the
movies that will be inactive in the DVD menu, and therefore will
not be available for selection in order to be played.
This can be used to set the thickness of the border and the
color or the pattern (a preview will open where either a color
box or the Image Pool can be accessed). These are general
settings, and will therefore be defined for all movies.
If you set the border size to 0, there will be no frames around
your reference images in the DVD menu. Since the border
must be selectable later on in this menu, the image you have
selected will be displayed with a border, as long as it is active
(please refer to Active Border).
Button Shadow This function is used to edit the shadow,
thrown by the image.
The color, size, blur and direction of the shadow can all be set.
On the left of the tool bar, you will find the ubiquitous buttons
that can be used to make the tool bar smaller or to move it to
the opposite side of the screen.
The Archives button on the right can be used to save the set-