MacroSystem Arabesk 5 User Manual
Page 15
15
Arabesk 5 User manual
will affect all other pages, even if the background is only a pat-
tern which can not be animated. This is mainly required when
you want to have scene sequences for all chapter buttons
across multiple pages. They would not move if the background
was defined as a still image.
If you have selected a color or a pattern for Type, only the Still
Mode will be available. If you have selected Scene for Type
and Moving for Mode, it will be possible to hear the sound of
the scene in the background if you activate the Audio button.
“Adjust video”: If a scene has been selected for the back-
ground, and if it was selected from the scene bin of a project,
the image can be adjusted with “Adjust video”. The bright-
ness, contrast and color of the scene image / the scene can be
adjusted.
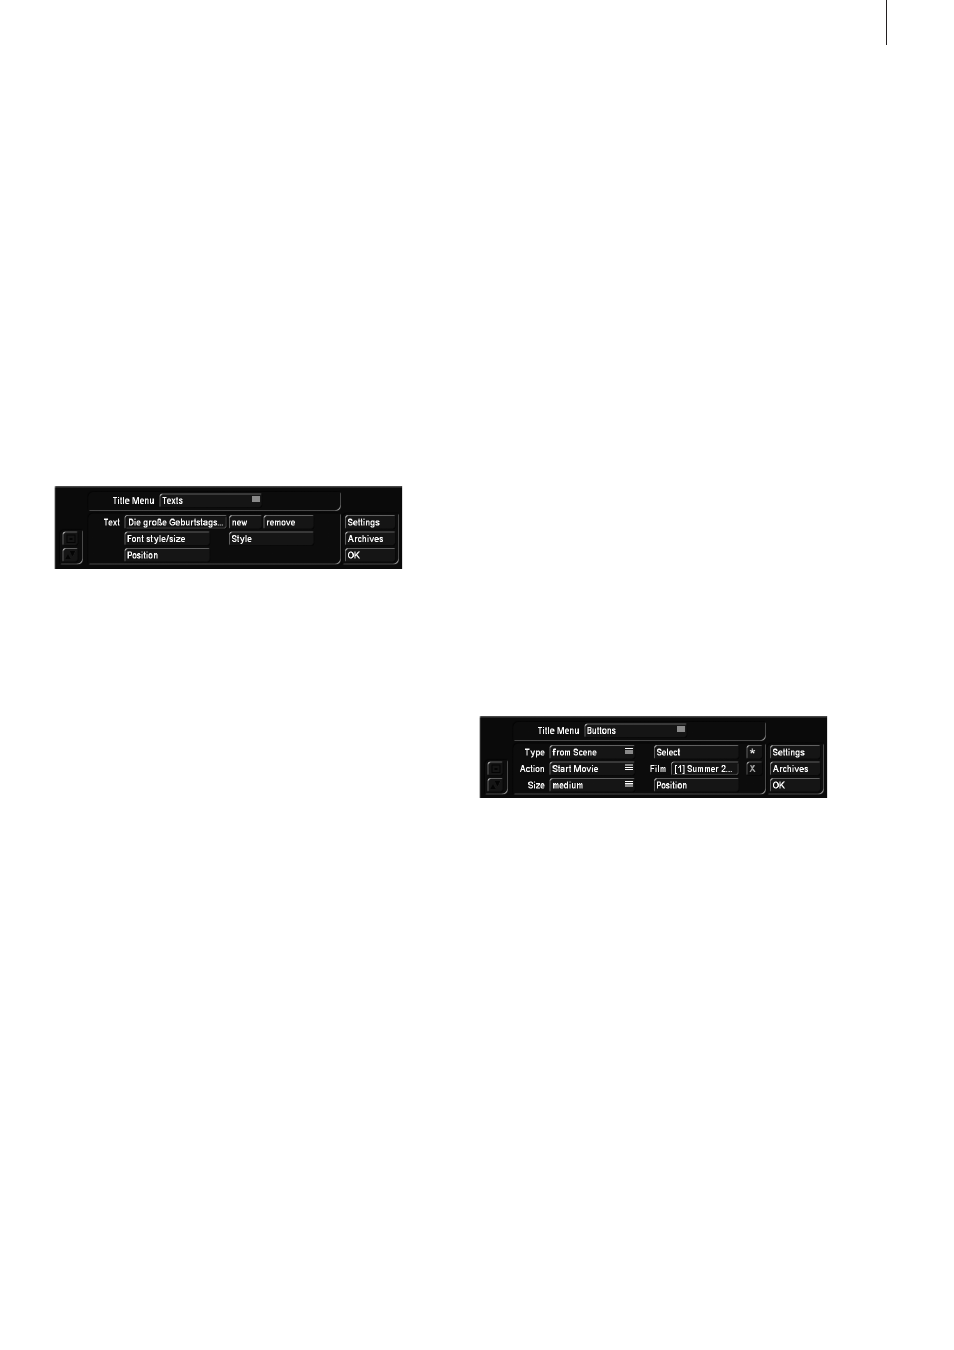
Text This function is used to define a title for the background
menu.
Clicking on the Text button activates the keyboard, which can
be used to enter a title, after it was previously deleted.
It is also possible to enter a multi-line text. In order to ac-
complish this, simply type a backslash (“\”) followed by the
letter “n” where you want the new line to start. Both these
characters will appear immediately after the letter you have
entered before. The words for the next sentence should now
be entered. In the on-screen keyboard, they will be displayed
directly behind the “n”. Instead of this, the on-screen keyboard
(i.e. with the Power Key option) can also be used to simply
press the “ALT-Return” key combination. After clicking on OK
(if you are using the Power Key option, the on-screen keyboard
can also be exited using the Return key, as usual), the text you
have just entered, will be displayed as a multi-line title.
If you click on Font style/size, the usual font selection will be
activated. It can be used to determine the style and the size.
The Style button opens the “Font style” window, in which more
attributes can be set, and the Position button can be used
to put the title in a precise location, e.g. the top edge of the
screen. The text will be displayed in a dotted frame that can be
moved by rolling the trackball. The position you have chosen,
can be confirmed by clicking on the left trackball button.
“new”: It is possible to position multiple texts/titles in one
menu. Click on “new” and your current text will be duplicated.
This new text field can be edited as you wish.
“remove”: Deletes the current text field. A text field must
always exist, it is therefore not possible to delete the last one.
If you do not wish to have any text in your menu, simply delete
the text content itself.
In some cases, it can be useful to use place holder in one‘s
text. So can the chapter menu display the number of pages or
predefined texts. It is especially important to be able to adjust
texts of a menu if you want to save a menu as a template. This
is what the placeholders are for. These can be selected (place
holder / content)
\ap “Play” depends on the menu language selected in the
settings
\as “Start” depends on the menu language selected in the
settings
\cc Number of chapters
\cm “Chapter menu” depends on the menu language selected
in the settings
\ct “Chapter” depends on the menu language selected in the
settings
\fc Number of movies
\ft “Film” depends on the menu language selected in the set-
tings
\pt “Page” depends on the menu language selected in the
settings
\pn Current page number
\pc Total number of pages
\tm “DVD menu” depends on the menu language selected in
the settings
Buttons This function is used to set the type of the starting
images that represent the movies on your DVD. The first image
of this scene will later represent the movie in the DVD menu.
Please note that you can only select one image per movie, i.e.
there can be no more than six starting images in total on the
DVD.
As soon as you have clicked on the menu button, a dotted
frame will appear around the scene image. You should now
activate the movie you want by simply clicking on the image
that represents it. The dotted frame will appear around it.
Clicking on the Type button will present you with the following
options:
“from Scene”, your movie will be represented by the first im-
age of a scene.
The image in background setting makes the image transpar-
ent, in order to enable you to create an image yourself, with
the help of other programs.
Use “Scene Sequence”+”Select” to select a scene from any
project and use it as a sequence for the background. This will
enable you to select one of your projects and then from the
scene bin that belongs to it. Select the scene and enter the
trim menu to define a sequence from this scene. This will be
the sequence representing your button.
Note that a sequence can only be used if the background
was set to Scene. The scene sequence you select may not be
longer than 60 seconds but also not longer than the back-
ground scene. The background scene limits the maximum