MacroSystem Columbus User Manual
Page 24
24
25
Please remember that these settings not only af-
fect the text of the currently active key point but
also all the texts that you have already entered!
Afterwards, check the appearances of the overall
picture by minimizing the toolbar. To do so, click
on the corresponding button that you are al-
ready familiar with from the system software in
the bottom left box of the toolbar.
Since you have already inserted two texts in
your video image, you will now see that the
settings have affected both texts. If the changes
you have made to the text attributes mean you
need to change the position of the text with
respect to its key point, you can do this in the
“Text” menu.
Take a look at the overall appearances using the
“Preview” and archive your settings if neces-
sary.
Close the program and make the system calcu-
late the scene. If you have positioned key points
along your route, set the “Split at key points”
function to “No” – if you have not set any key
points, this setting is irrelevant.
5.5 A cruise including video footage of
day trips on land
Imagine you have just been on a cruise and now
want your vacation video to start with a map
that gives the viewers an overview of the route
taken.
The ship has berthed at various ports and you
have brought back video footage of various
places that you now want to integrate in your
route. The ship casts off, travels across the map
to the next place where you went on land – and
now the viewers see the video footage that you
recorded there. Afterwards, the map is displayed
again and you see the ship continuing along the
route. At the next port you see some more video
footage of various things you experienced there,
etc.
To create this type of video, first select a suitable
map, e.g. one that shows the Mediterranean
Sea. Activate it in the scene bin and start the
Columbus program.
You can now create a route using your newly
acquired skills that you learnt in the previous
example exercises. Here, you will of course want
to choose a ship as your head object.
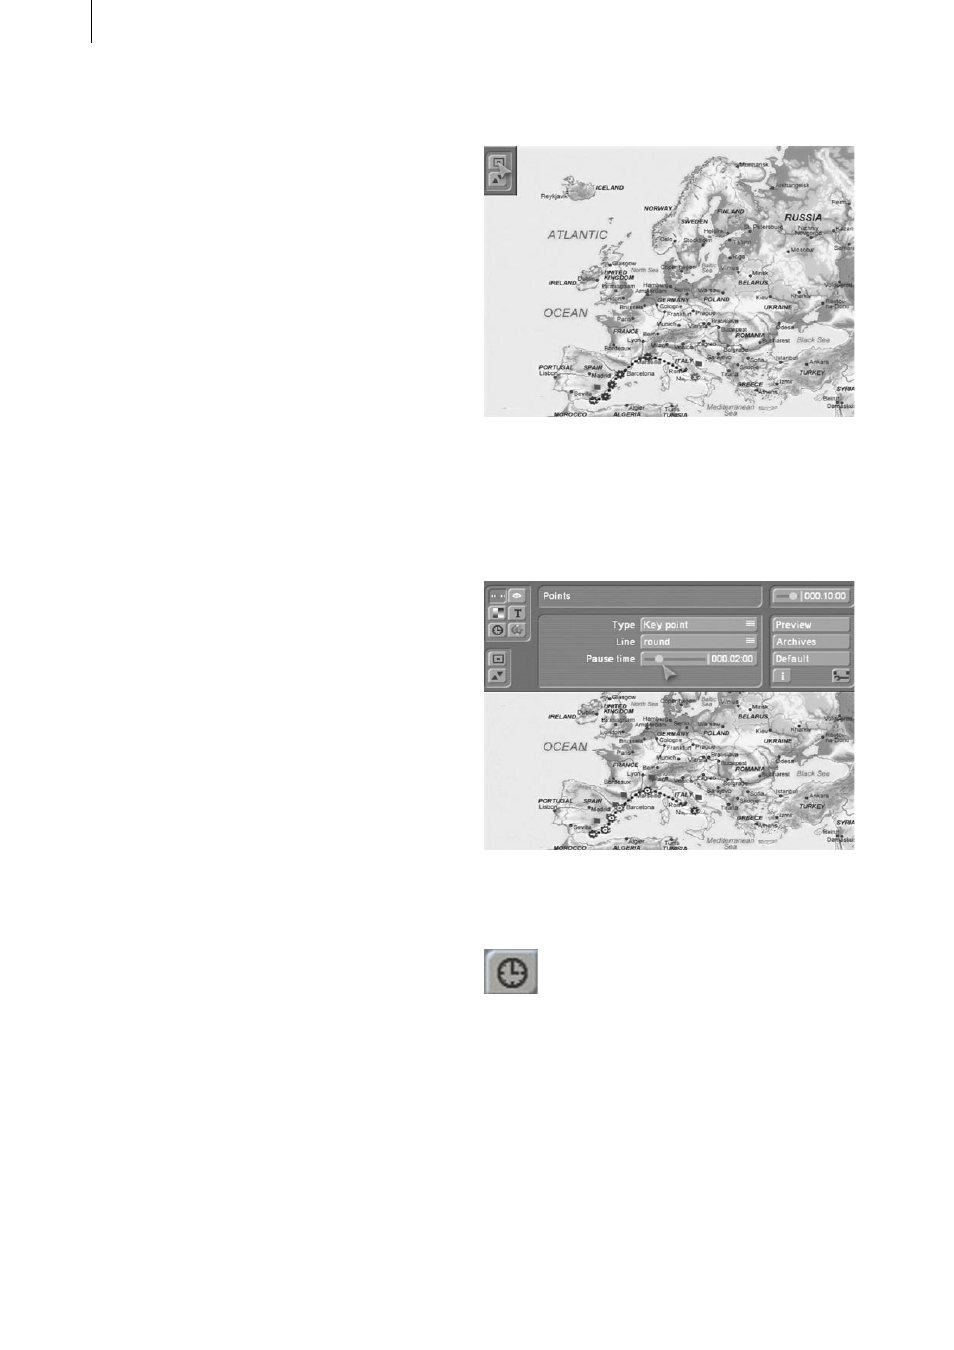
Make sure you insert a point at every port and
convert the point “Type” to “Key points” (in the
automatically activated “Points” menu). Set the
“Pause time” for each key point to 2 seconds
(000.02:00).
Afterwards, click on the symbol for the “Timing”
menu.
Here you can see how long your displayed scene
lasts. In this case you have a pause time of sev-
eral seconds (the sum total of your key points).
Furthermore, the route is traced out in 10 sec-
onds. If you want the route to be displayed
more quickly, simply shorten the time using the
“Route” slider control.
Set the “Way points” function for the remaining
points that only serve to trace out the route but