MacroSystem Columbus User Manual
Page 11
10
11
3. The menus
When you first see the Columbus user interface
it might seem a little complicated. We shall now
explain the various controls to help you find
your way through the extensive menus.
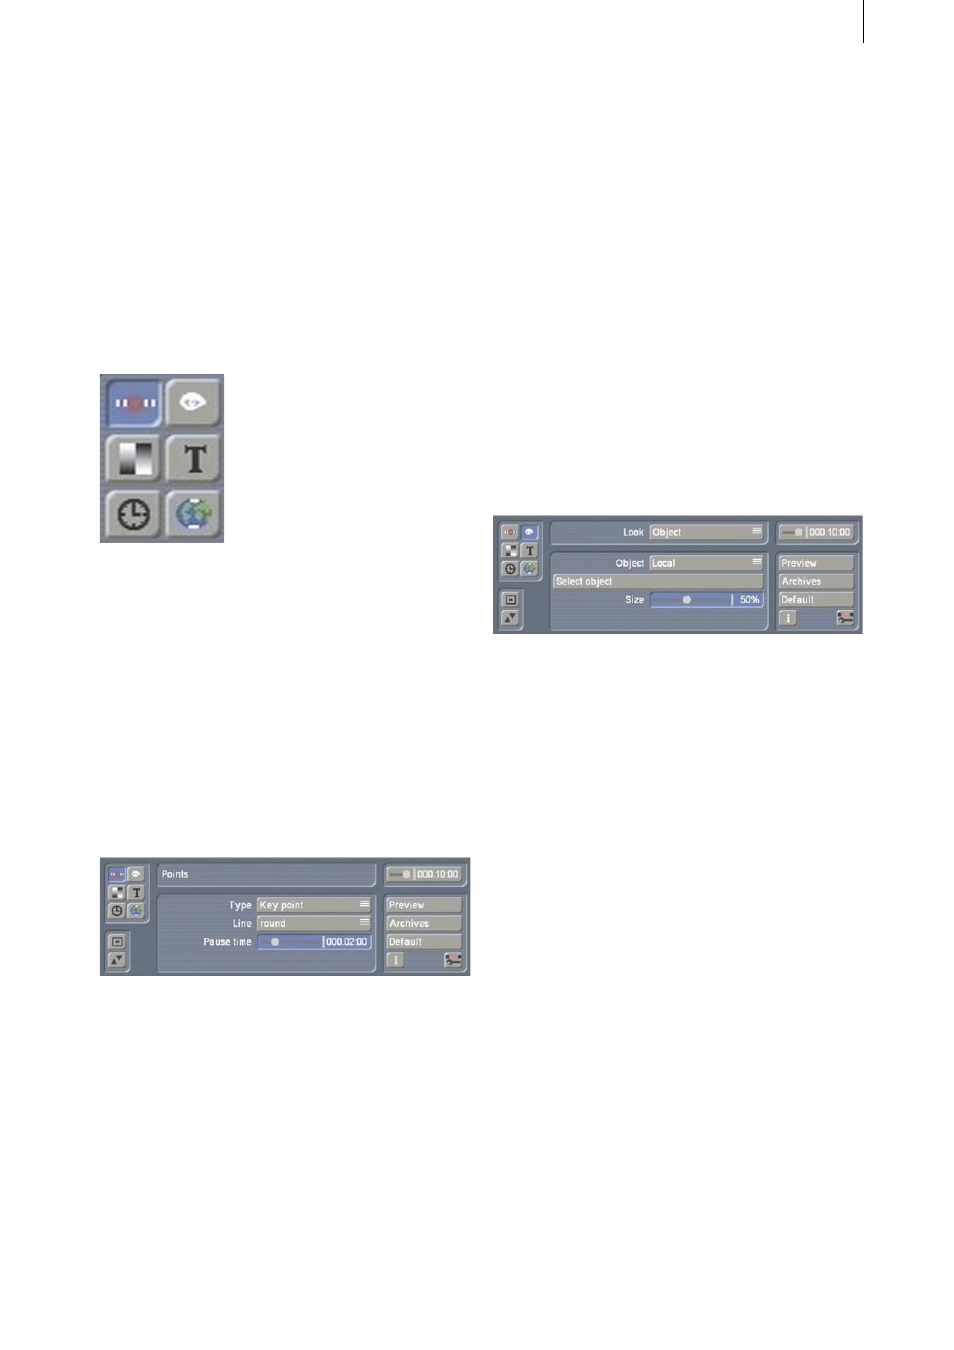
At the top left edge of the Columbus menu you
see six buttons showing various symbols. They
represent the six main menus that are described
below.
If you click on one of these buttons, the name of
the menu that opens as a result is displayed in
the top line of the little box in the middle. You
will therefore always precisely know in which
menu you currently are.
The top four buttons switch to menus that relate
to the active (green) point. So first of all make
sure that the required point is green.
3.1 “Points” menu
The “Type” option allows you to switch between
“Way point” and “Key point”. A waypoint only
influences the course the line takes but is not
visible in the finished video. The key point, on
the other hand, is generally linked to a visible
object (e.g. a flag) and provides you with addi-
tional options.
You can use the “Line” button to select how the
line behaves in the area around the point. Usu-
ally “rounded” is selected to ensure a smooth
curve. If “angular” is selected, the line will bend
sharply at this point.
The “Pause time” option allows you to set a
time during which the line progression is halted
at that particular key point. You can use this
function if you want to insert a somewhat longer
commentary at this point or if you want to use
a transition effect to fade out from the route
display to another video scene.
A new scene can be generated automatically at
a key point during the calculation process if the
pause time is greater than 0 (must be set in the
effect options). The break takes place half way
through the pause time.
3.2 “Look” menu
This menu can only be accessed for key points.
The “Look” option first of all allows you to
switch between “Object”, “Position” and
“View”. All three settings allow you to select
between “Local” and “Global”. The “Object”
setting also allows you to select “Off”, which
means that no object will be displayed at this
key point regardless of what the global settings
specify.
Usually all the buttons are set to “Global”,
which ensures that the global settings are ap-
plied to the key point. This means that all the key
points look the same and can simply be changed
globally.
Only in rare cases is one of the three compo-
nents set to “Local” in order to make changes
to the selected point independent of the other
functions. You can use “Select object” and then
change the “Size”.
The available options for the global changes can
also be found in the “Global settings“ menu
(Chapter 3.6) under “Key object”, “Key position”
and “Key view” and are explained there.