MacroSystem Columbus User Manual
Page 14
14
15
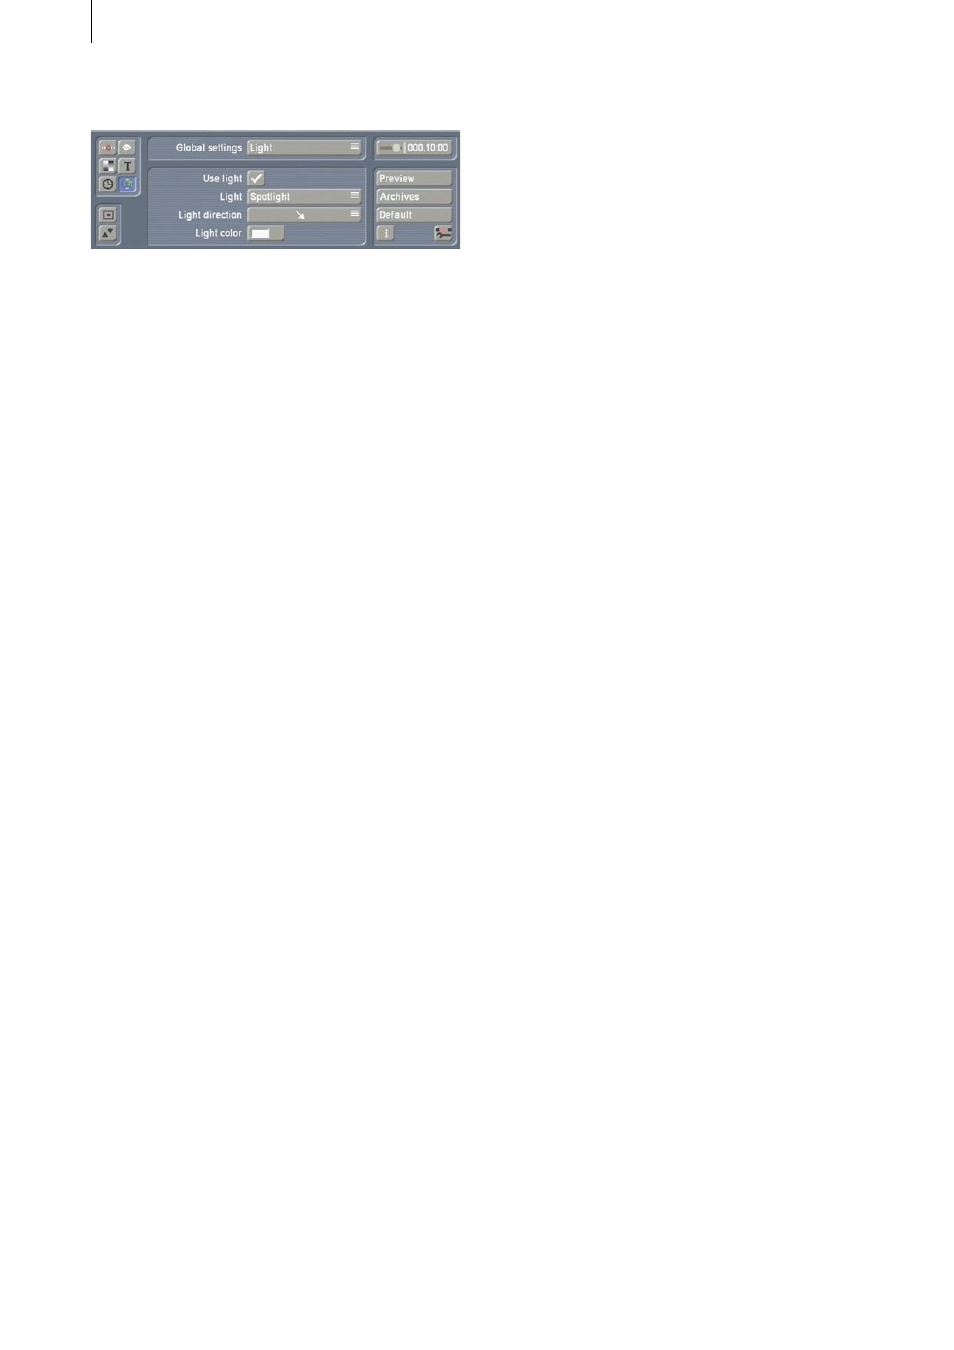
3.6.6 Light
Many Columbus key objects or head objects are
three dimensional. This effect, however, is only
seen clearly if the lighting is simulated. In this
submenu you can use the “Use light” switch to
activate and deactivate the lighting. You can also
use the „Light“ button (type of light) to change
the “Light direction” and “Light color”.
Note: If the color of the light is not white, all the
objects will be slightly colored by it. So if the
color of some objects appears different to how
you imagined they would look, please check the
lighting settings.
3.7 Time control
In the top right of the main menus, you will
see a slider control that you can use to set the
particular point in time at which you want the
current route display to be used (you can adjust
this slider control whenever you like). Normally
it should be set to the maximum value (to the far
right) to ensure that the whole route section is
always visible. The default setting for the maxi-
mum value is 10 seconds, though this can be
changed whenever you like using the „Route“
control in the „Timing“ menu (Chapter 3.5). The
times stated here exclude the times needed for
transitions or pauses.
3.8 Preview
In contrast with other Casablanca programs, the
Columbus shows a full-motion preview in full-
screen mode. The menu bar and the trackball
pointer are not available during the preview, so
you can only prematurely cancel the preview by
clicking on the right trackball button.
Depending on the complexity of the Columbus
project and on the Casablanca model that you
are using, the preview display might not appear
to be totally smooth. However, the timing will
generally be accurate. You might notice some
imprecision in the display but this will not be
visible later after the calculations have been car-
ried out.
3.9 Archives
This is where you can store entire routes along-
side all the settings so that you can use them as
many times as you like.
3.10 Default
You can use this button to delete the created
route alongside all the settings and reset the
software to the predefined default values. The
system asks you for conformation first.
3.11 Selecting objects
Columbus provides a special window for you to
select objects for the key points (also starting
and finishing points) and for the head of the line.
Its user interface is similar to the pattern selec-
tion function (image pool) that you are familiar
with from the Casablanca system. These kinds
of objects are currently only supported by the
Columbus program.
The “Type” option allows you to switch between
2D (flat) and 3D (three dimensional). However,
you can later rotate both types as you wish. To
select an object, simply click it in the list. The
object is shown on the right with its name and
an animated preview.
You can end the selection process by clicking
on “Ok“. If the “Ok“ button is locked (i.e. you
cannot press it), the object in question is only
installed as a demo and so cannot be used in the
Columbus.
Note: 2D objects should only be used for key
points since they are not particularly suitable as
moving head objects.