MBM Corporation STITCHFOLD Trimmer User Manual
Page 19
19
7. Manually release the trim clutch and cycle the
knife bar through one cycle to check that the
upper knife blade passes the lower knife
smoothly without obstruction.
8. Place a single sheet of paper (large size) be-
tween the upper and lower knives, manually
release the trim clutch and cycle the knife bar
through one cycle. KEEP HANDS CLEAR!
9. Check that a clean cut is obtained across the
full width of the knive blades.
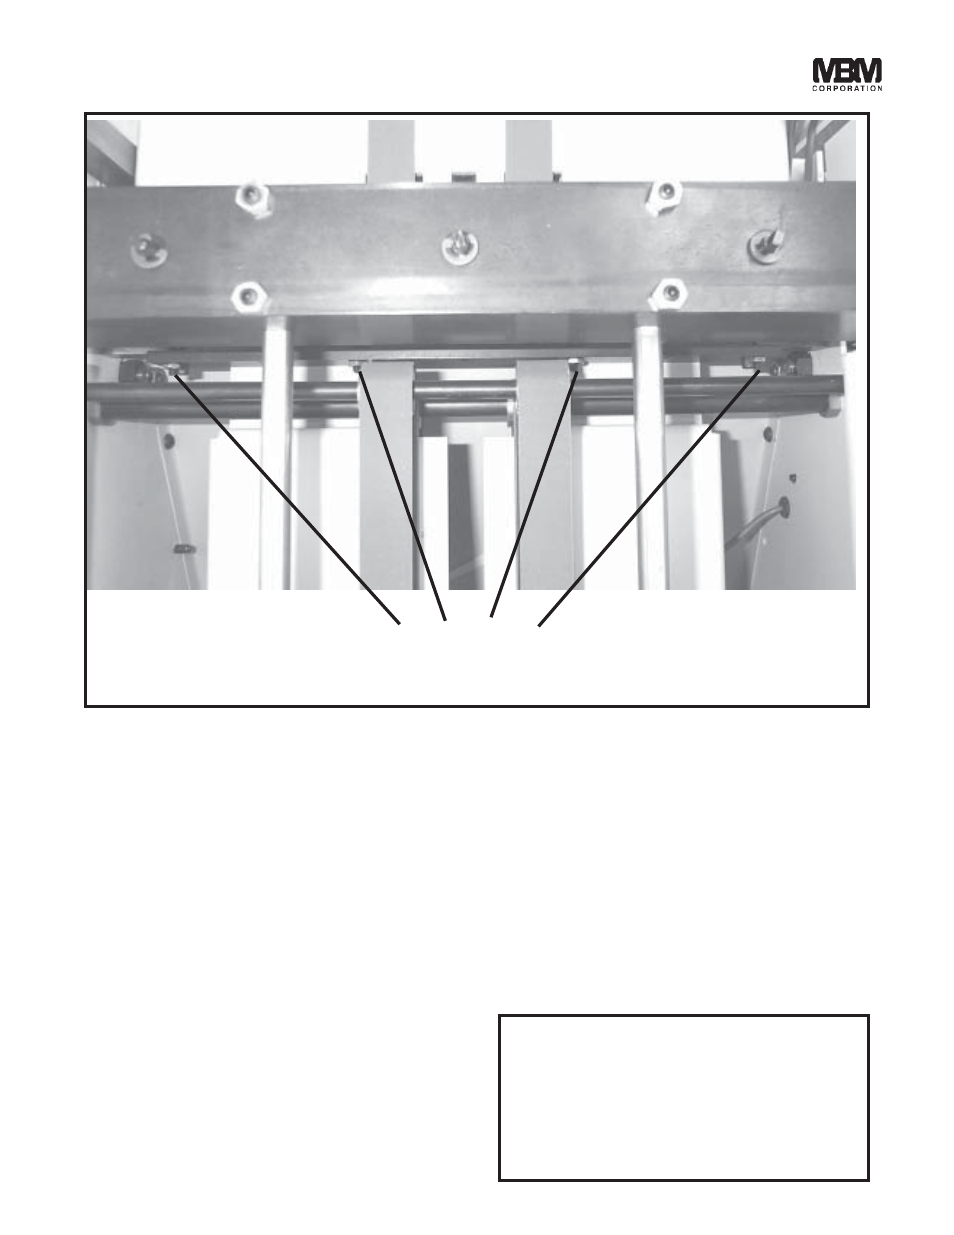
10. If necessary loosen the lower knive securing
screws at the point where adjustment is
needed. Loosen the lower knife bar adjust-
ment screws/nuts, move the lower knife closer
to the upper knife by turning the appropriate
adjustment screw (fig 30) (1/6 turn at a time),
retighten lower knife securing screws and nuts
of adjustment screws.
11. Perform another test cut and make further ad-
justments if necessary.
Lower Knife
Adjustment Screws
(Fig 30)
CLEARING A TRIMMING JAM:
If the maximum capacity of the trimmer is ex-
ceeded (50 sheets of 20# stock or 0.20" work
thickness) the trimming knife will stall near the
bottom of the trim cycle and not finish cutting the
work. If this happens the jam should be cleared
by removing the upper knife (follow steps 2 through
15 of UPPER KNIFE REMOVAL & INSTALLA-
TION procedure page 16) and finishing the trim
cycle by hand (follow step 1 of LOWER KNIFE
INSTALLATION & ADJUSTMENT procedure
page 18).
WARNING
DO NOT TRY TO CLEAR THE TRIMMING
JAM BY TURNING THE CLUTCH PULLEY
COUNTER CLOCKWISE AND/OR BY
TURNING THE KNIFE PULL DOWN DRIVE
SHAFT IN REVERSE OR THE CLUTCH
WILL BE DAMAGED.